CS184 Homework 4 -- Cloth Sim
本文最后更新于 2026年4月24日 下午
Names: Dantes Chen
Link to webpage: zaddle.top/2026/04/21/cs184-hw4/
Link to GitHub repository: zaddle55/zaddle55.github.io
Recommend to read the post on the website for better formatting and image display!
Overview
In this homework I implemented a real-time cloth simulation system. The pipeline starts by building a grid of point masses connected by structural, shearing, and bending springs (Part 1). Physics simulation is driven by Verlet integration with external forces (gravity) and internal spring correction forces, plus a deformation constraint that limits spring stretch to 10% per timestep (Part 2). Collision handling against spheres and planes keeps the cloth from passing through objects (Part 3), while spatial hashing enables efficient self-collision detection so the cloth folds naturally onto itself (Part 4). Finally, I implemented several GLSL shaders — Blinn-Phong, texture mapping, bump/displacement mapping, and environment-mapped mirror reflection (Part 5).
The most interesting takeaway was seeing how a few simple rules (Hooke’s law springs, Verlet integration, spatial hash collision) combine to produce visually convincing cloth behavior. Tuning parameters like ks, density, and damping reveals a rich space of cloth “materials” from silk to burlap.
Part 1: Masses and springs
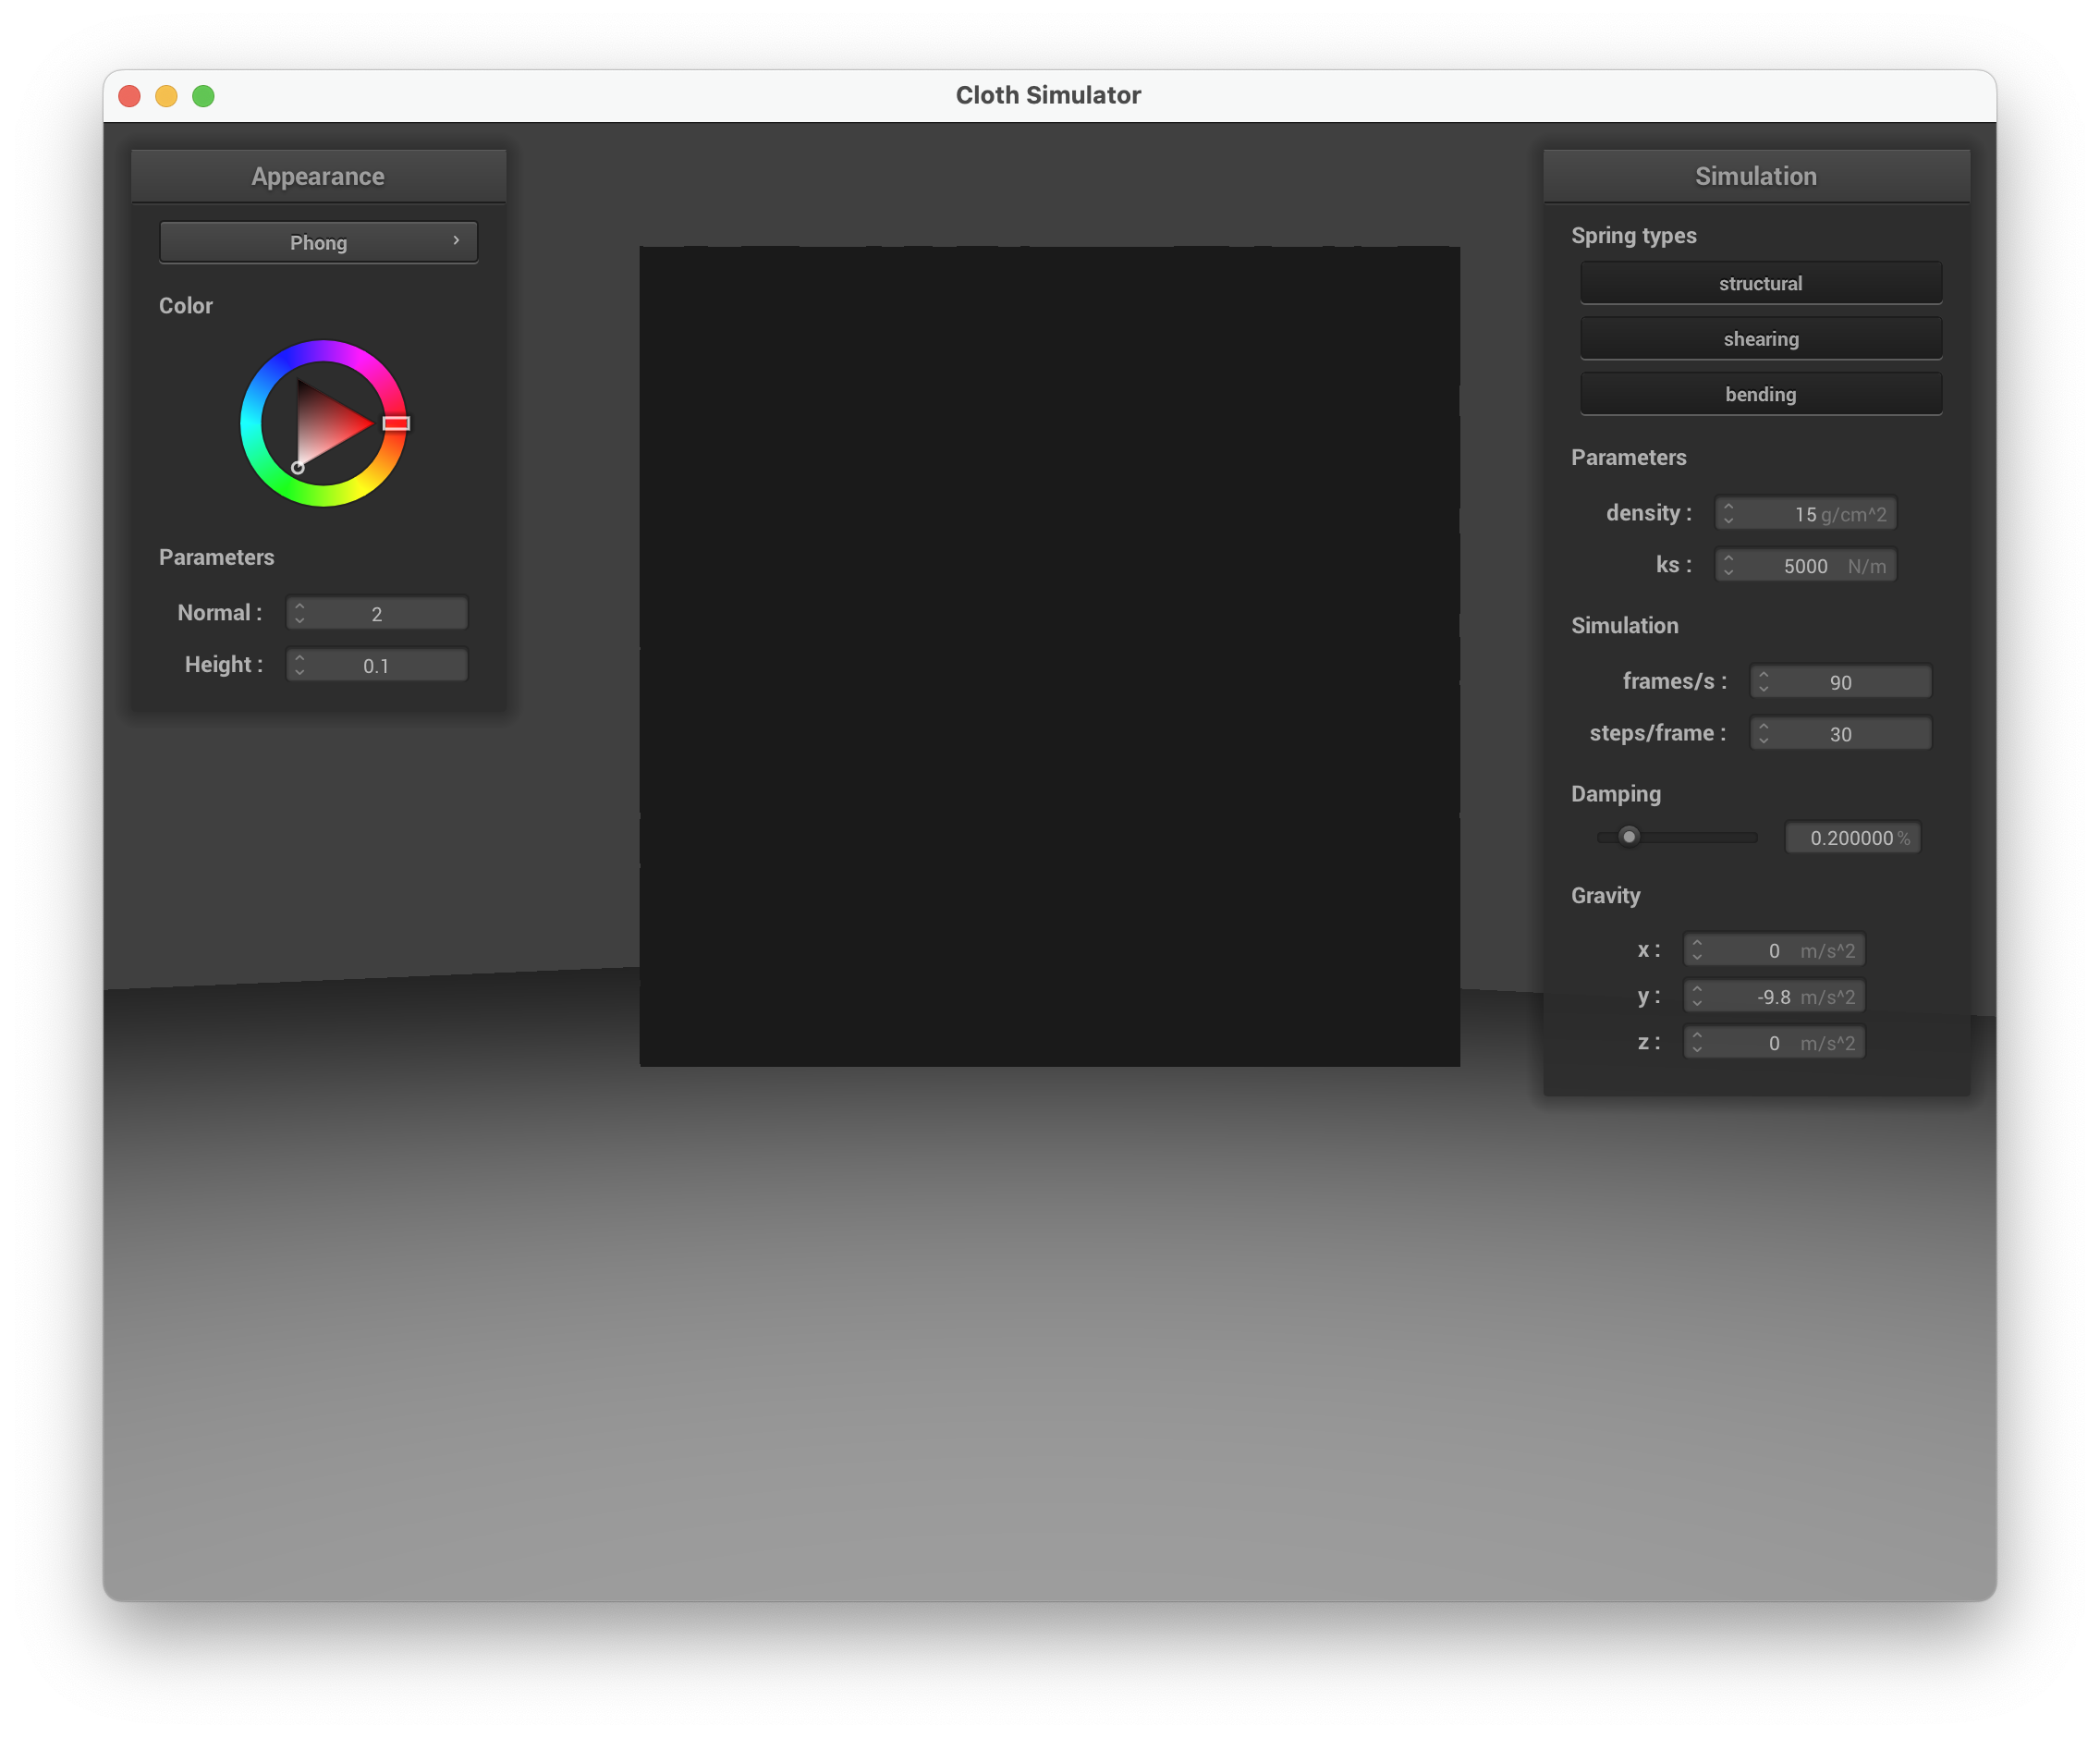
In buildGrid(), I first lay out num_width_points * num_height_points point masses on an evenly spaced grid. For a HORIZONTAL orientation the cloth lies in the xz-plane at ; for VERTICAL it lies in the xy-plane with a small random z-offset in to break symmetry. Each point mass is marked pinned or unpinned according to the scene’s pin list.
After creating the point masses, I iterate over the grid and connect them with three types of springs:
- Structural: connect each mass to its left neighbor and upper neighbor .
- Shearing: connect each mass diagonally to and .
- Bending: connect each mass to the mass two steps away horizontally and vertically .
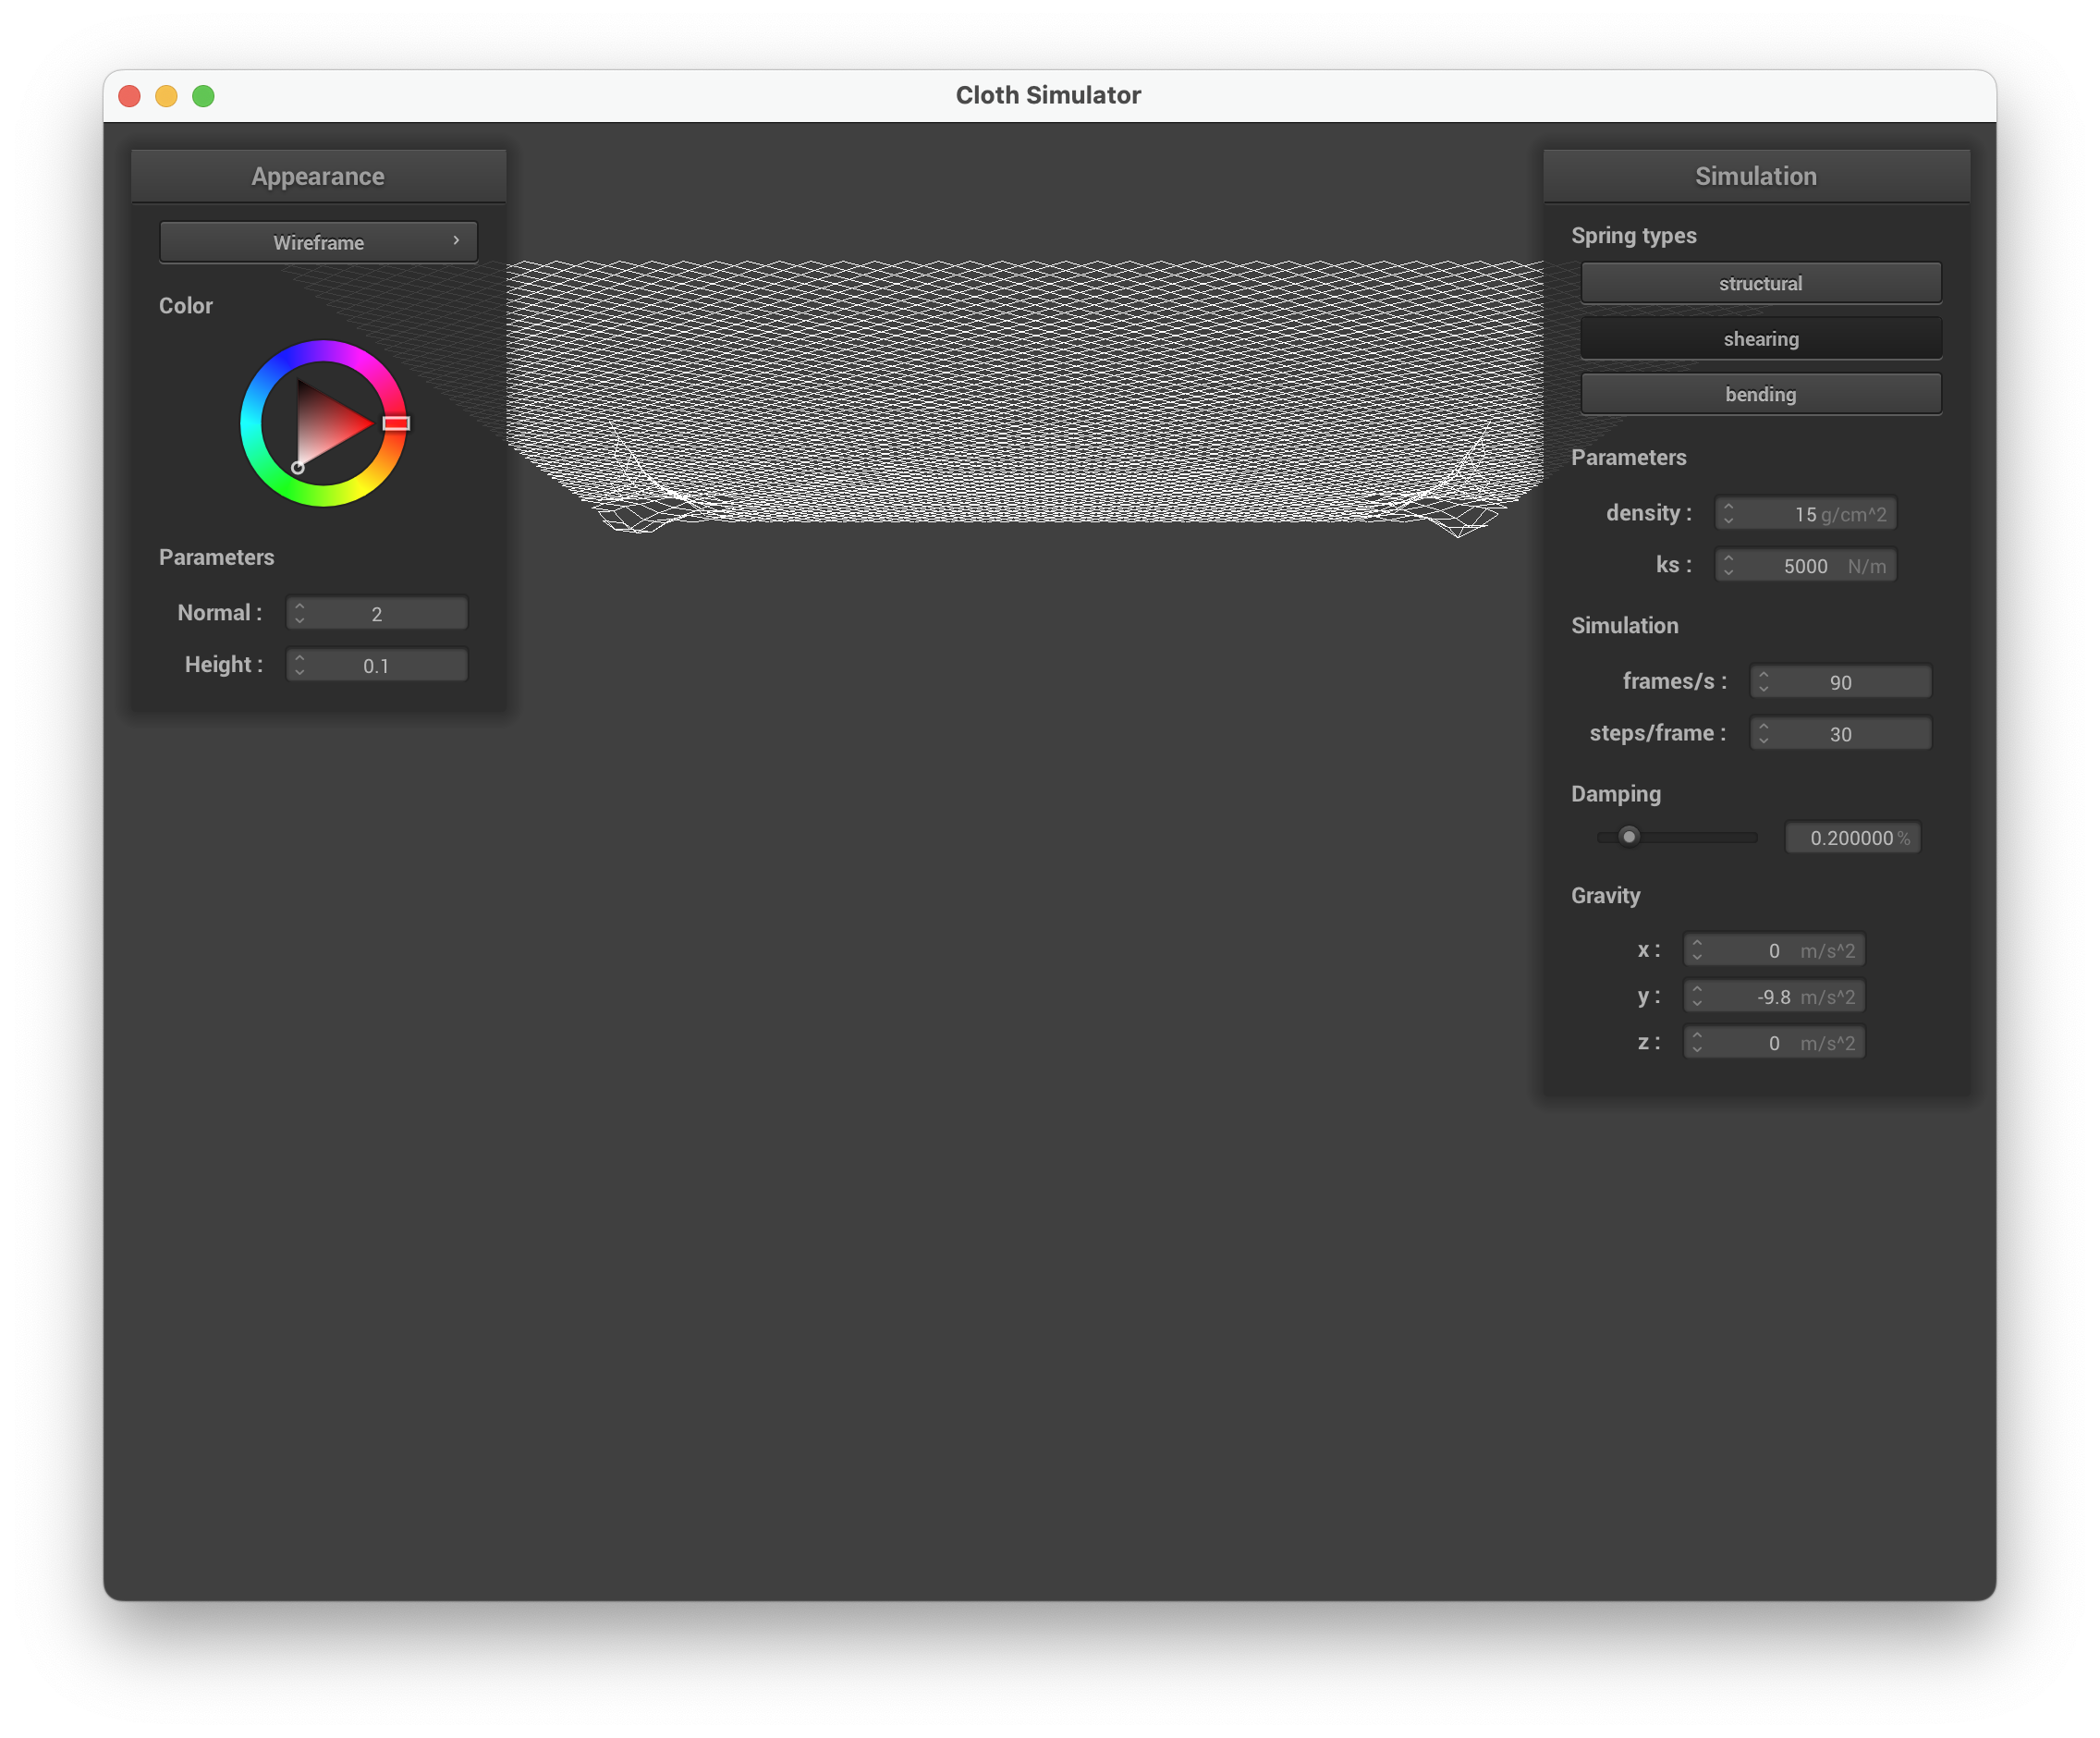
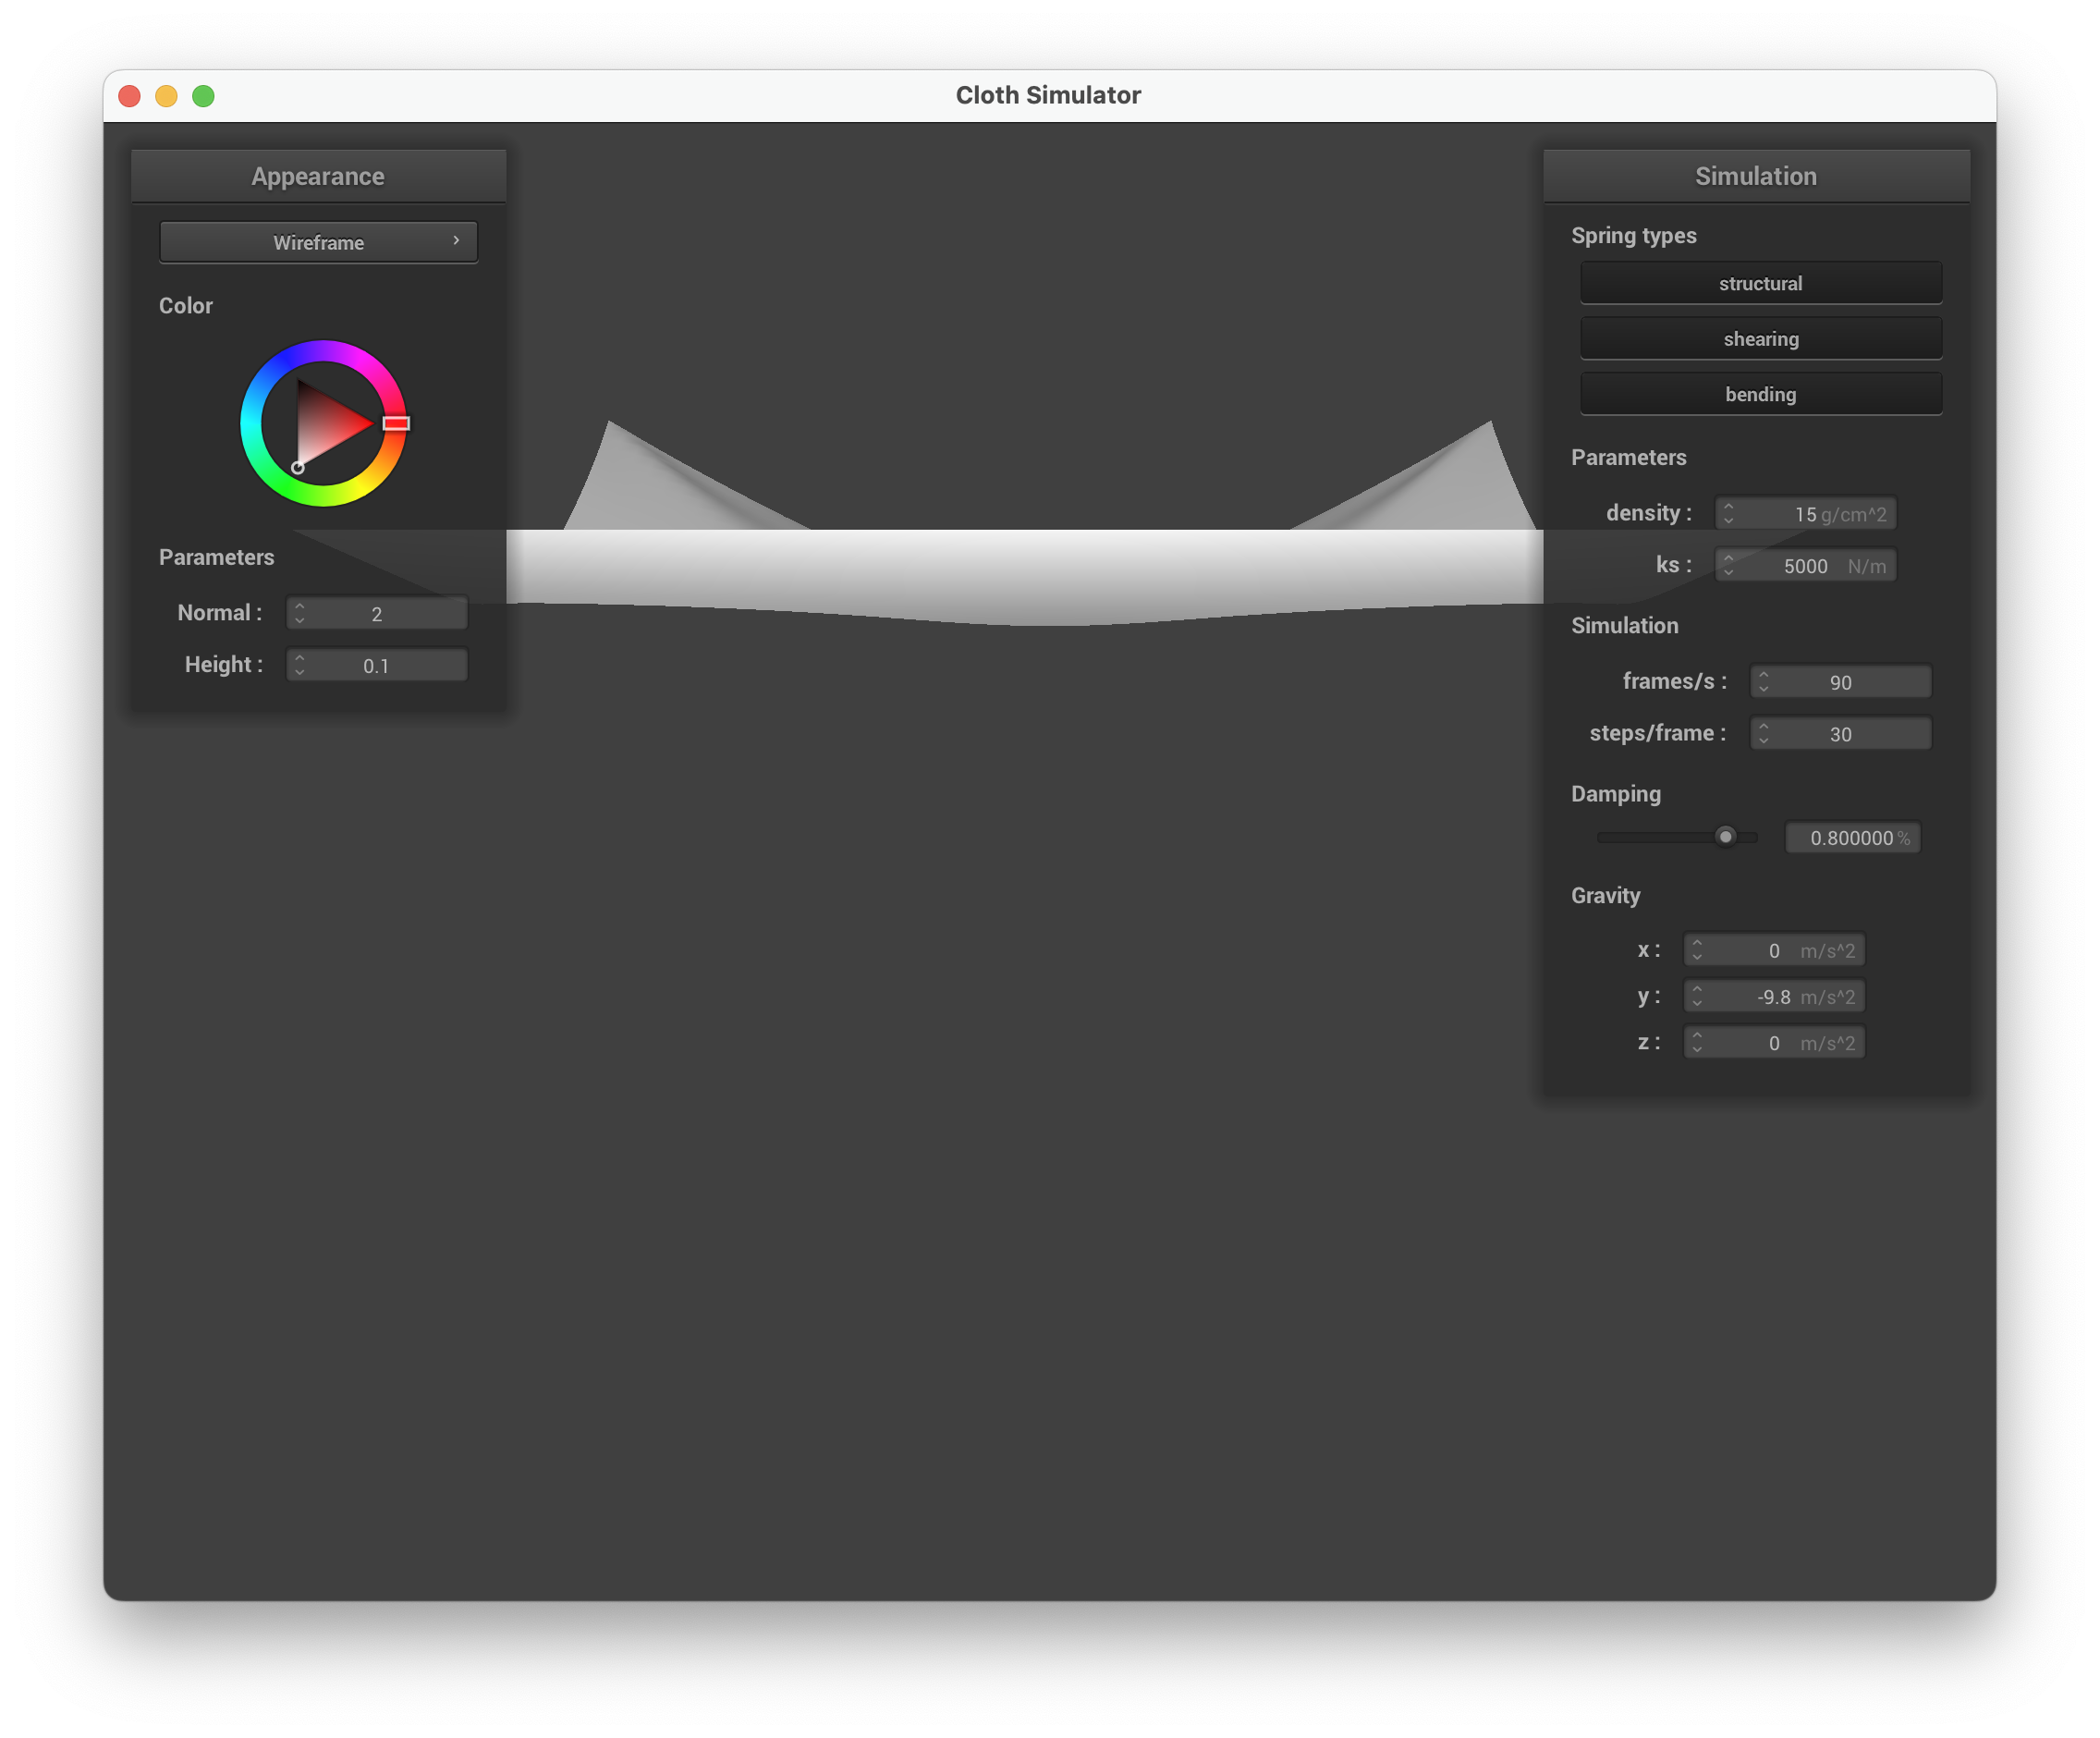
Below are wireframe screenshots of scene/pinned2.json showing the three constraint types:
| Without shearing constraints | With only shearing constraints |
|---|---|
 |
 |
| With all constraints |
|---|
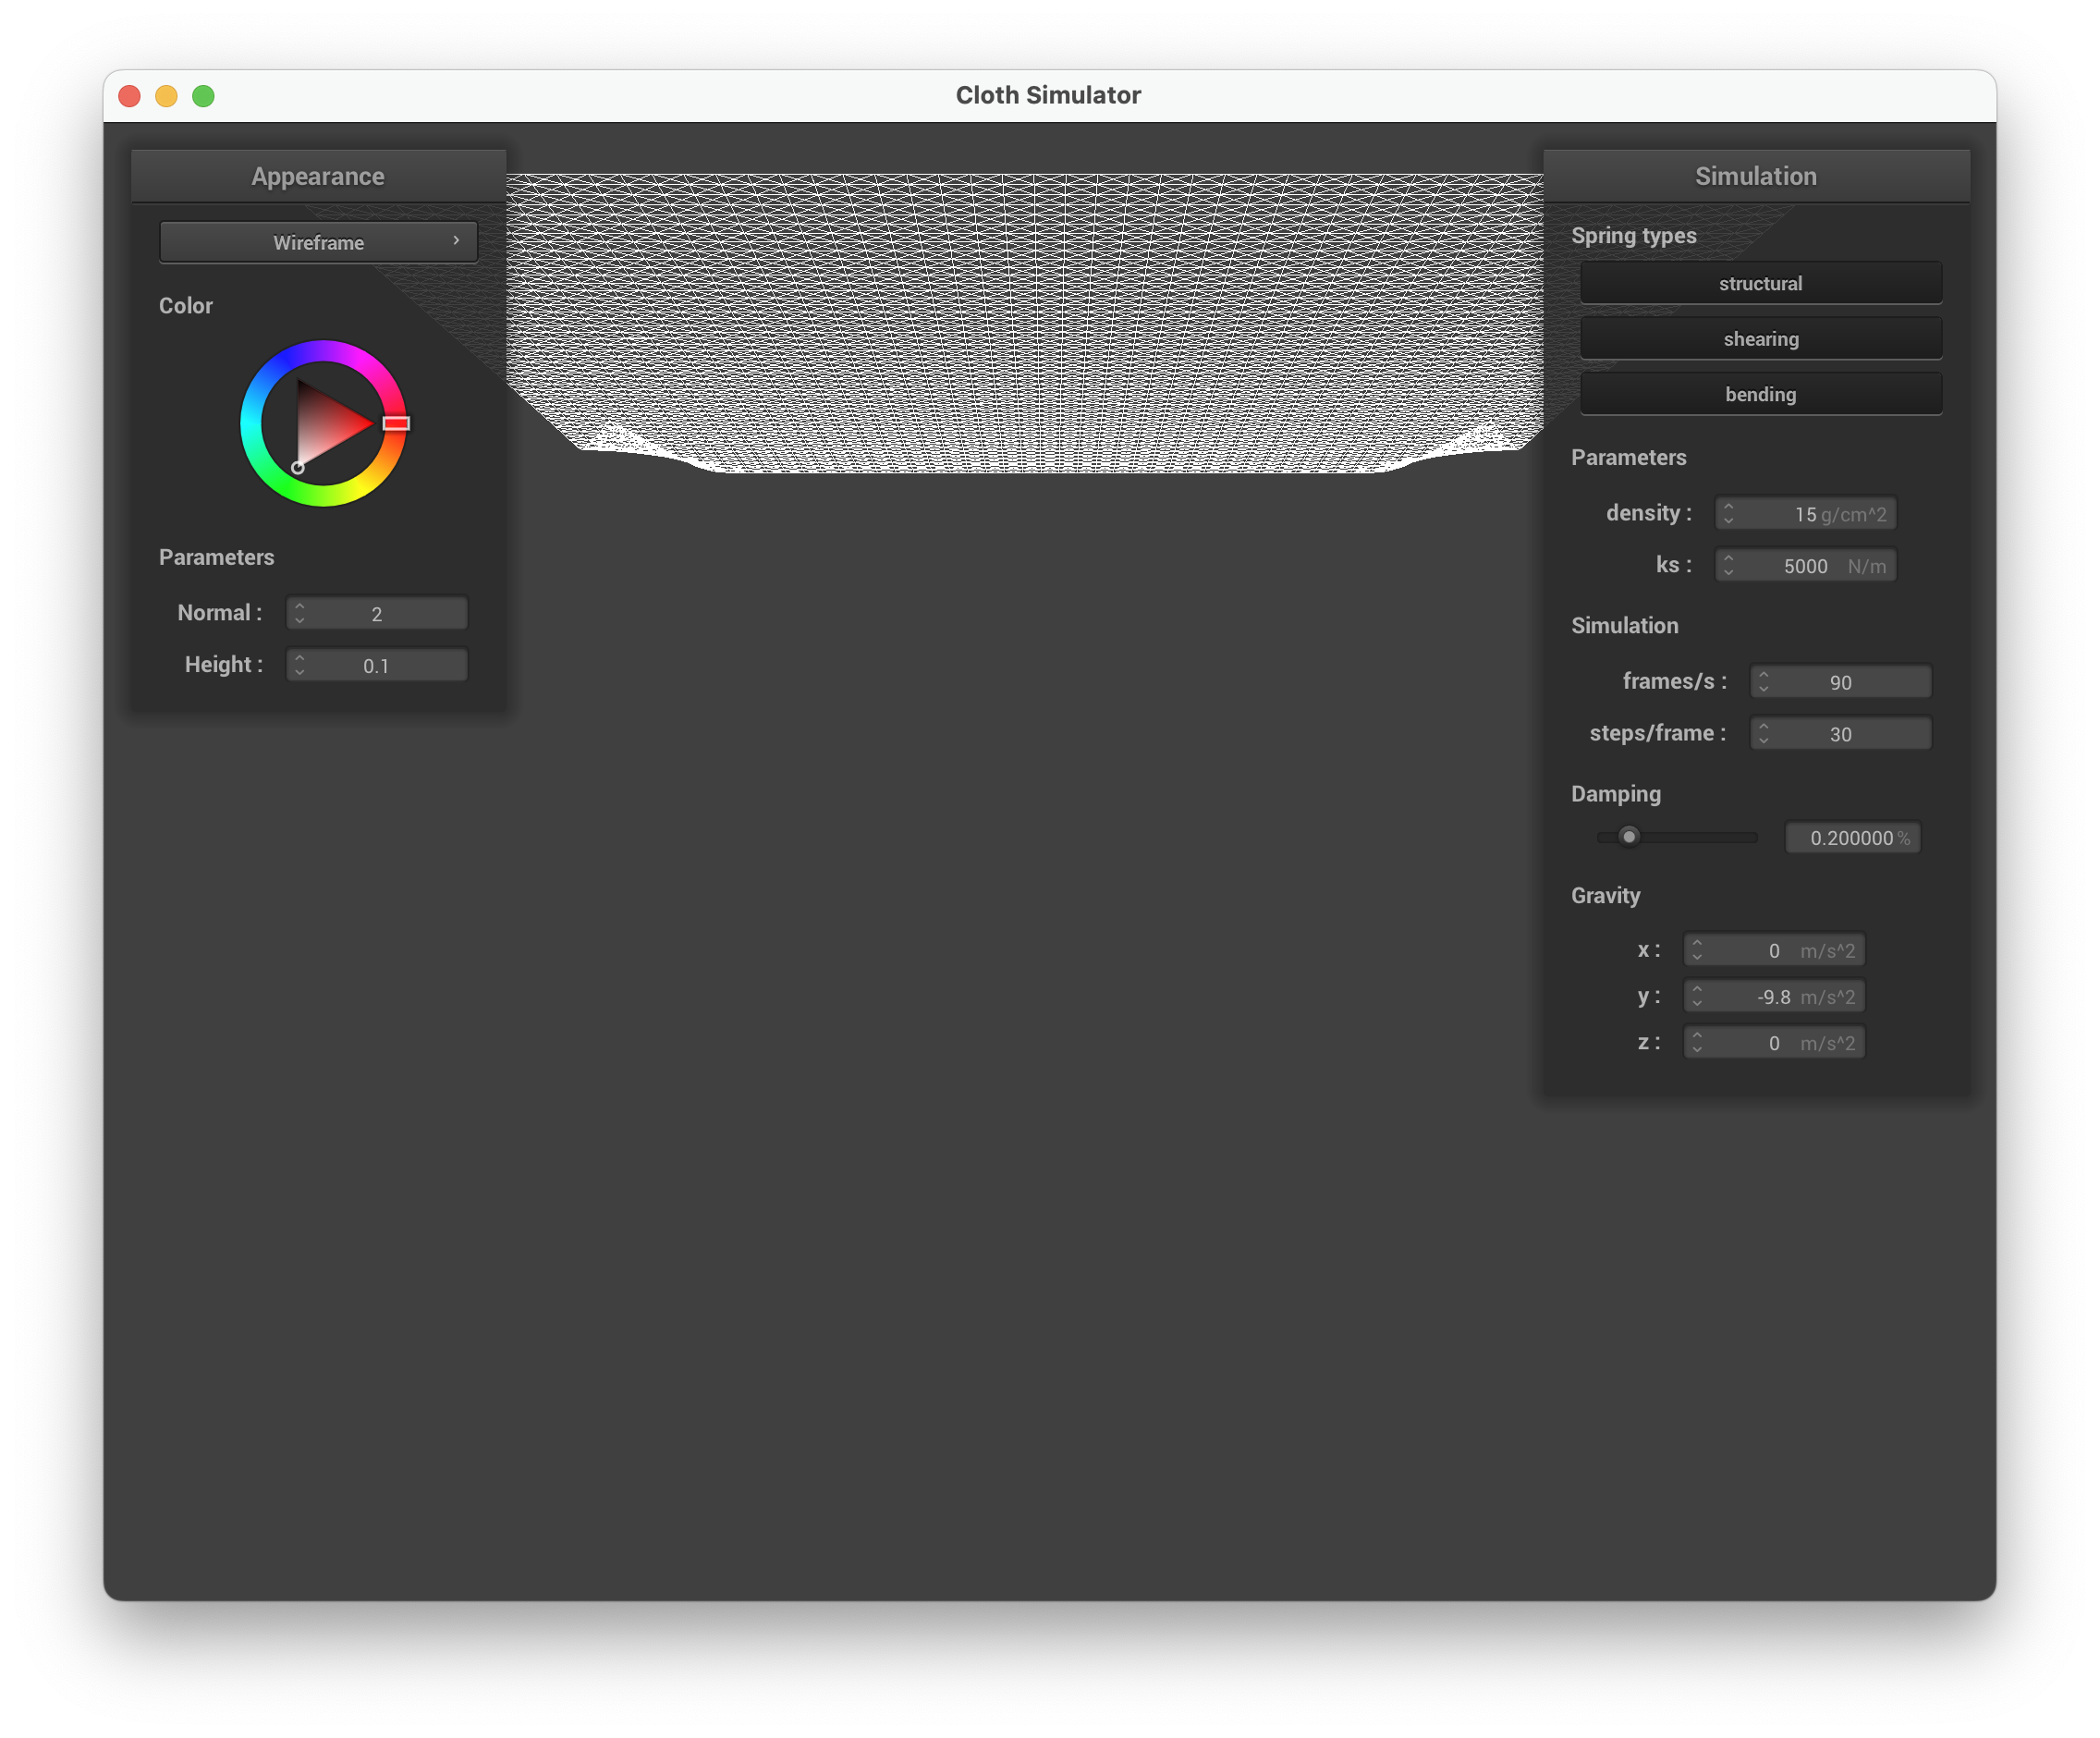 |
Without shearing, only the horizontal/vertical grid lines are visible (structural) along with the sparser skip-one connections (bending). With only shearing enabled, we see diagonal cross-hatching. With all three enabled, the wireframe is the densest, combining axis-aligned and diagonal springs.
Part 2: Simulation via numerical integration
The simulation loop in Cloth::simulate() proceeds in four stages each timestep:
-
Accumulate forces. Every point mass receives the same external force (gravity). Then, for each enabled spring, Hooke’s law computes a correction force , where bending springs use for a weaker resistance.
-
Verlet integration. Unpinned masses update position via:
where is the damping percentage divided by 100.
-
Self-collision (Part 4) and object collision (Part 3).
-
Deformation constraint ([Provot 1995]). For each spring, if its current length exceeds , a correction vector pulls the endpoints back. If both endpoints are unpinned, each gets half the correction; if one is pinned, the free endpoint absorbs the full correction.
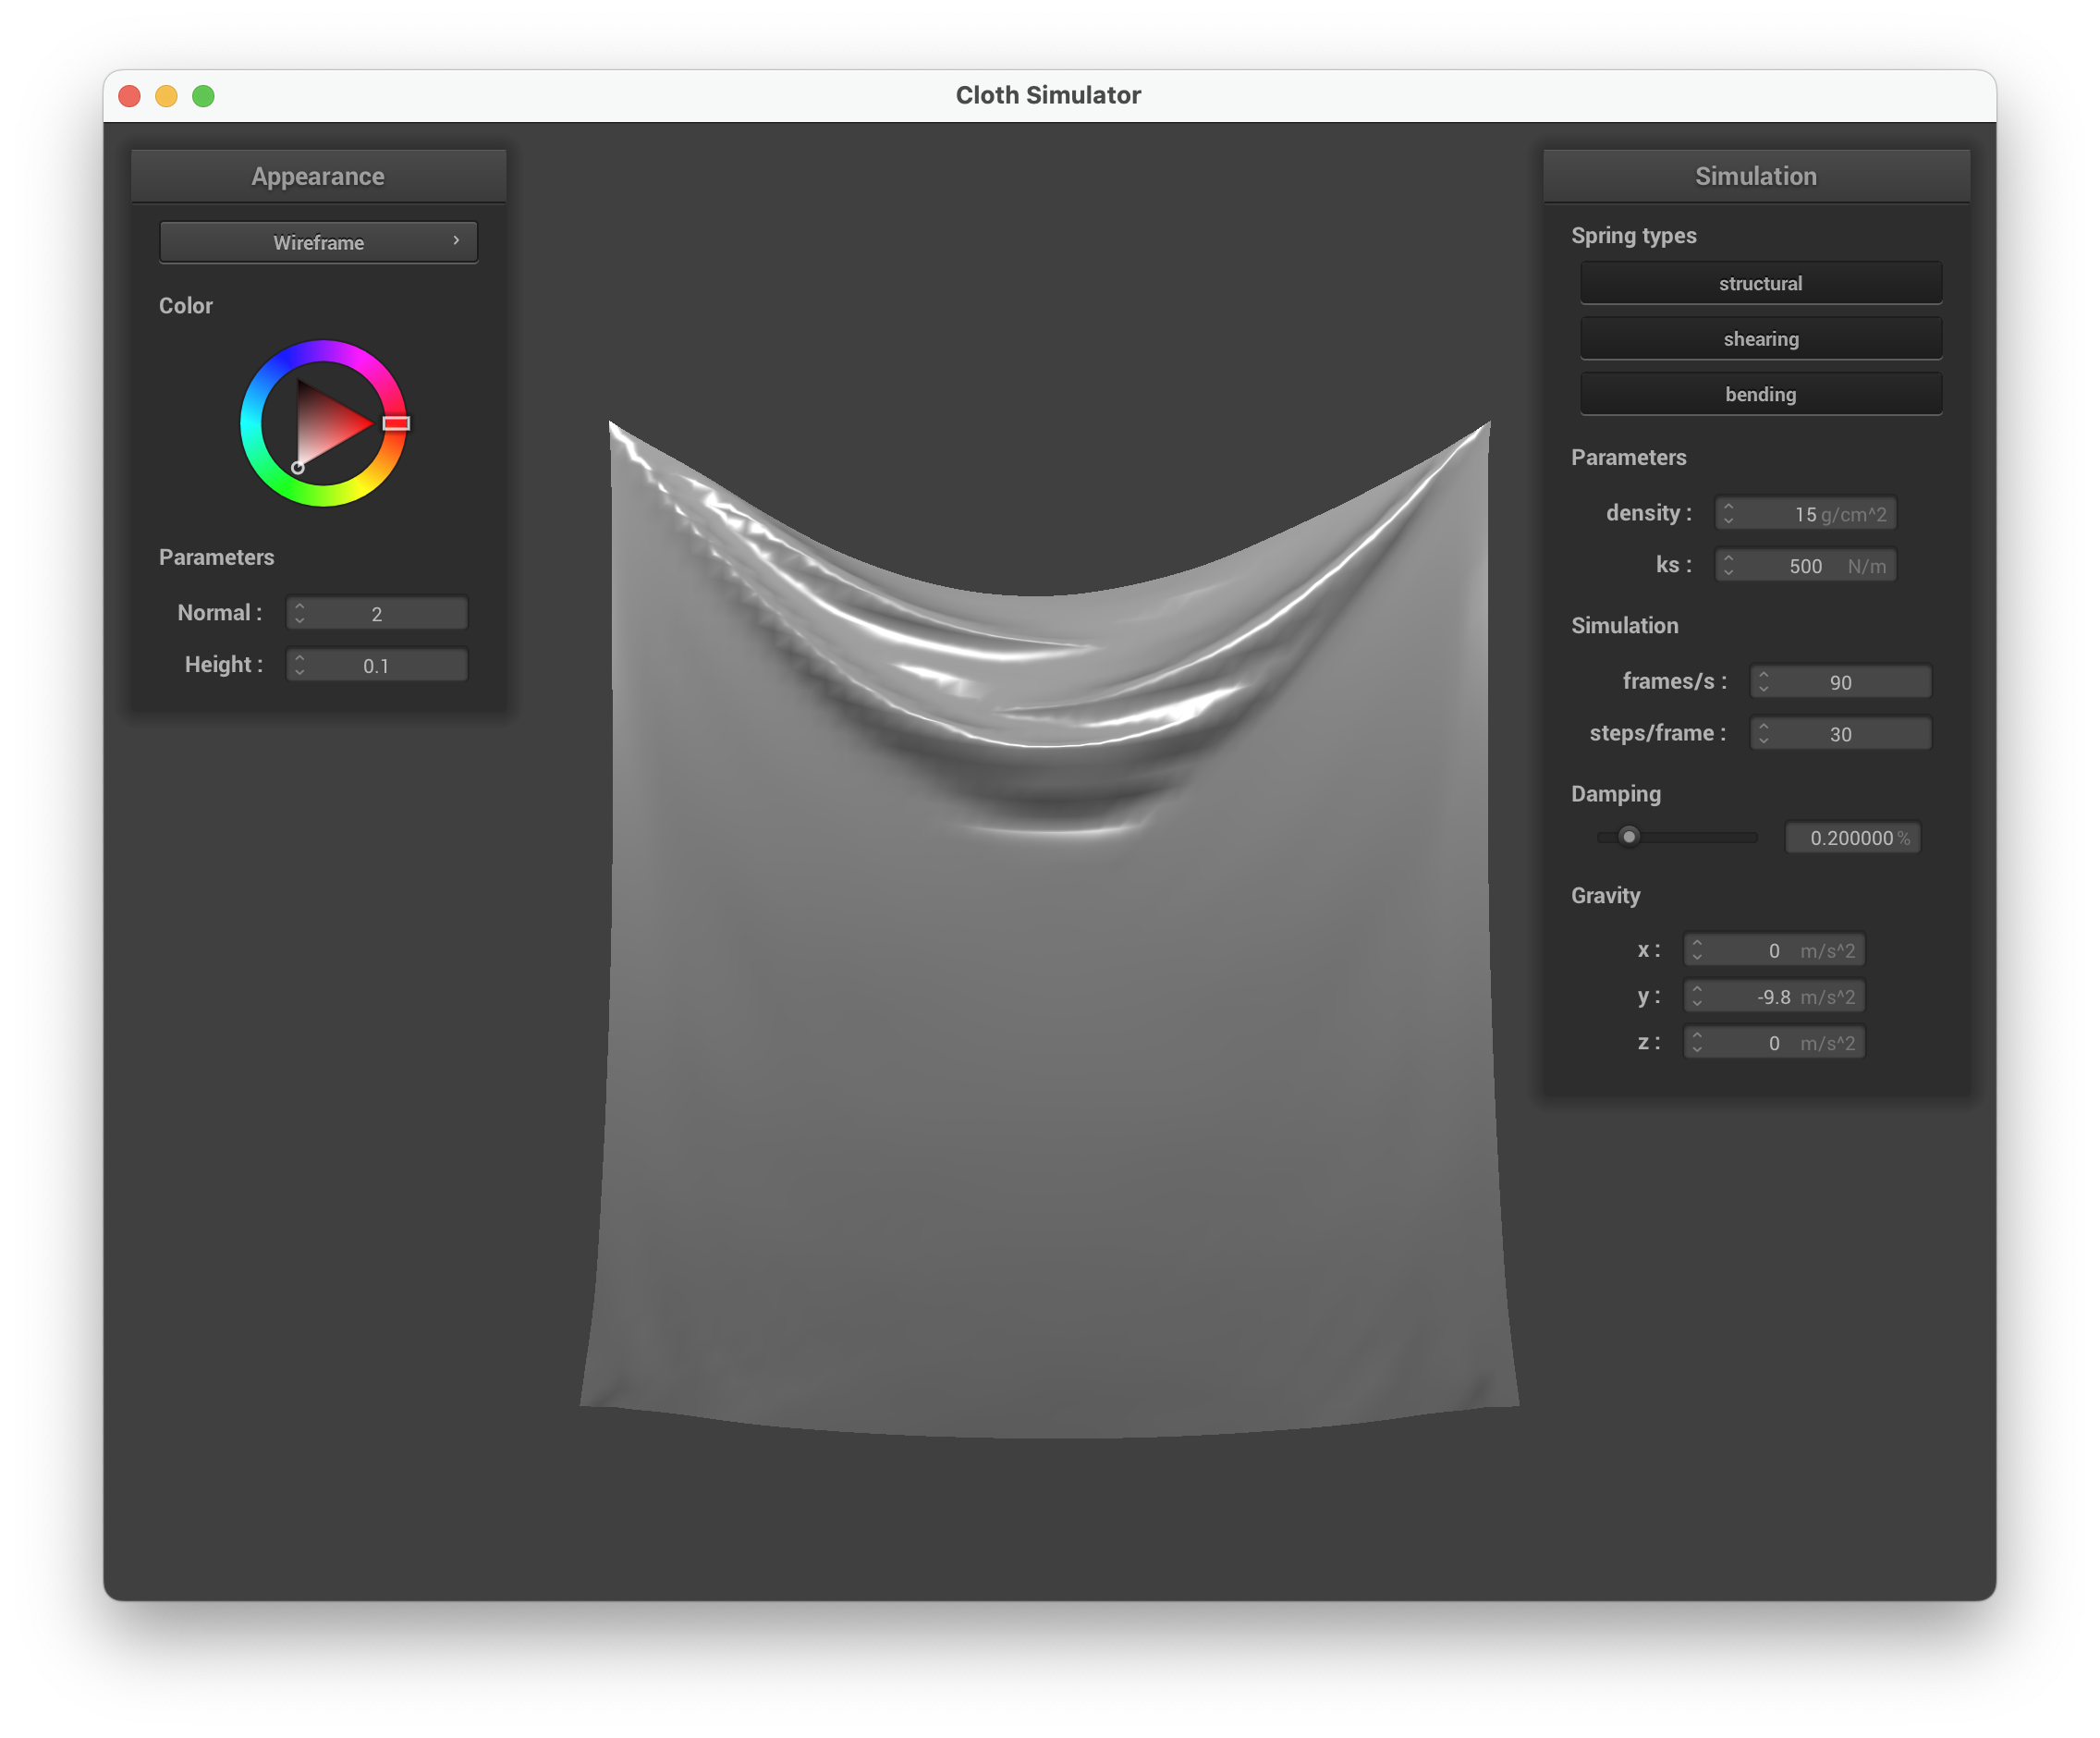
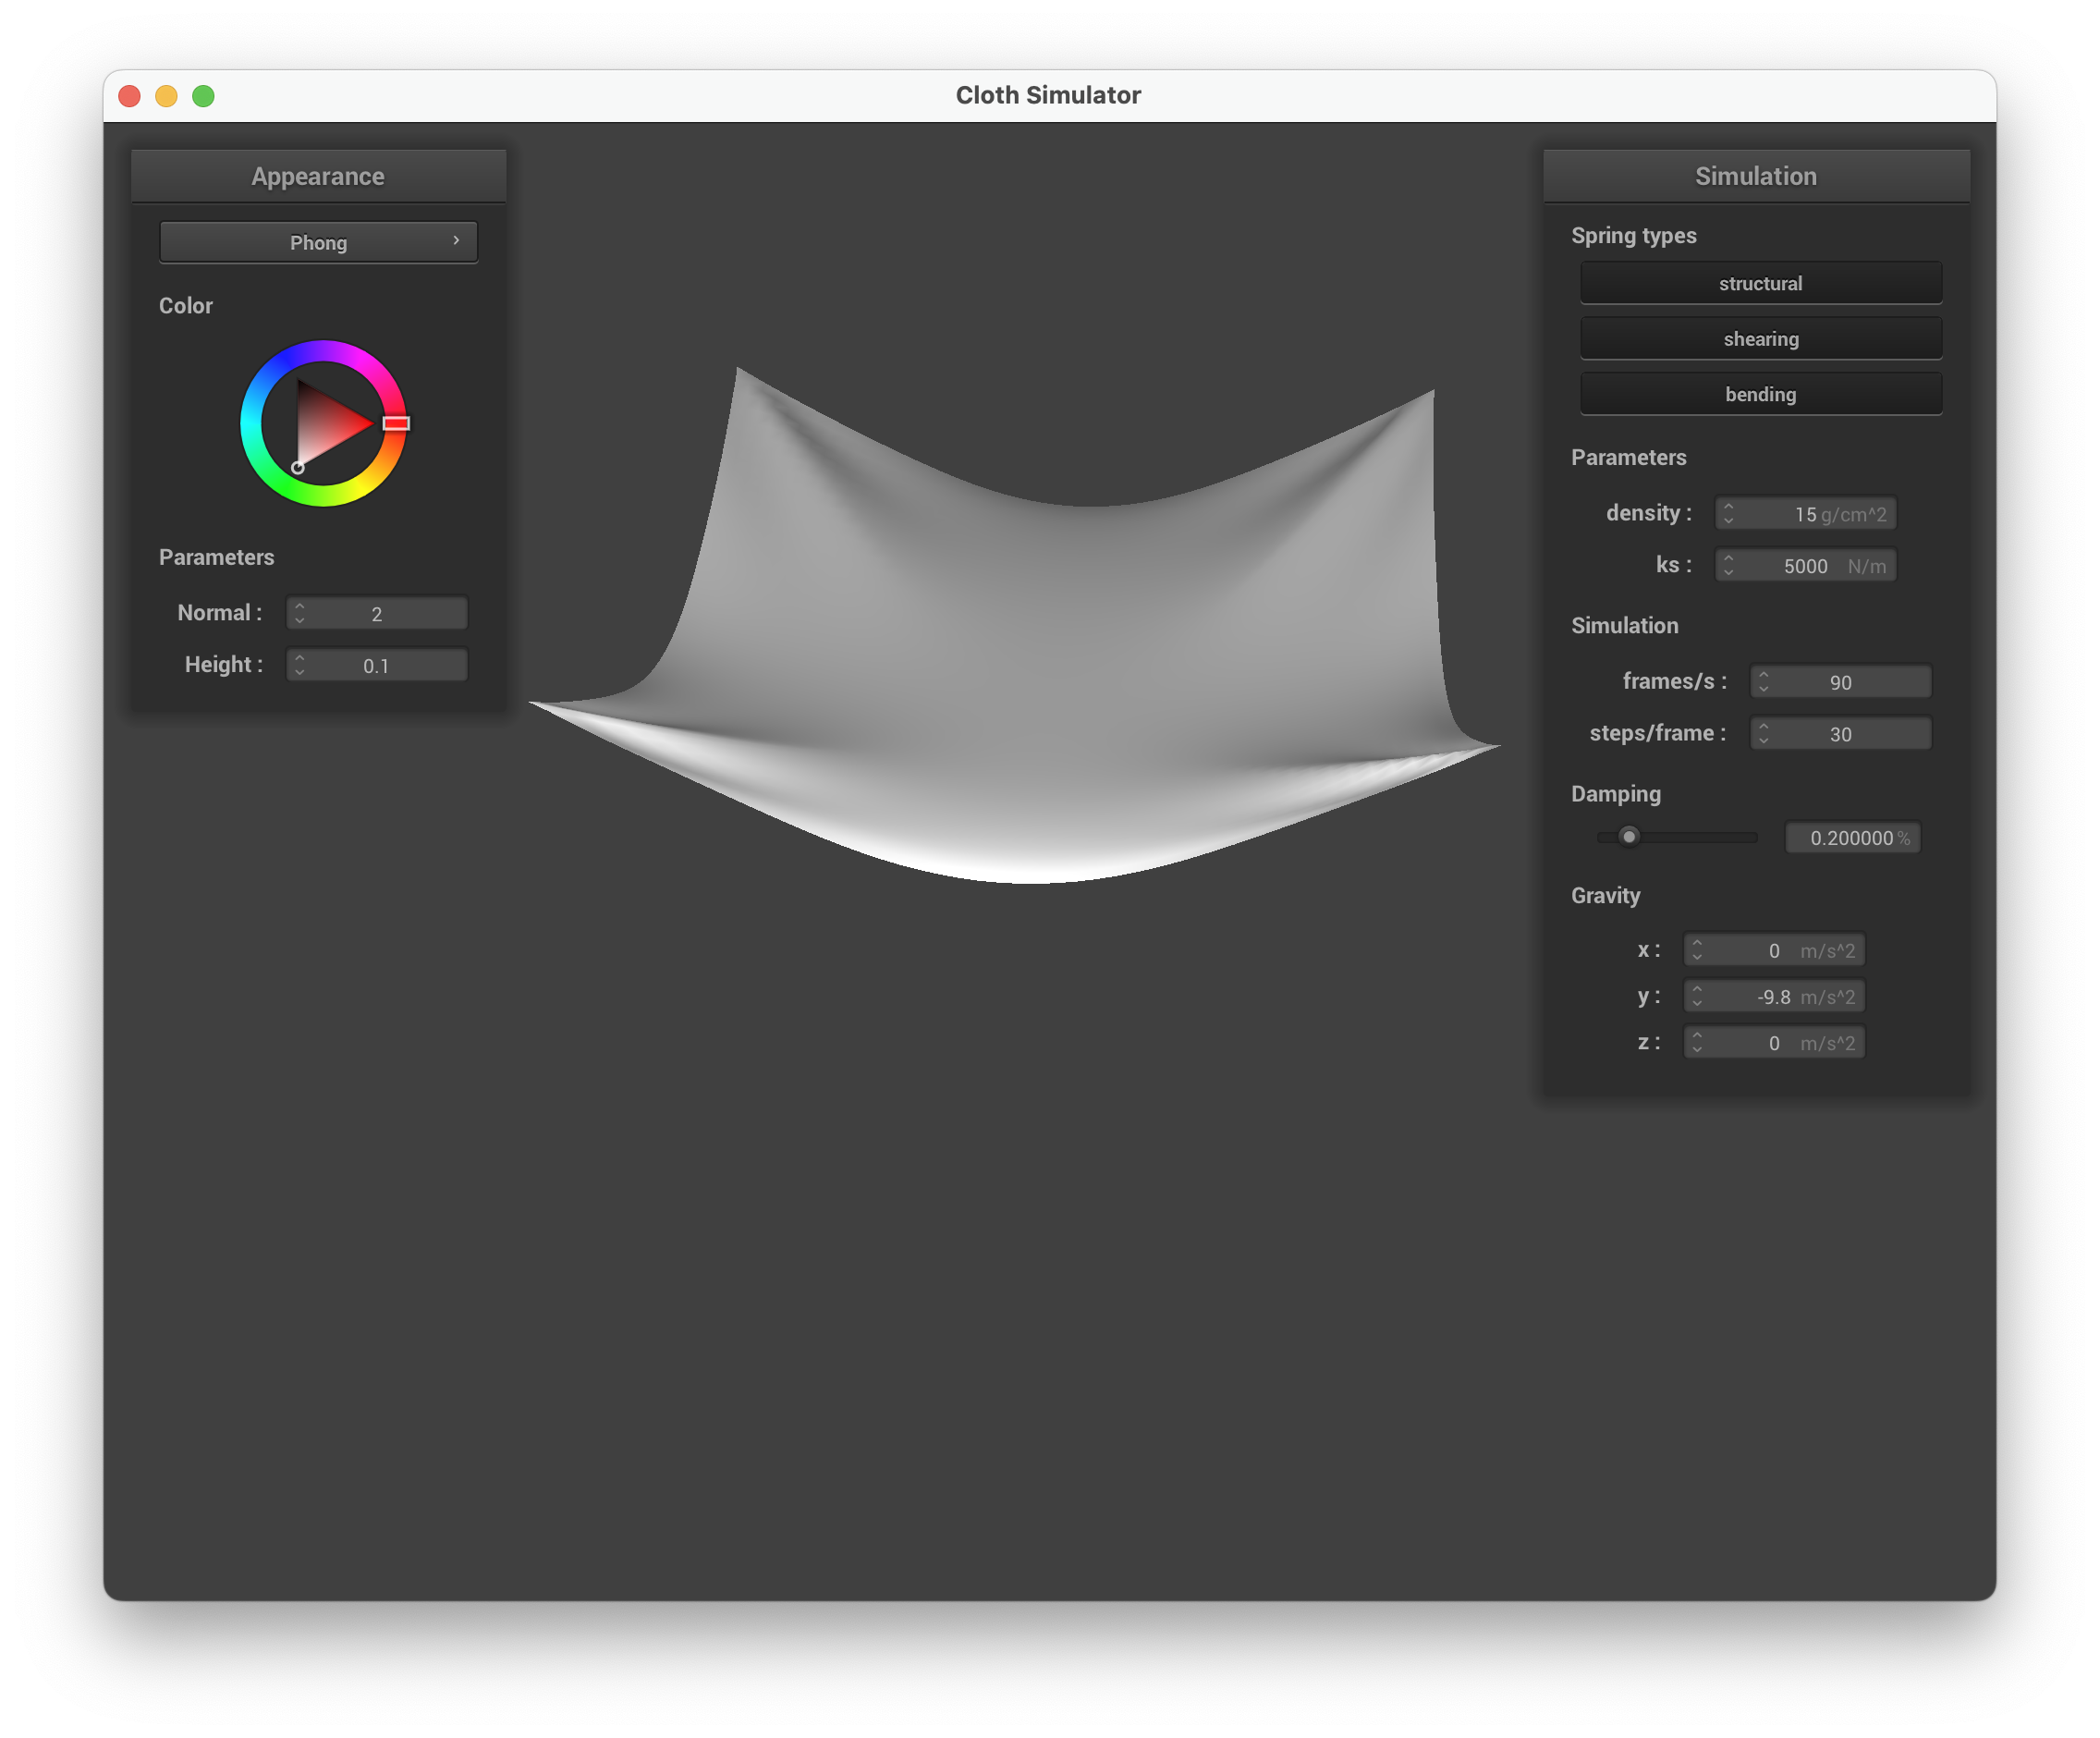
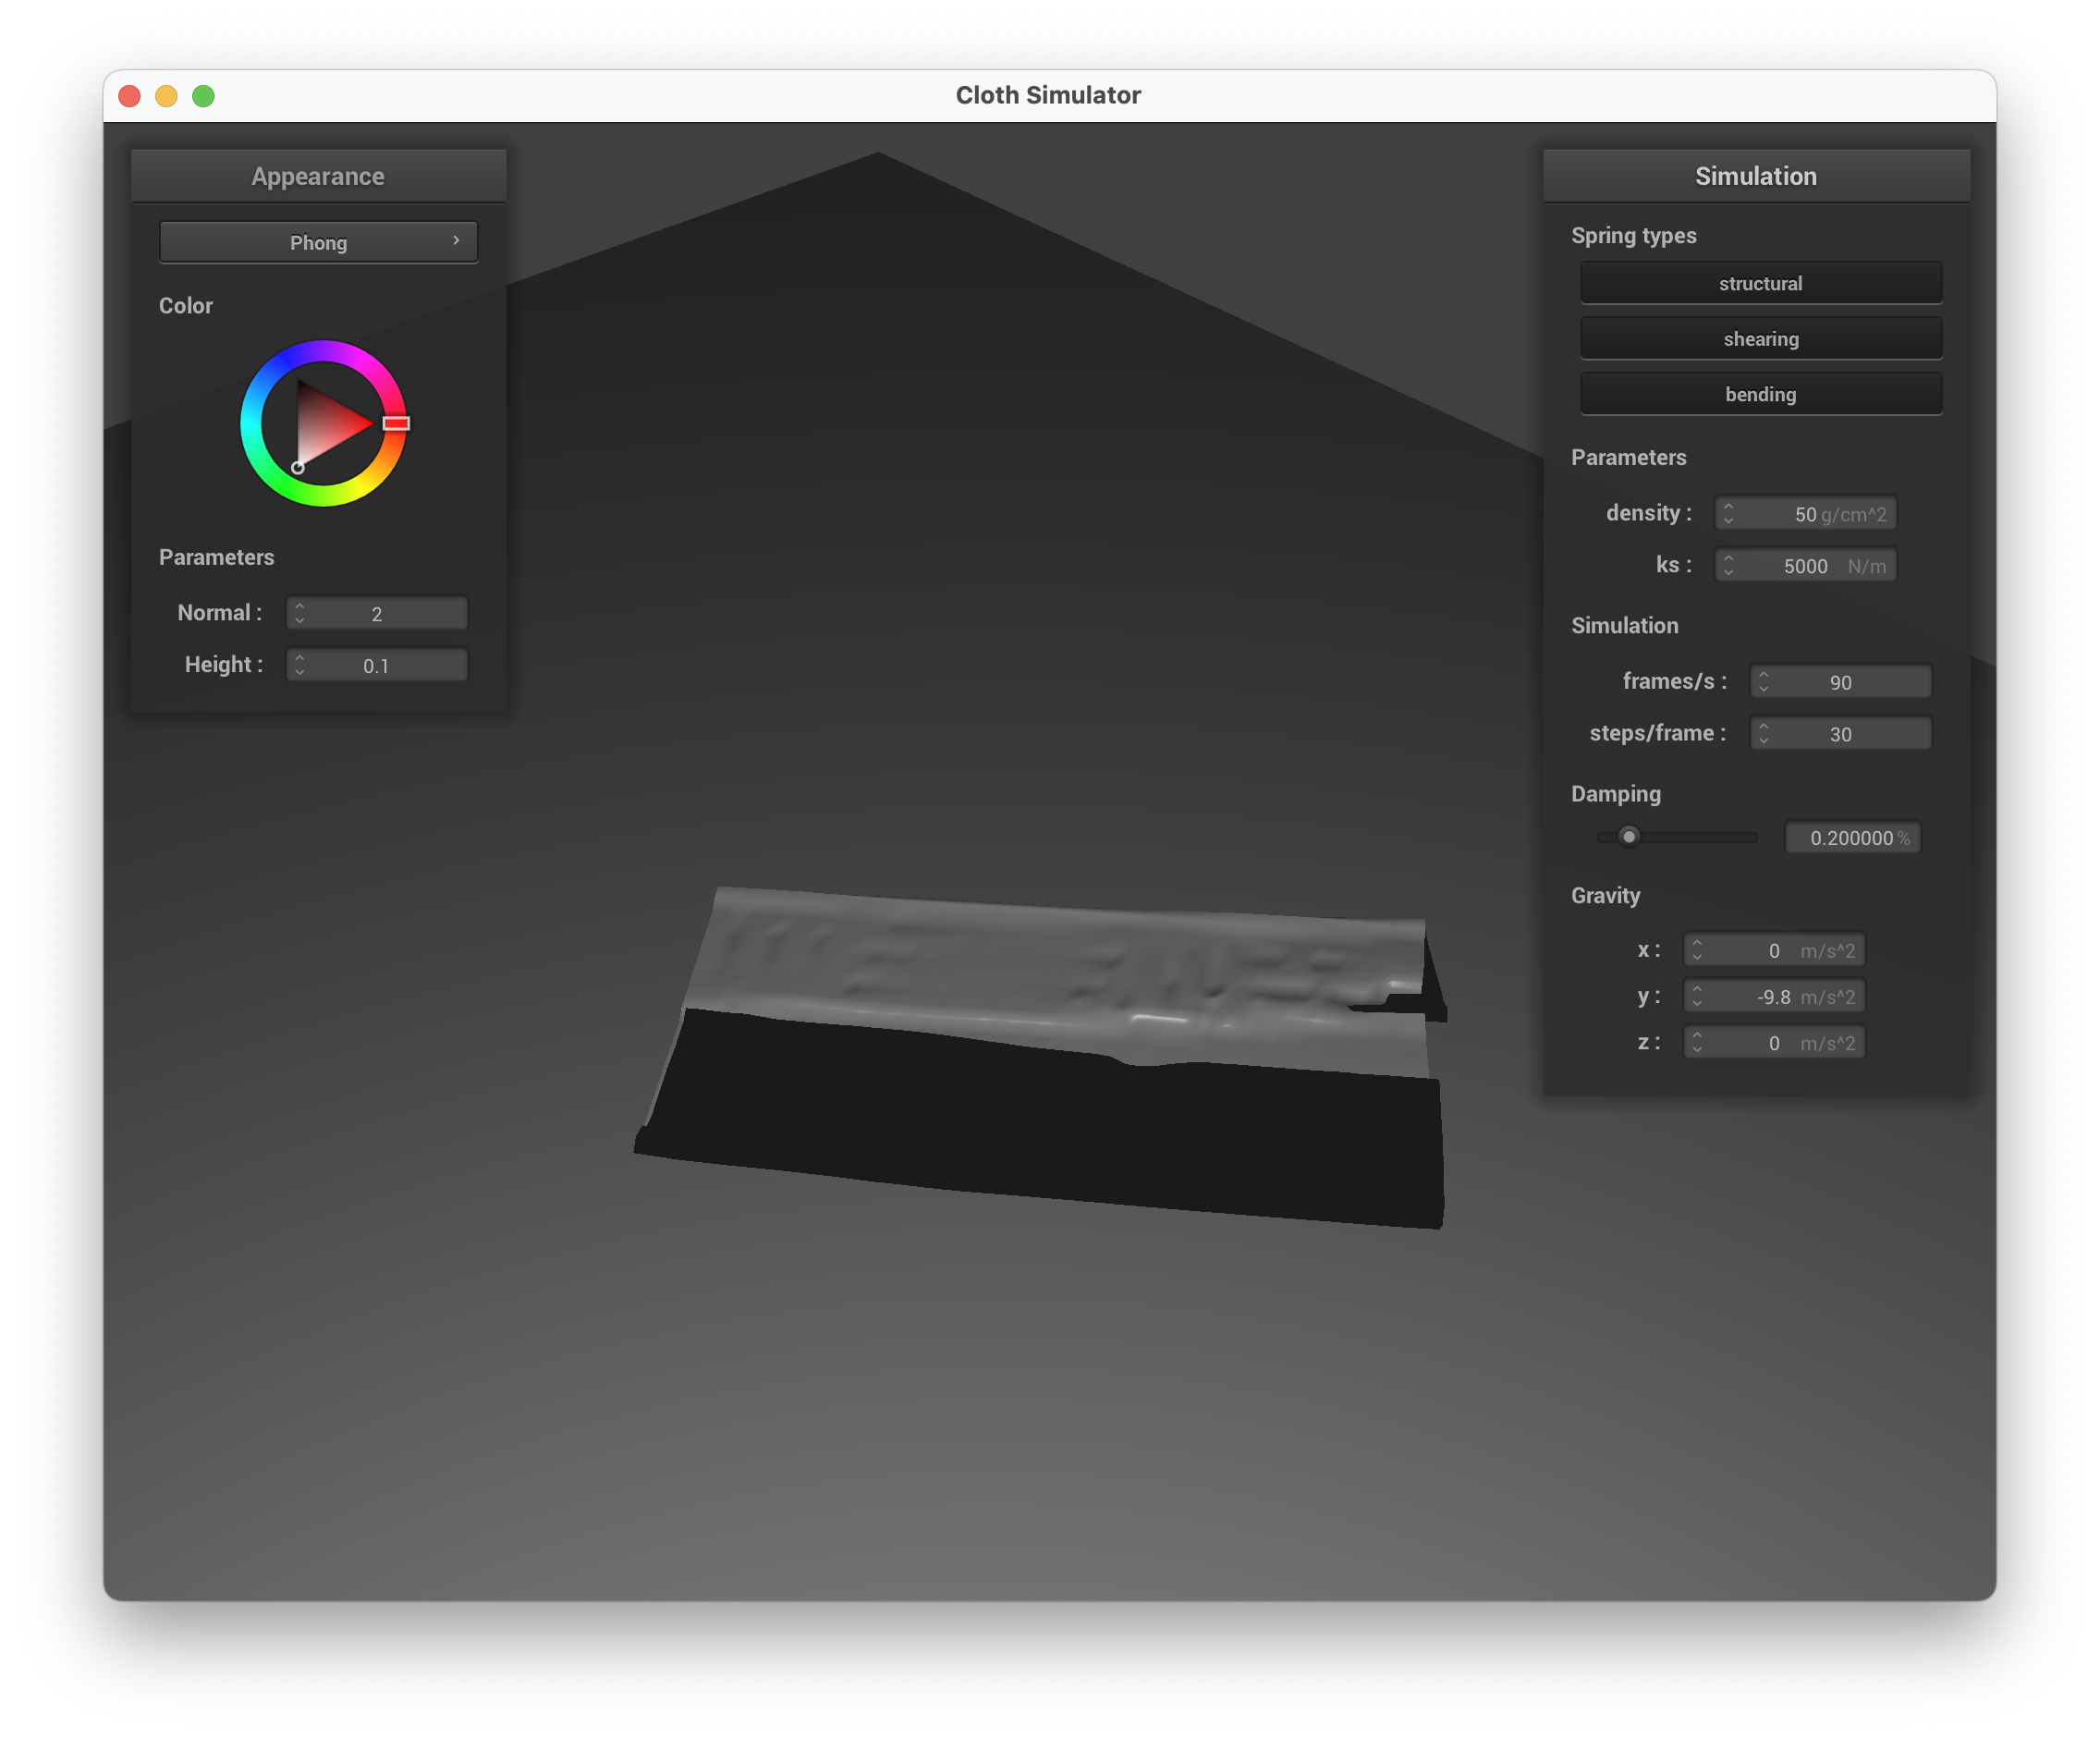
Effect of spring constant ks
| Low ks = 500 N/m | High ks = 50000 N/m |
|---|---|
 |
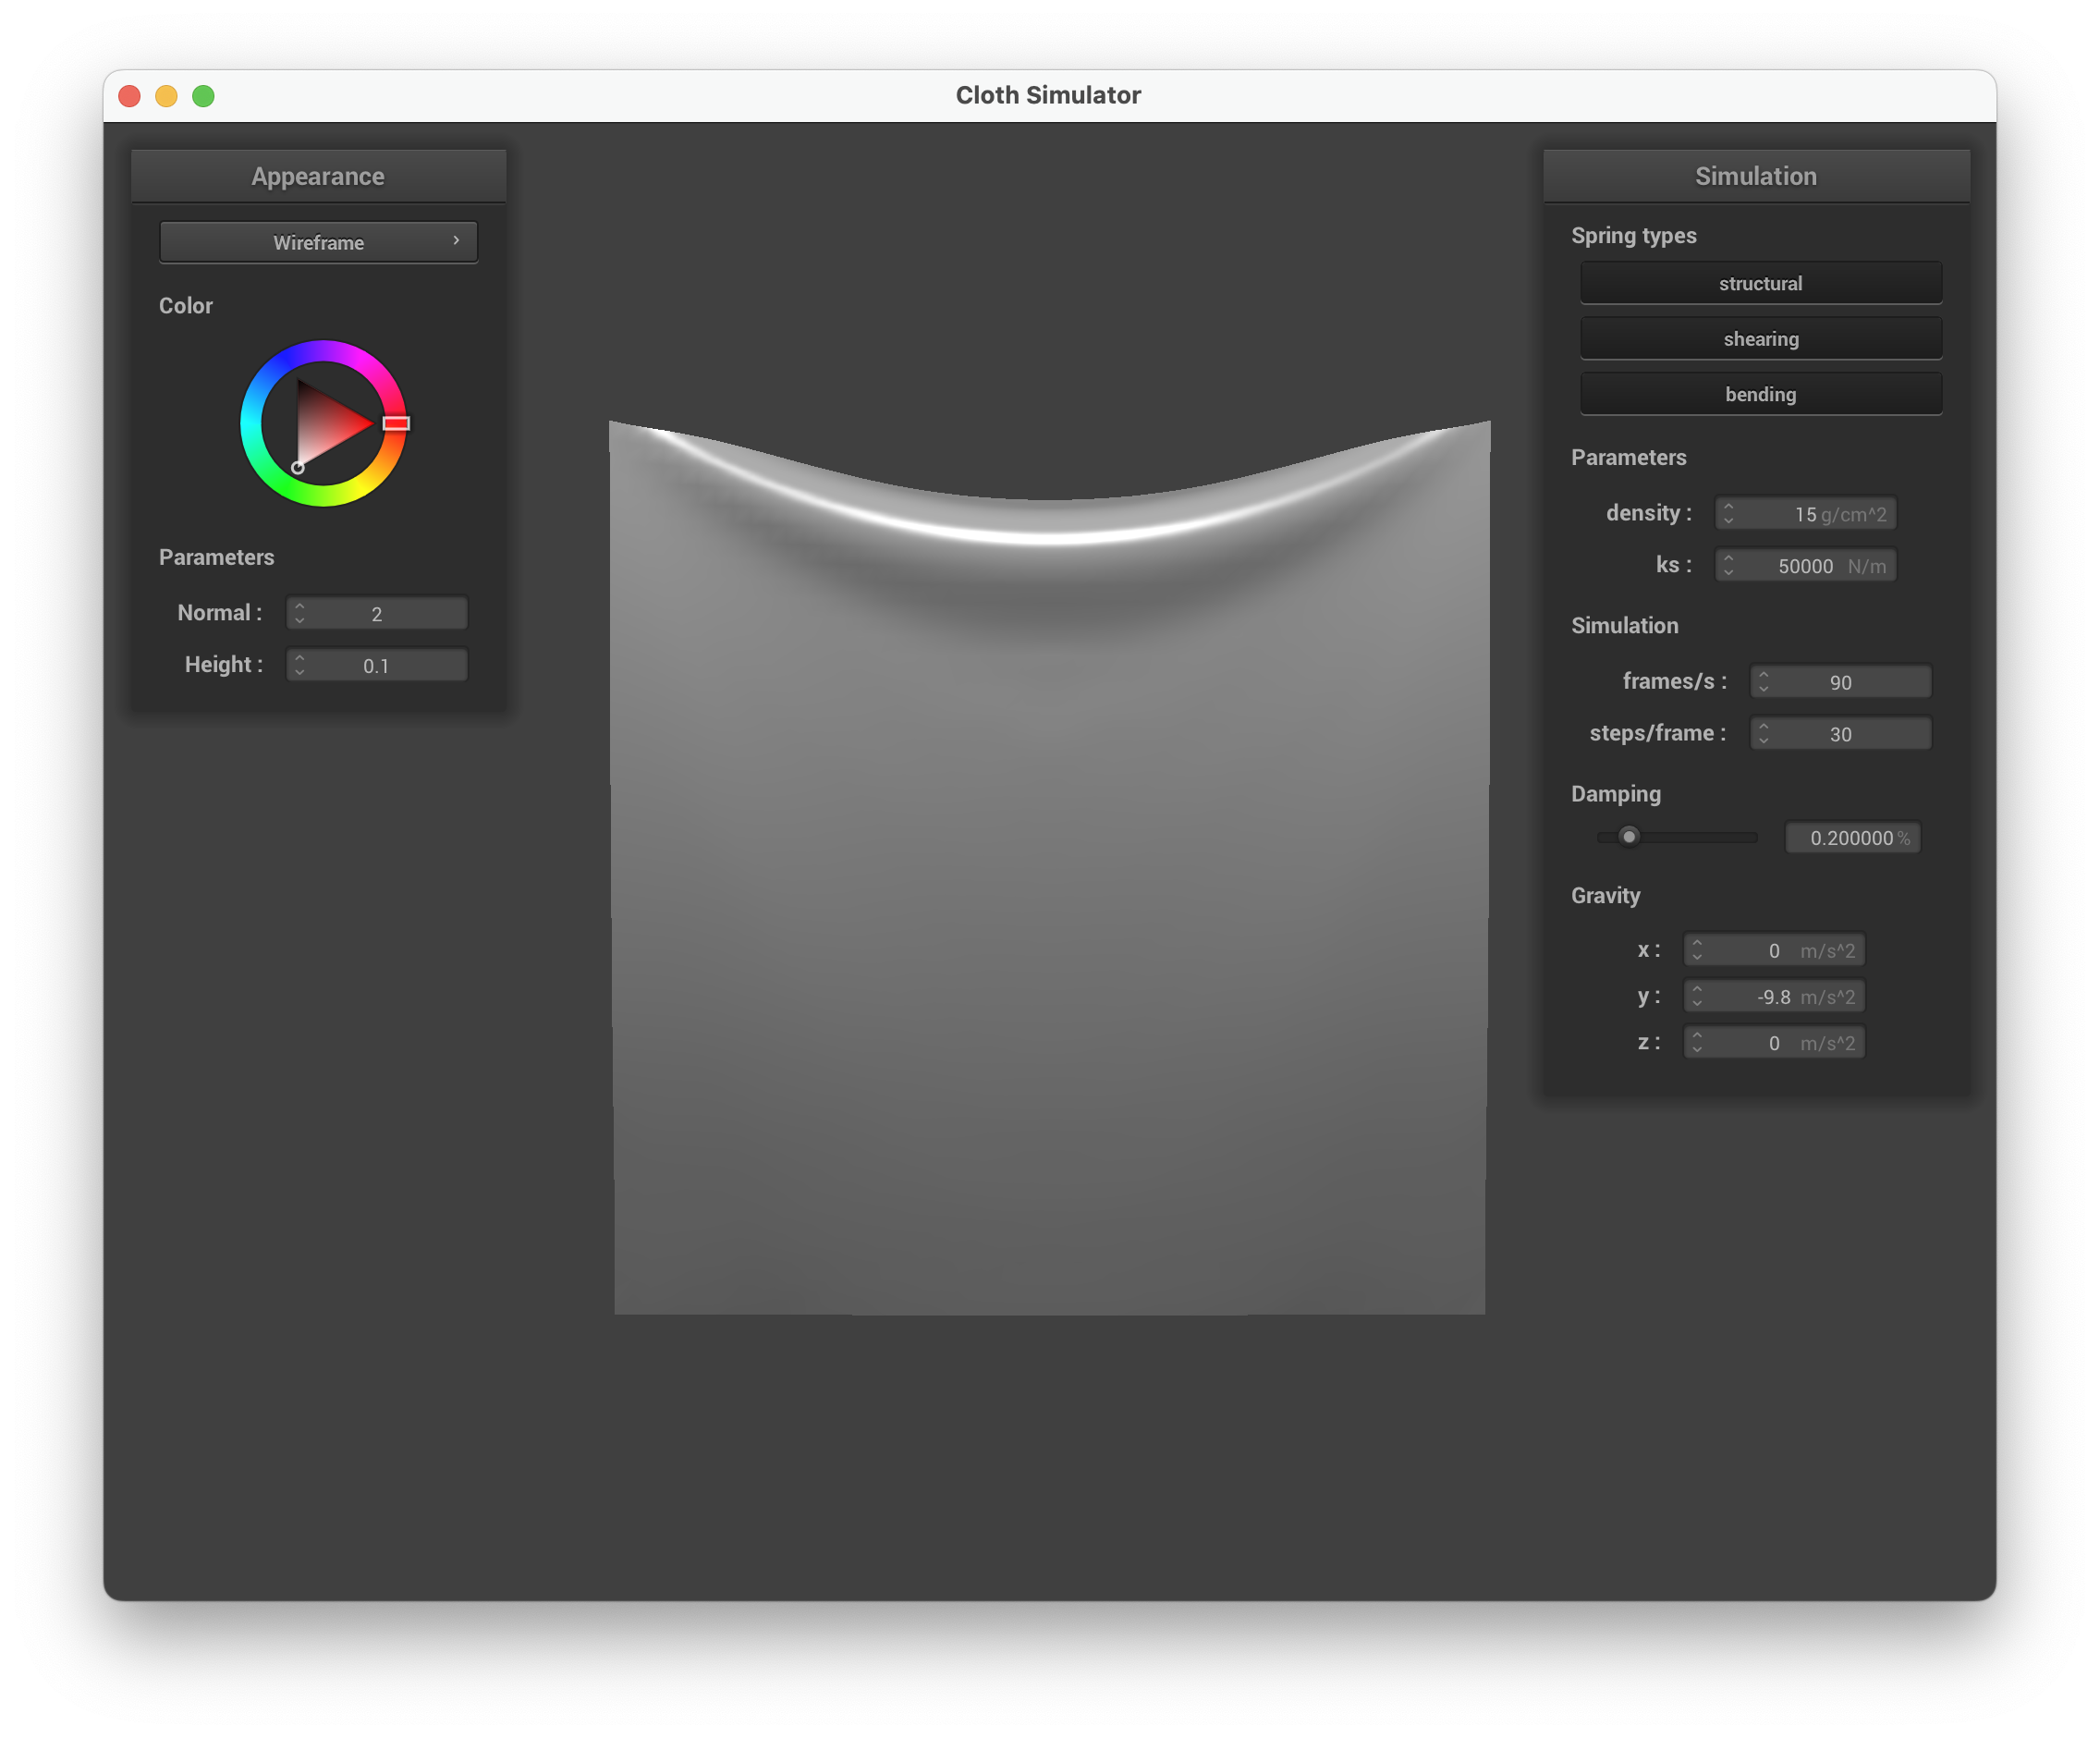 |
With a very low ks the cloth is extremely elastic — it sags deeply under gravity and ripples readily, like silk. With a high ks the cloth is stiff, holds its shape with minimal droop, and feels more like canvas or cardboard.
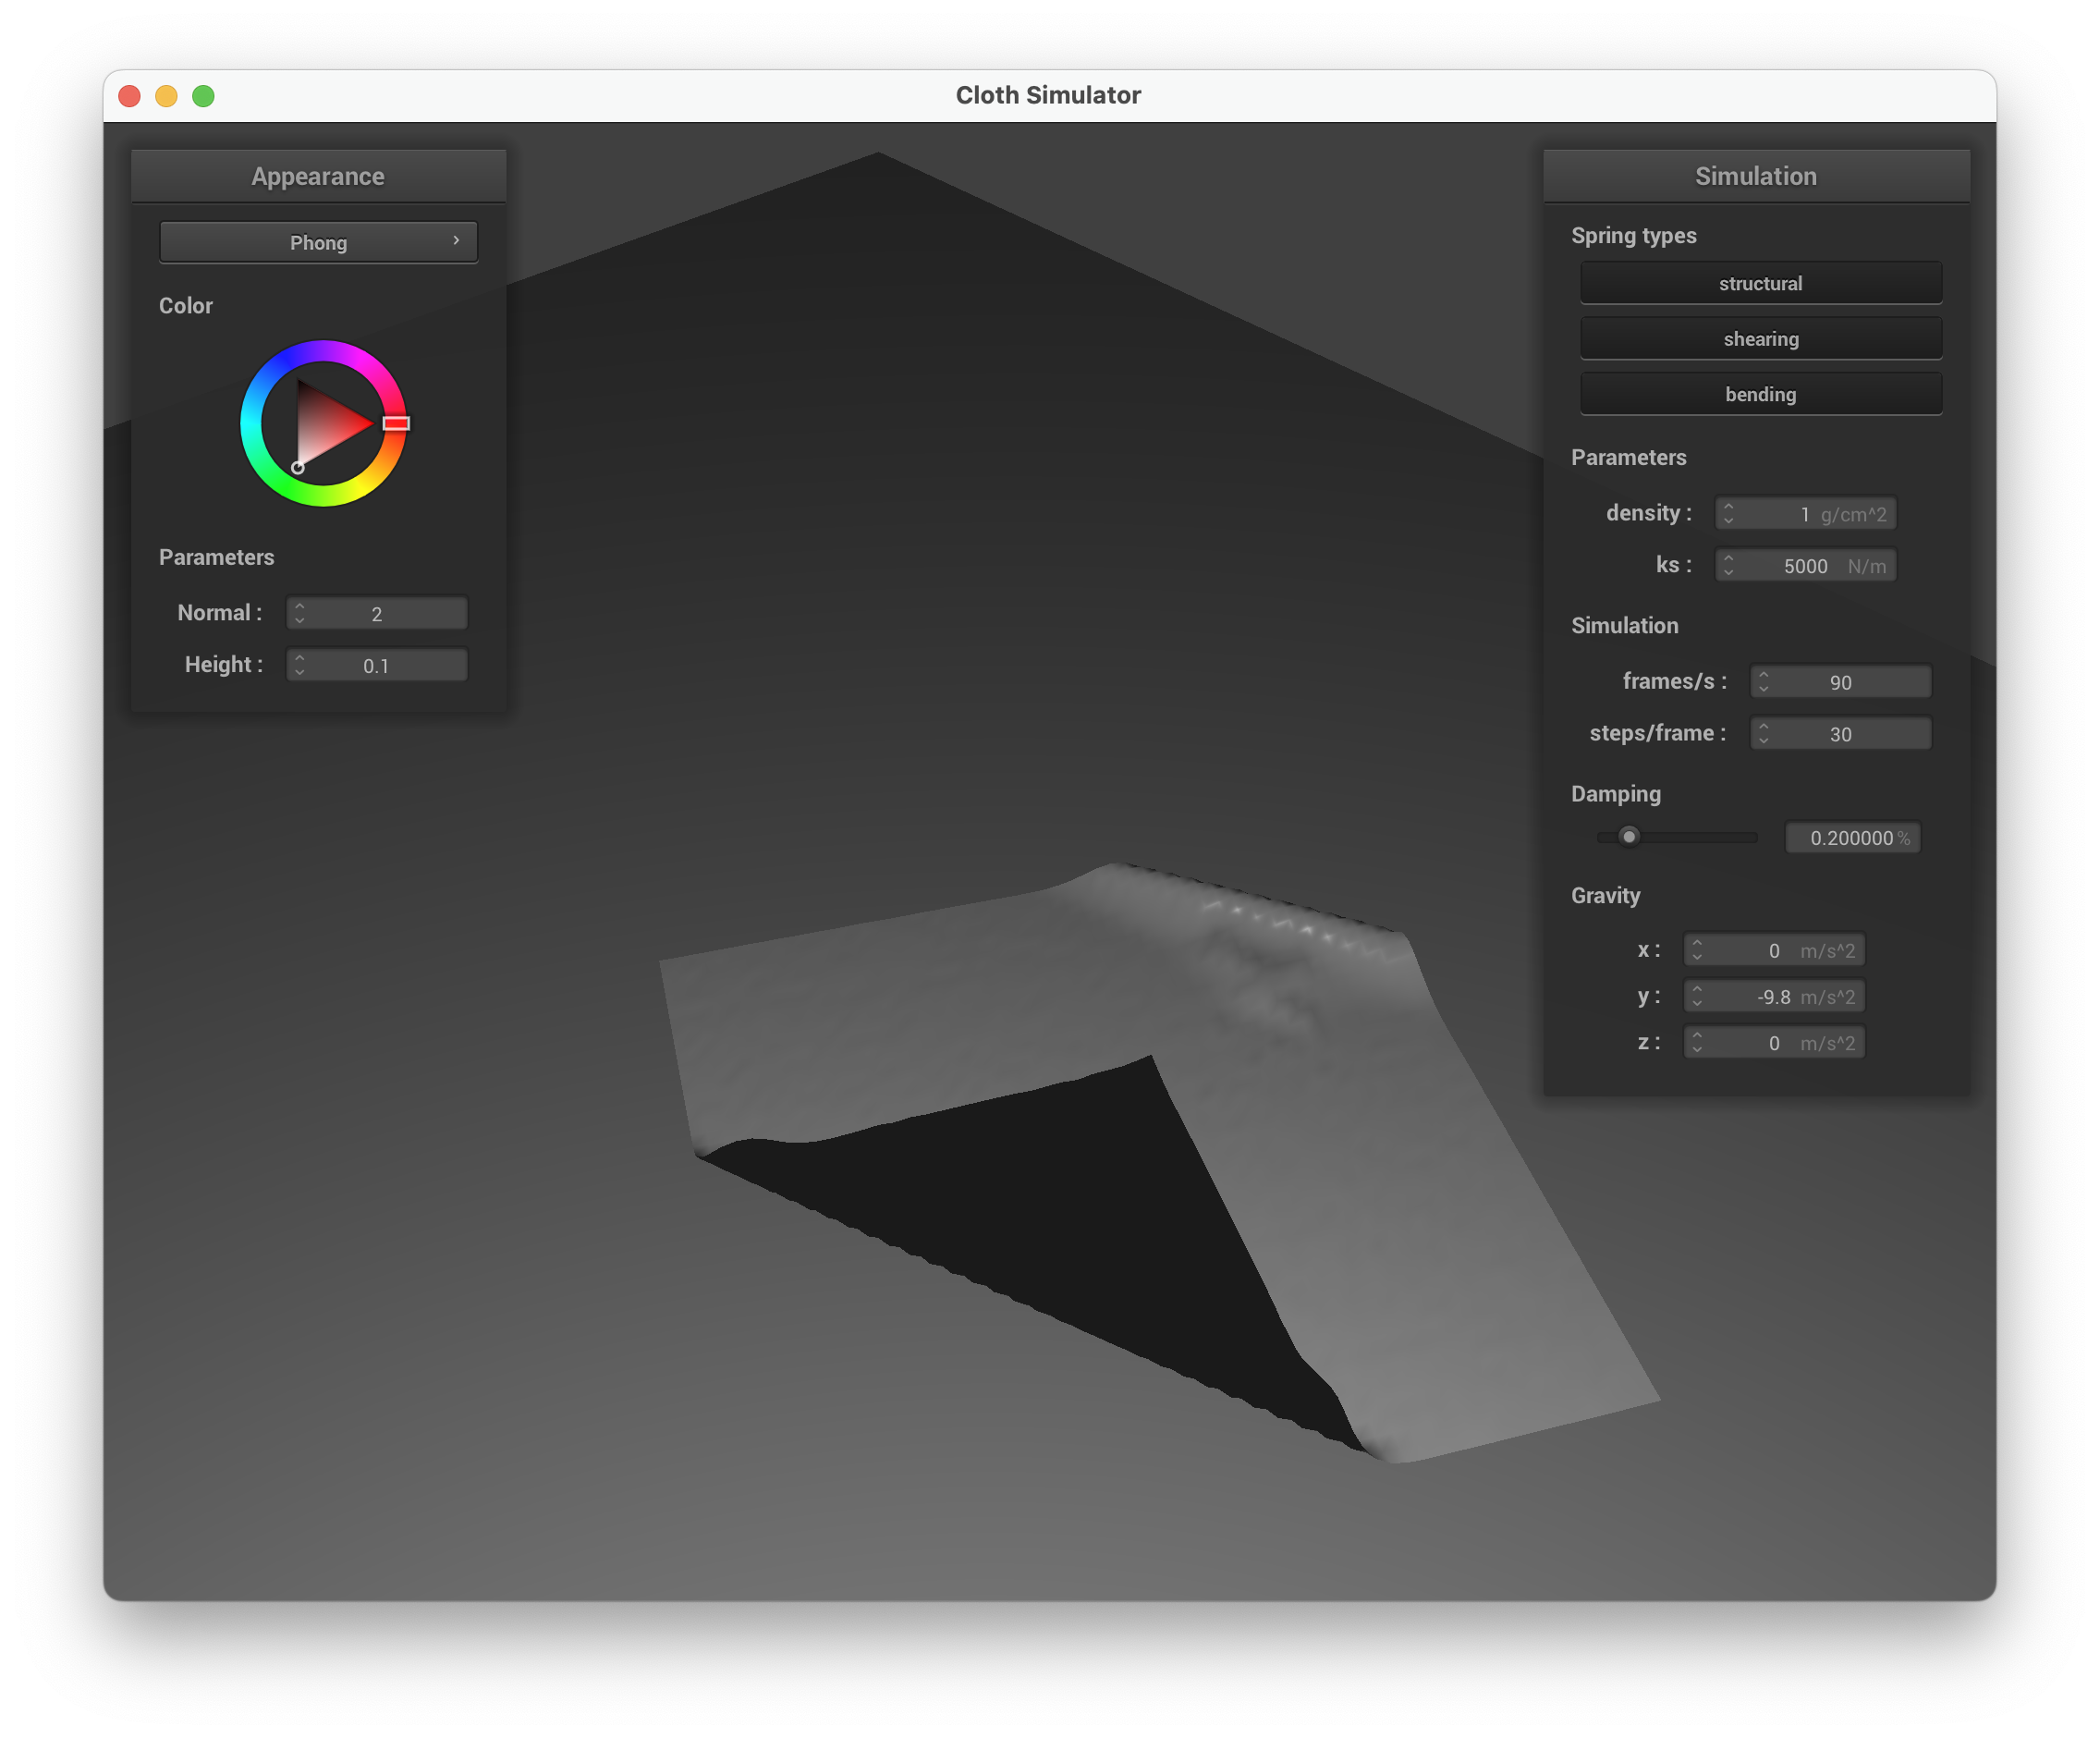
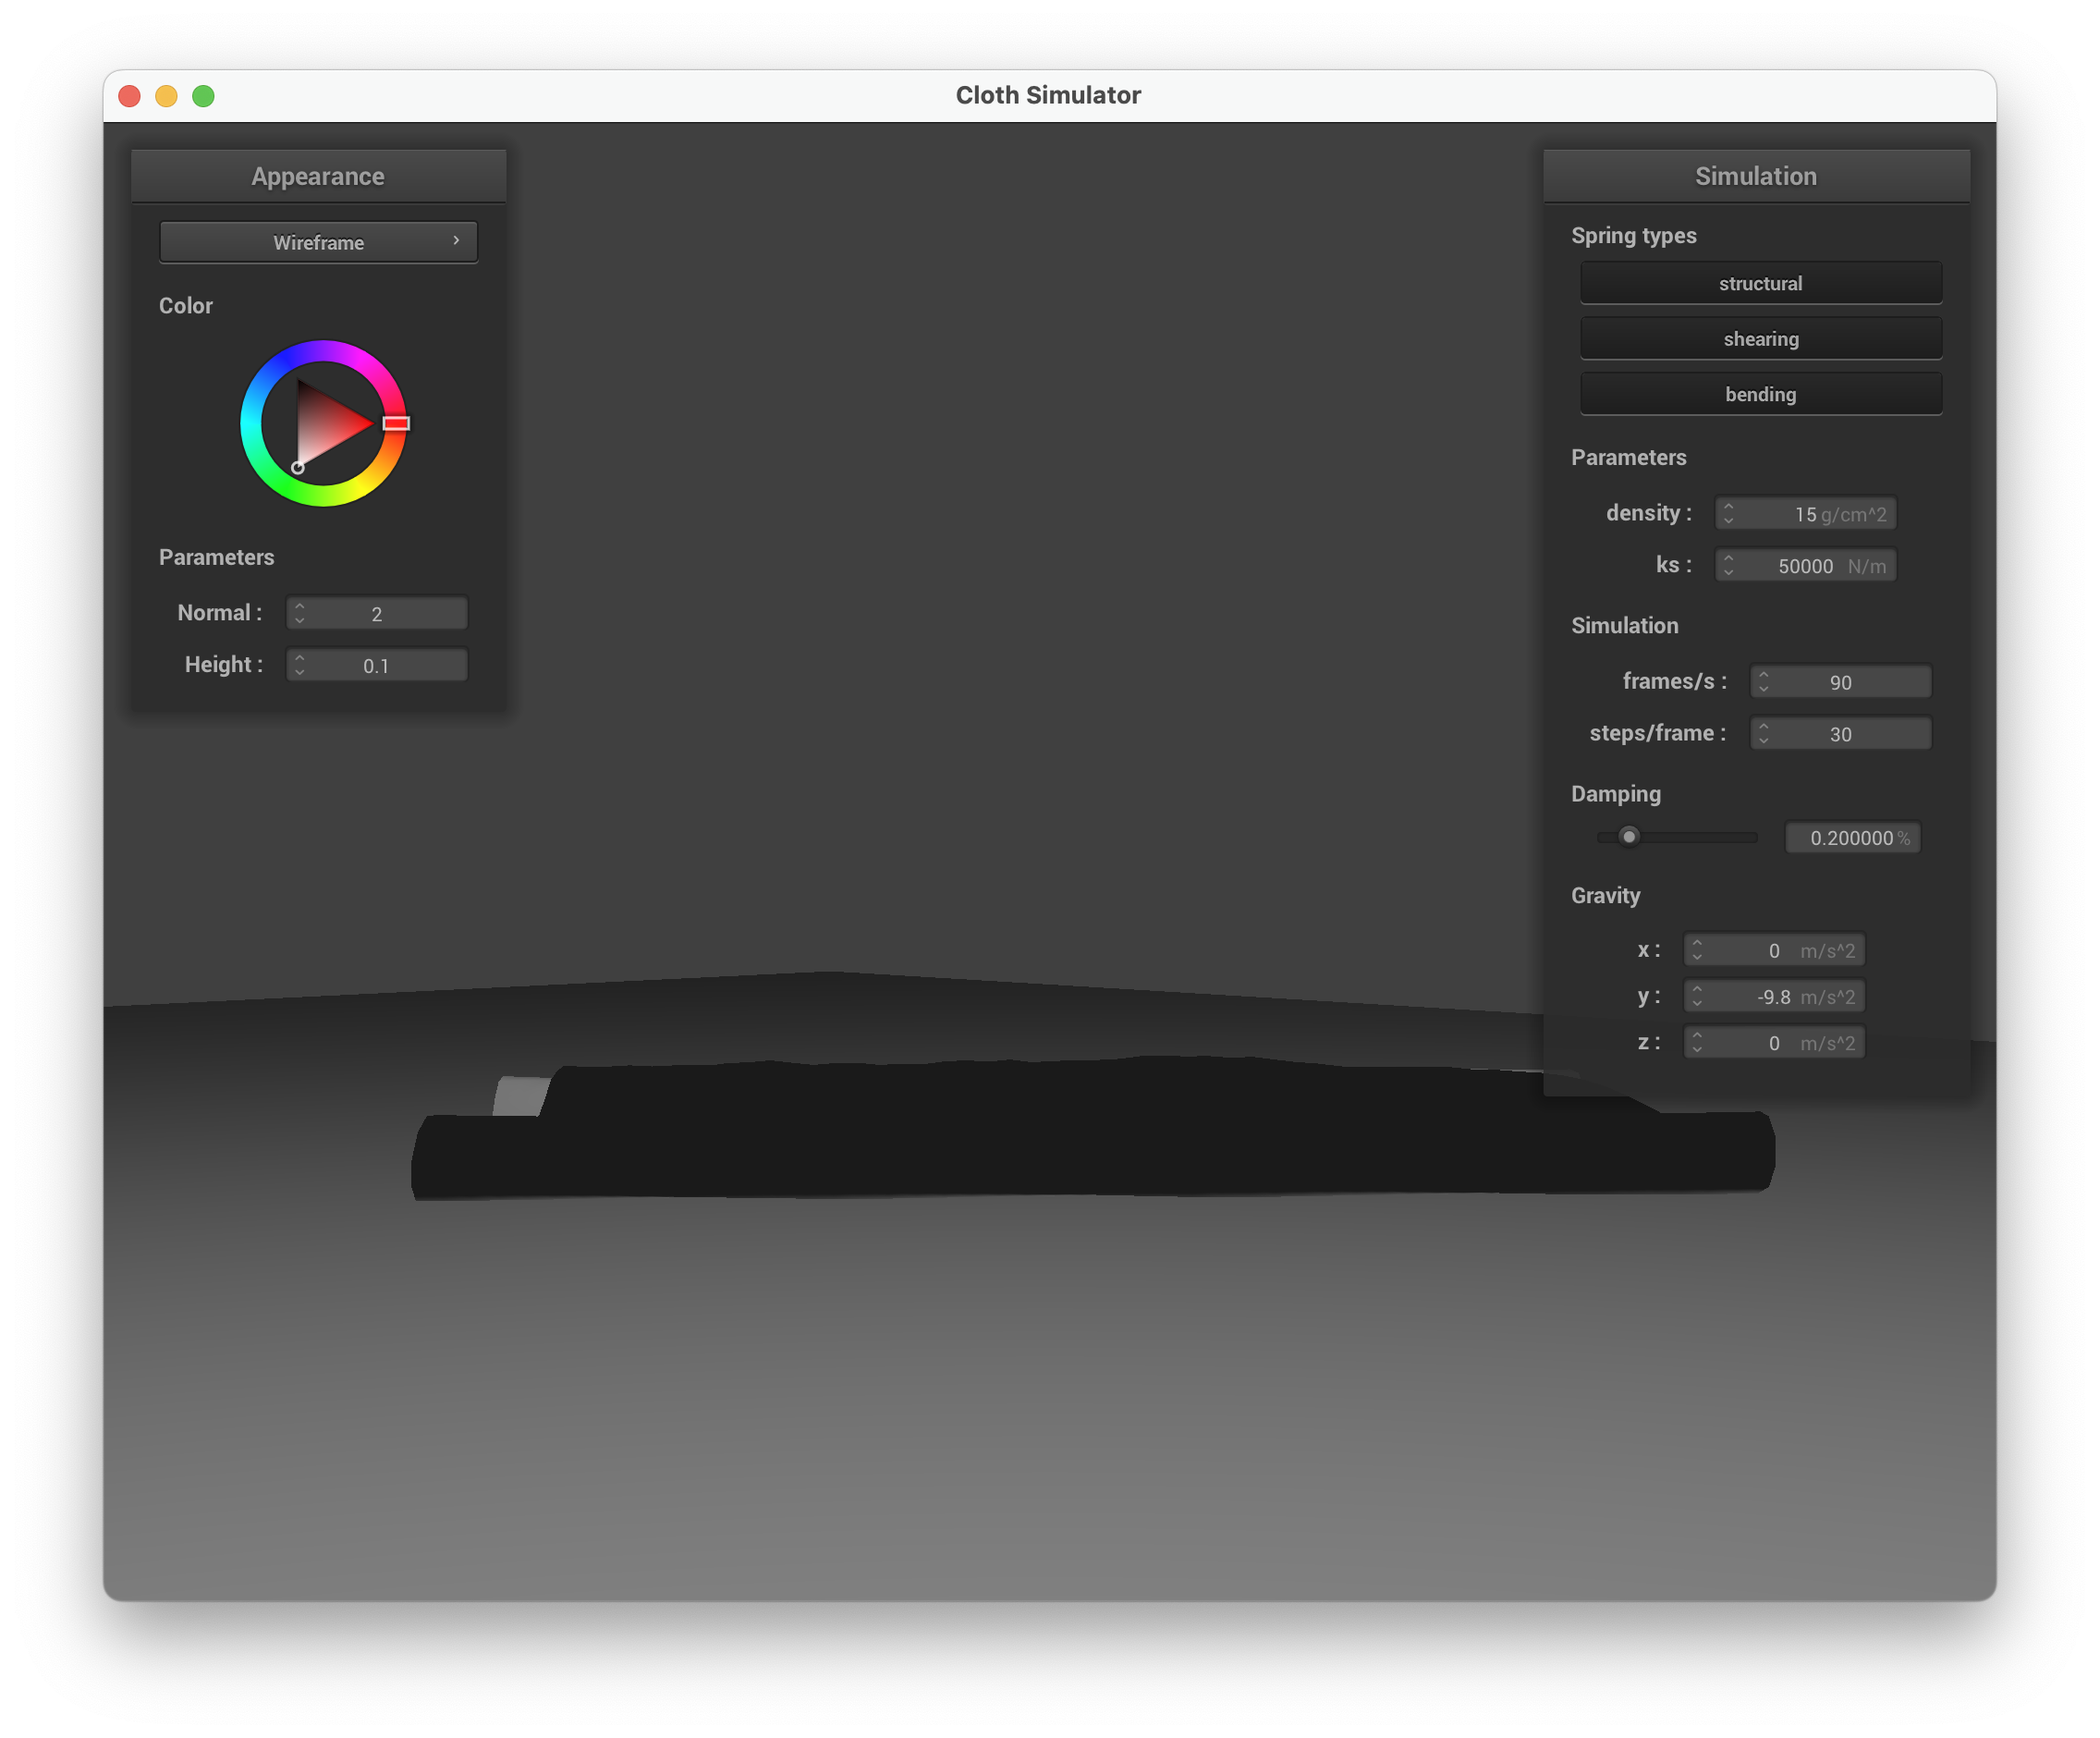
Effect of density
| Low density = 1 g/cm² | High density = 100 g/cm² |
|---|---|
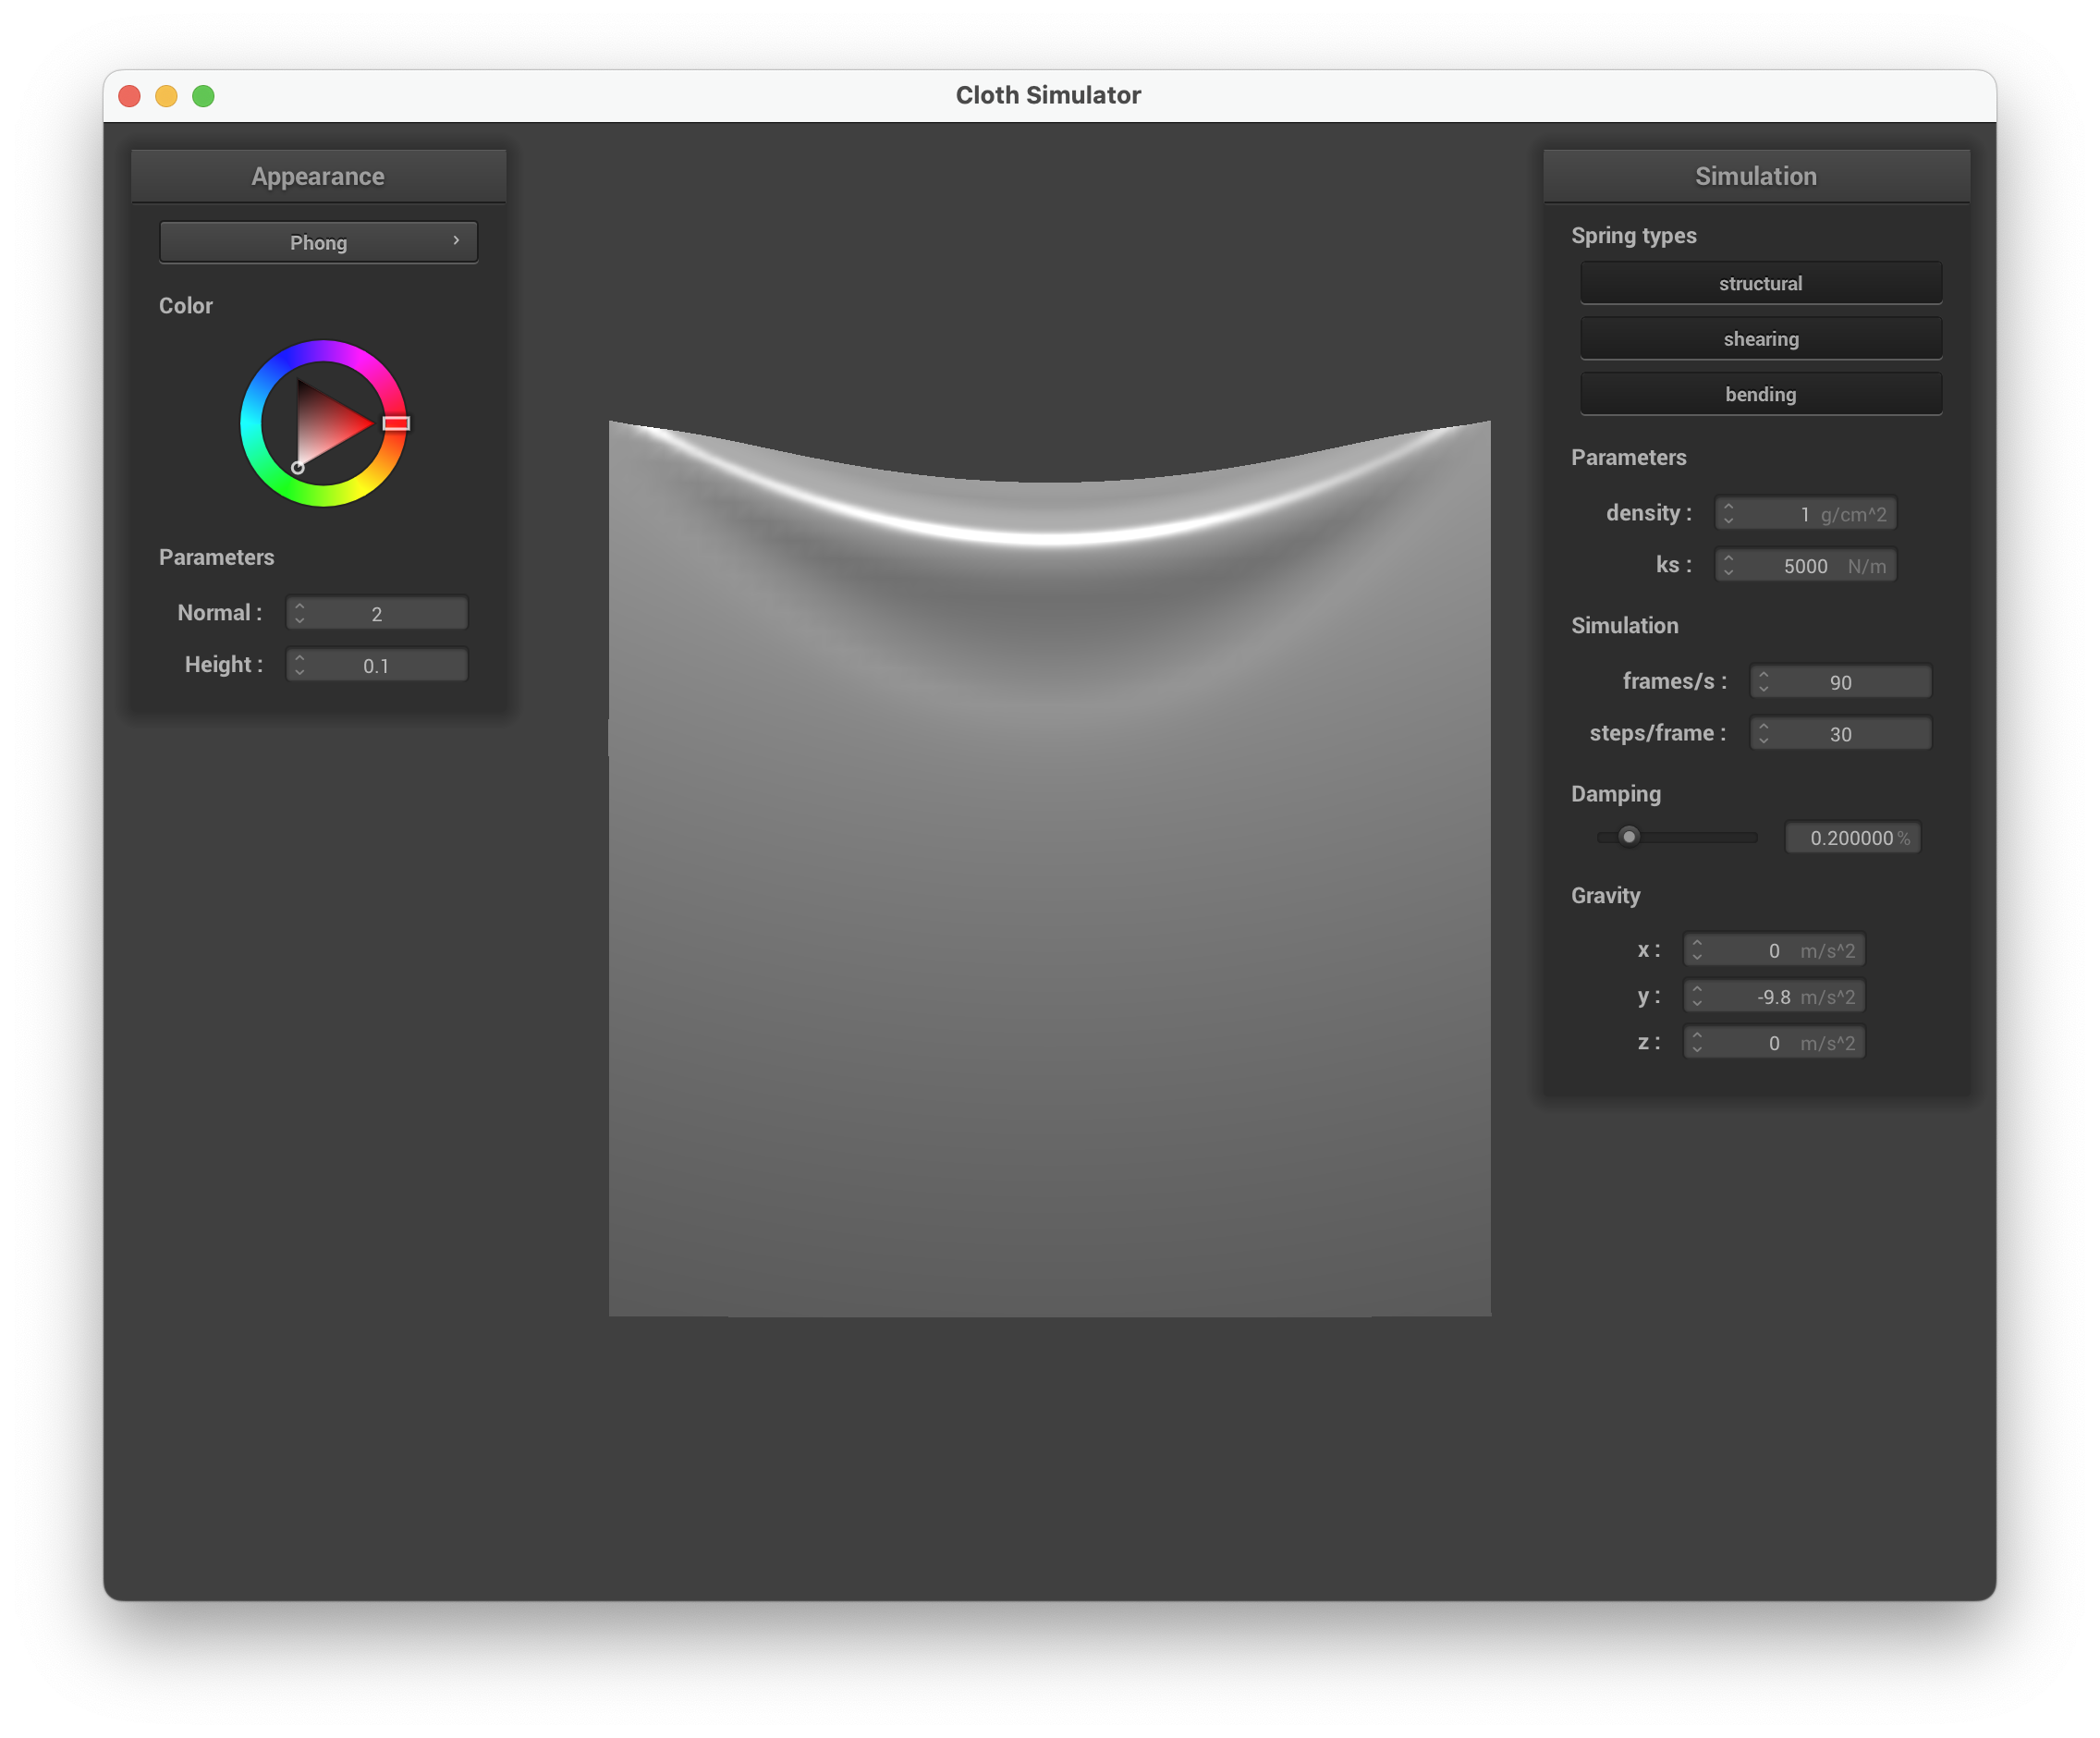 |
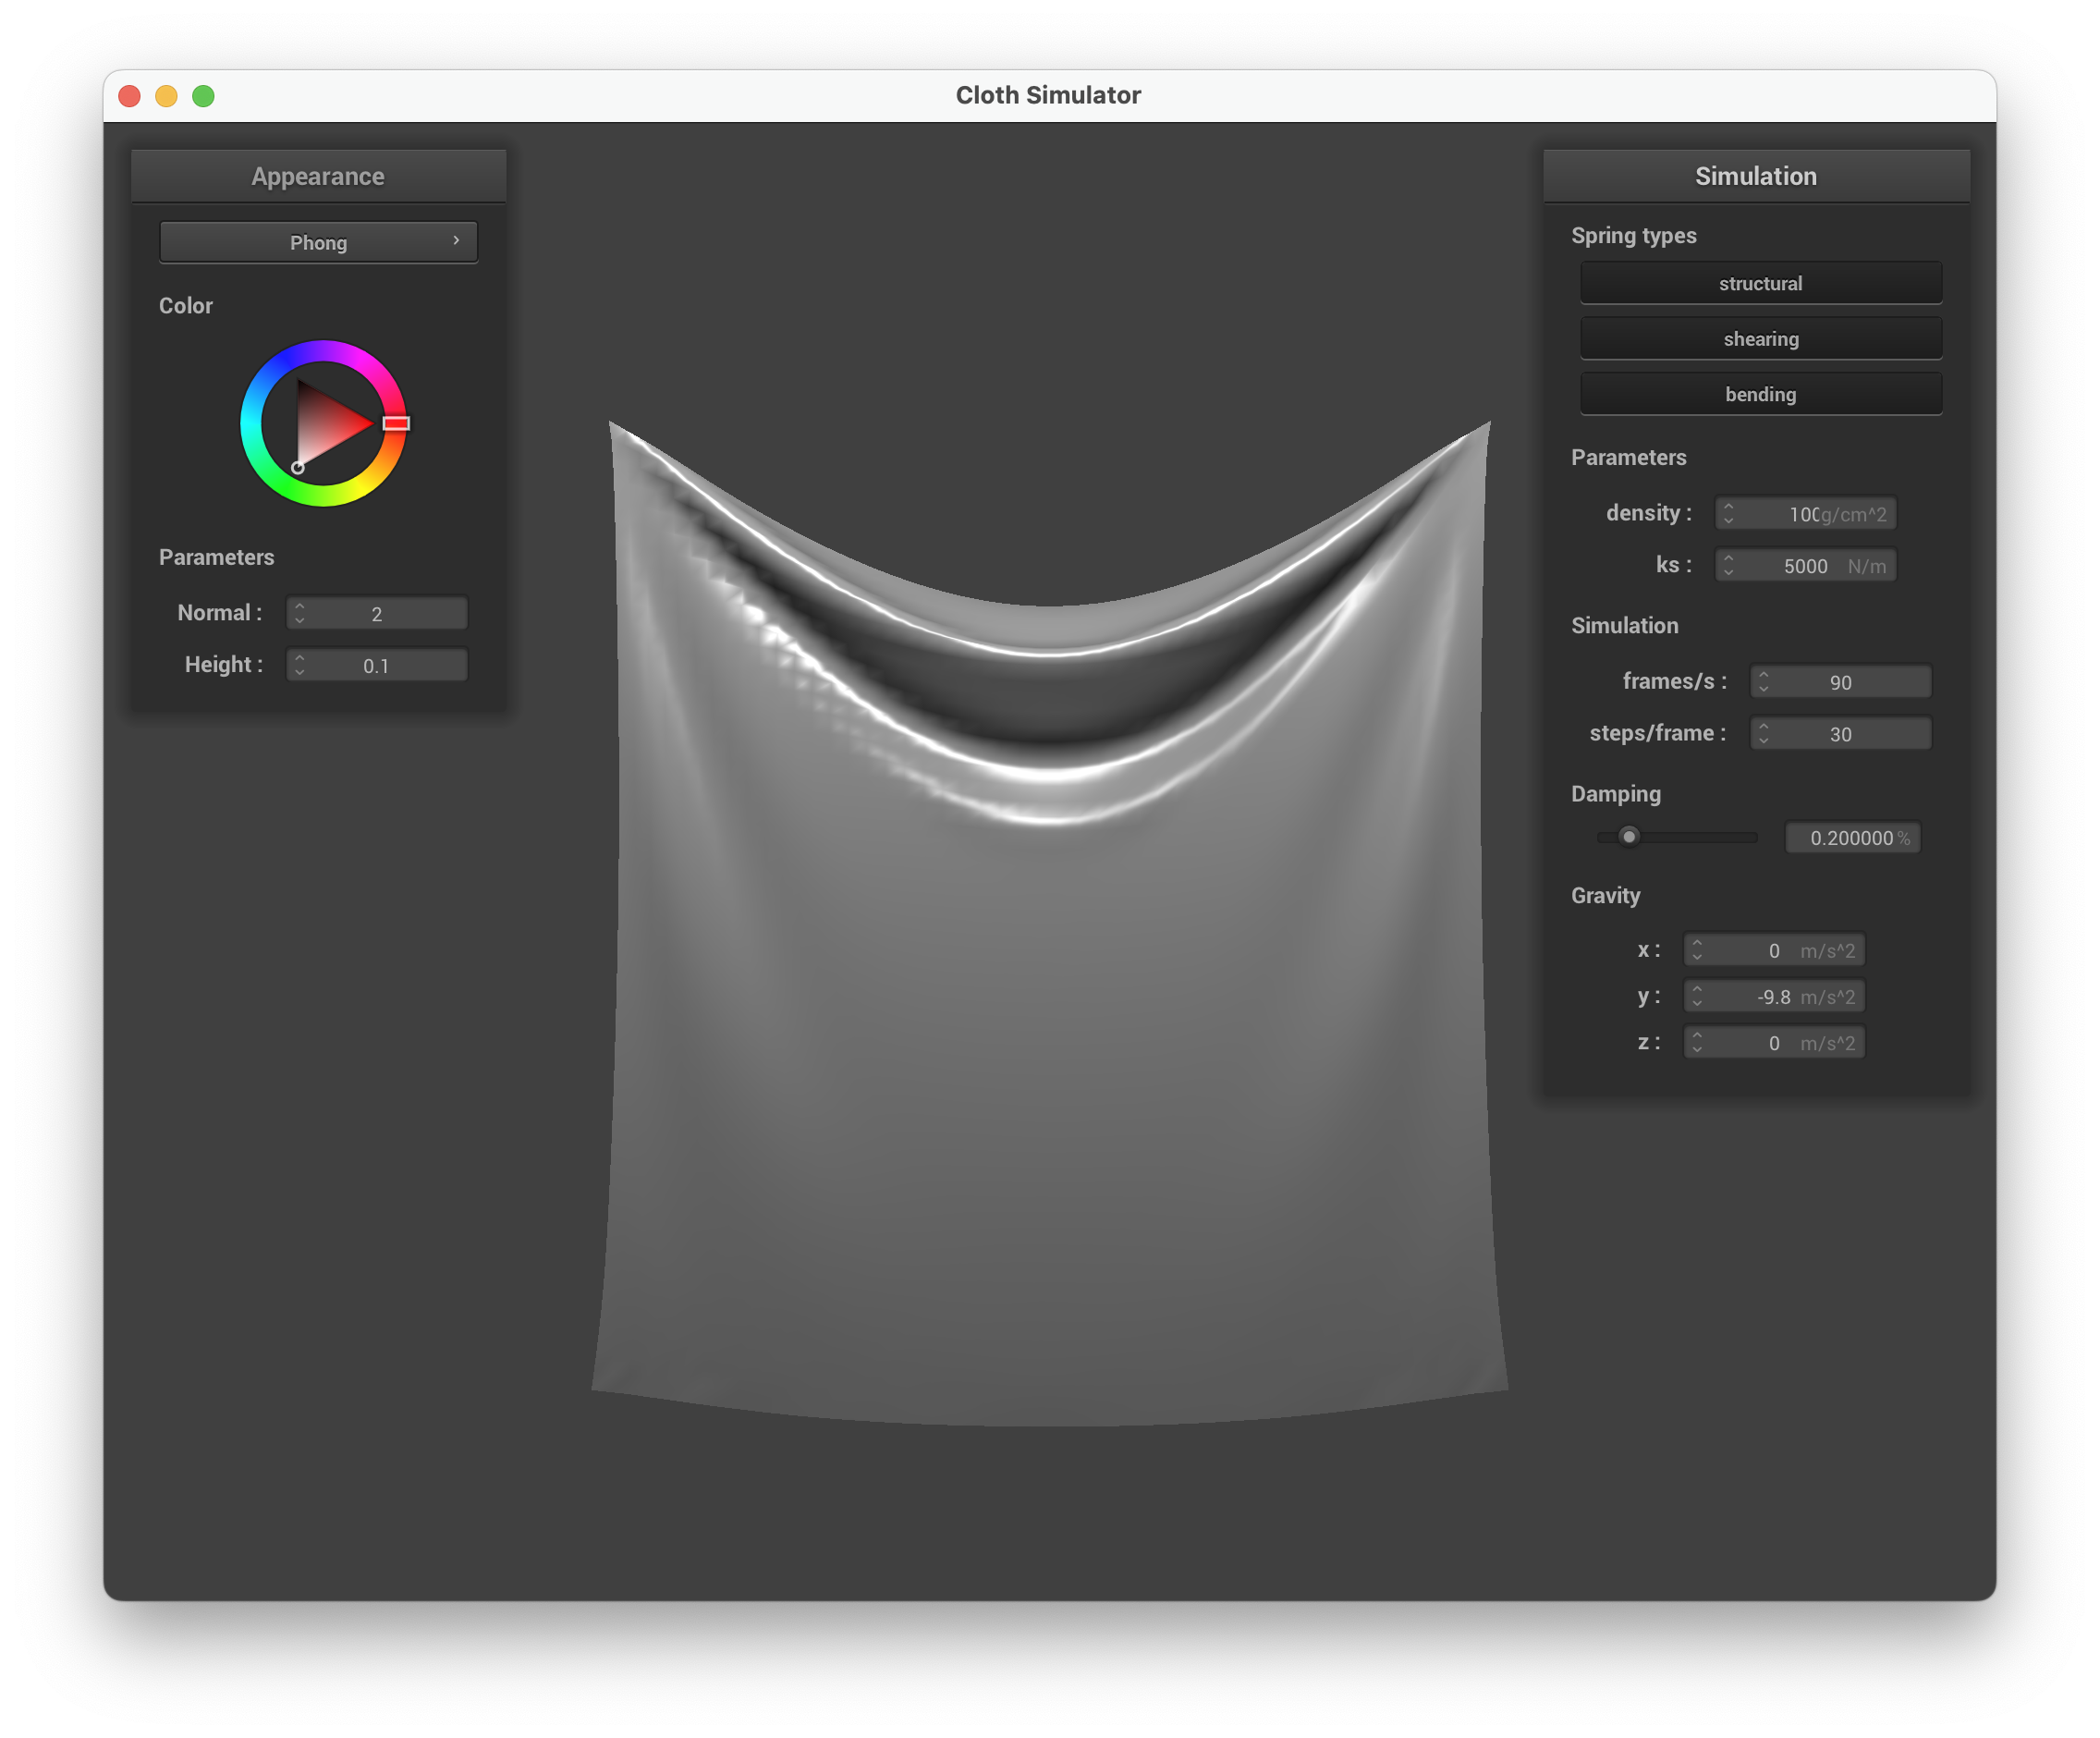 |
Low density makes the cloth very light — it barely sags and hovers almost flat between the two pinned corners. High density increases the gravitational pull per mass, causing the cloth to droop heavily with a deep parabolic sag, similar to the effect of lowering ks.
Effect of damping
| Low damping ≈ 0.05% | High damping ≈ 0.8% |
|---|---|
 |
 |
Low damping causes the cloth to oscillate back and forth for a long time before coming to rest — it swings past the equilibrium point repeatedly. High damping makes the cloth fall slowly and smoothly without overshooting, converging to rest position quickly as if moving through thick fluid.
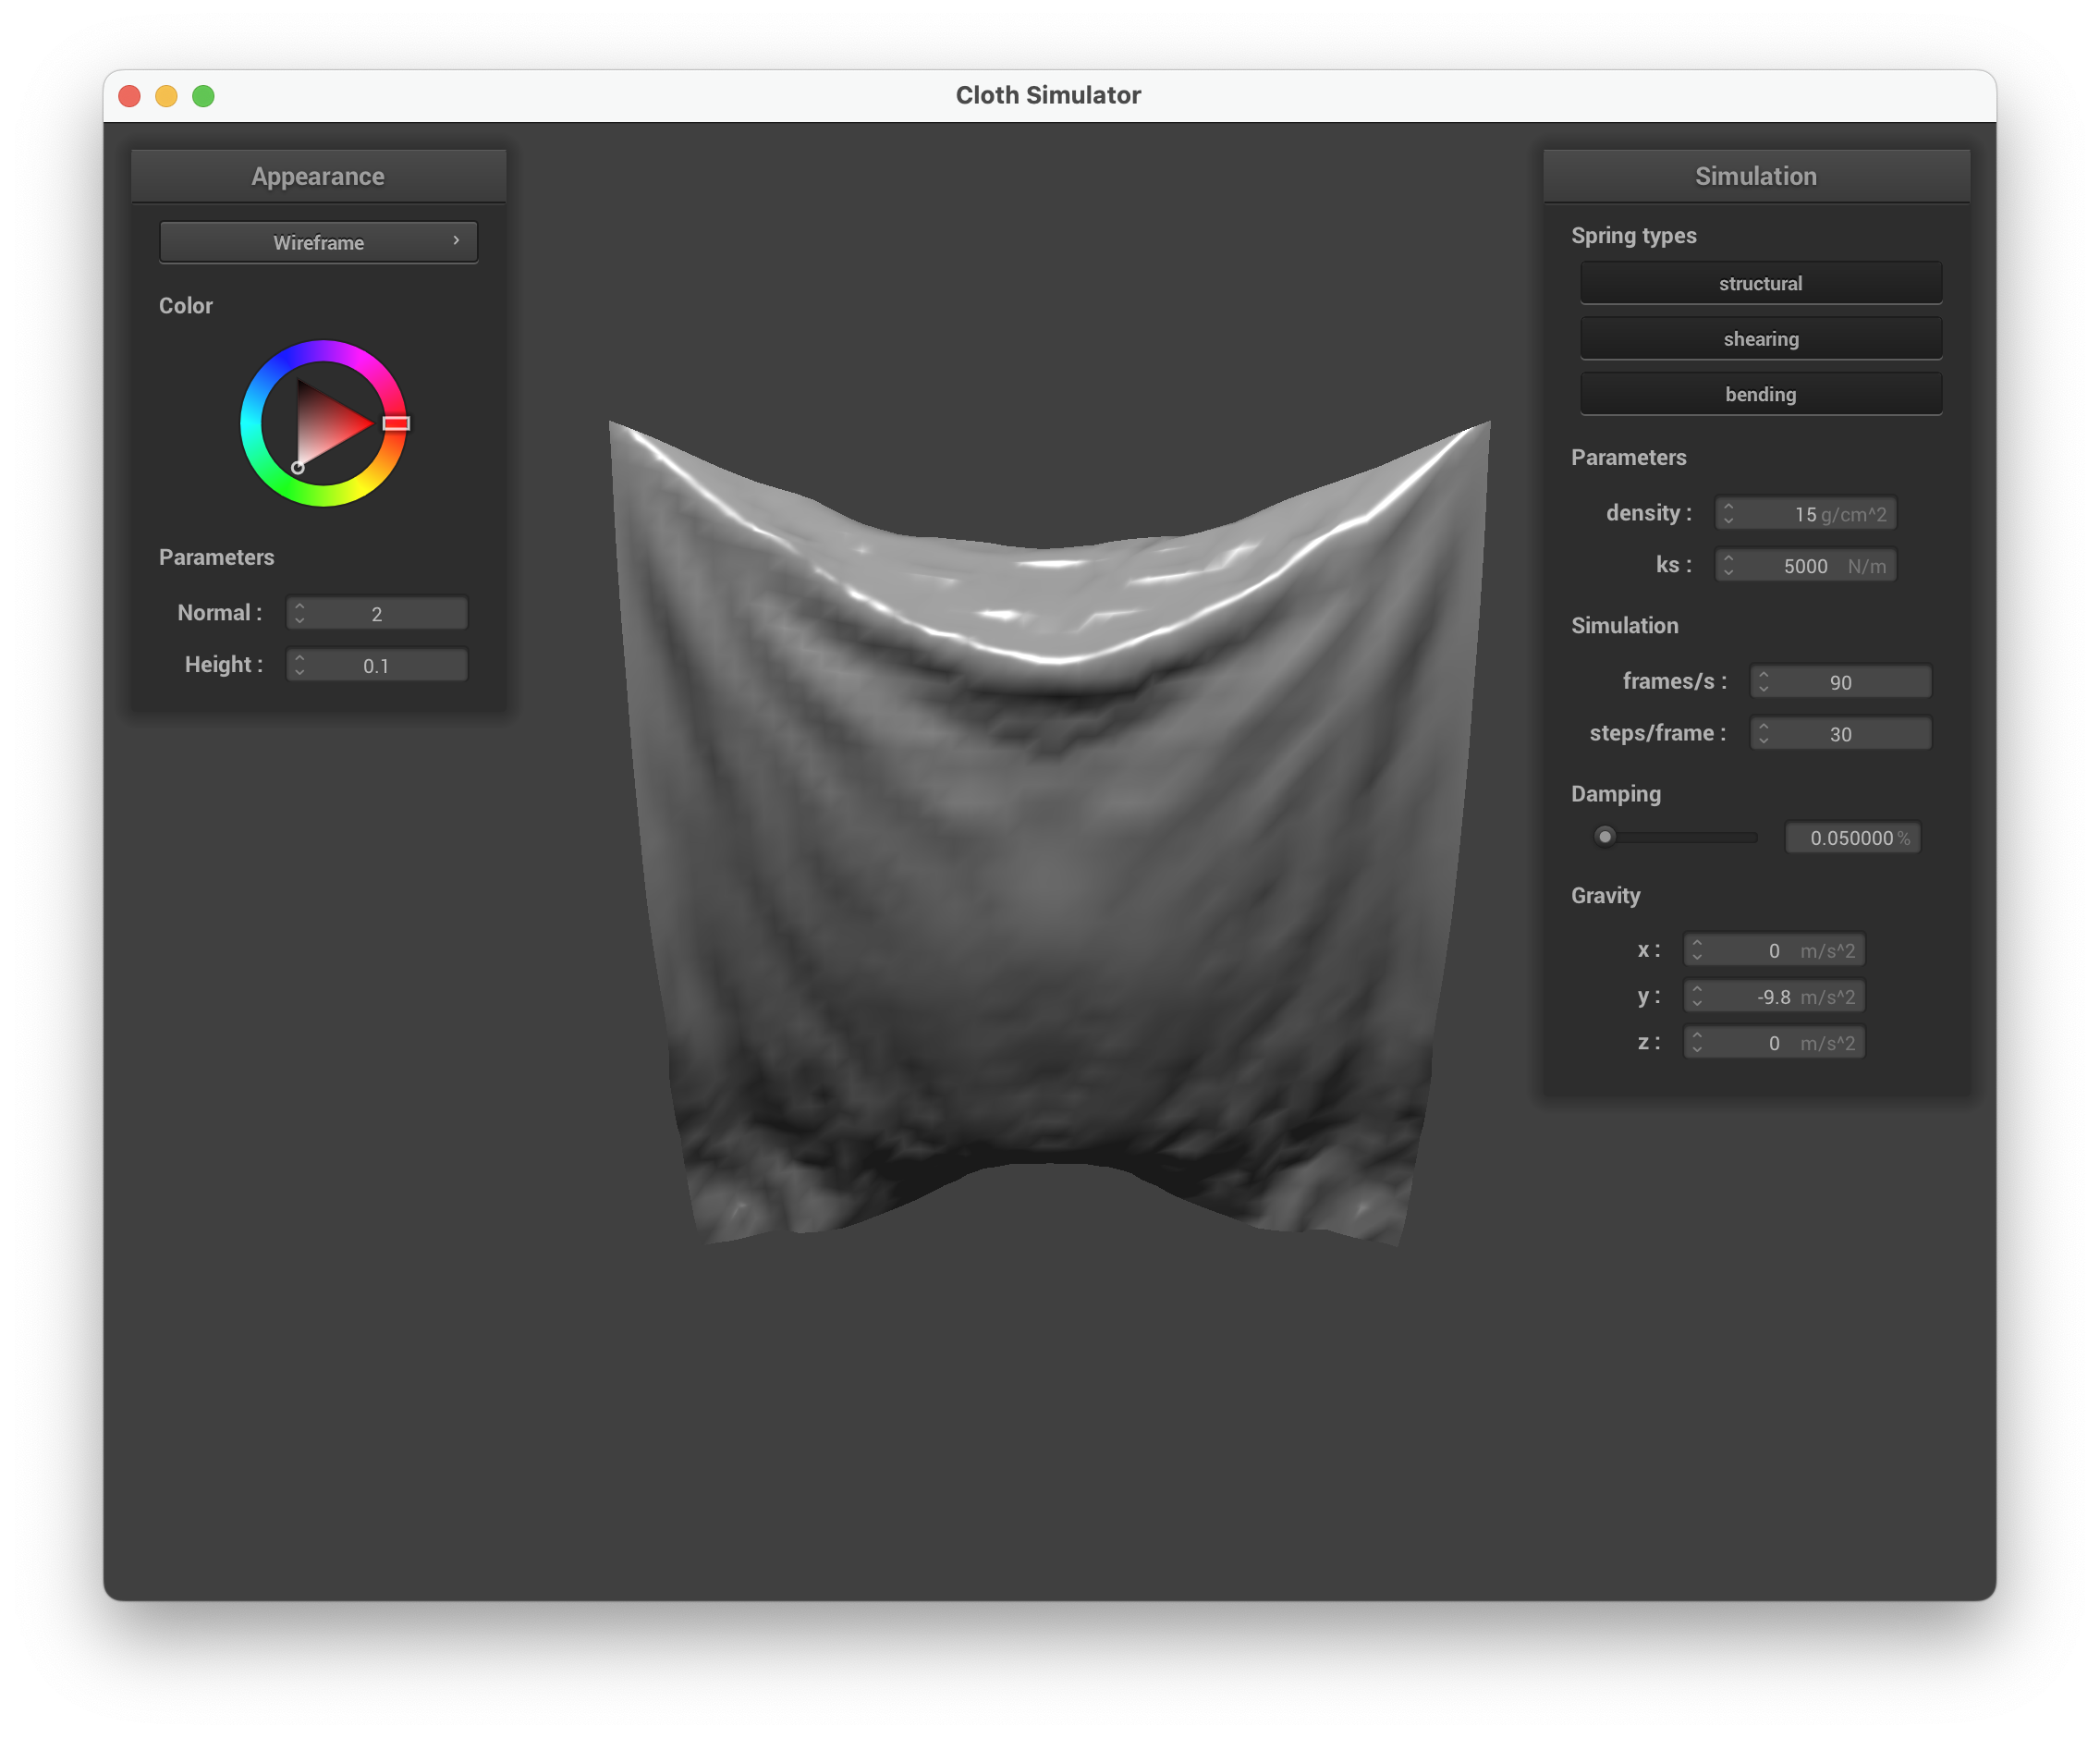
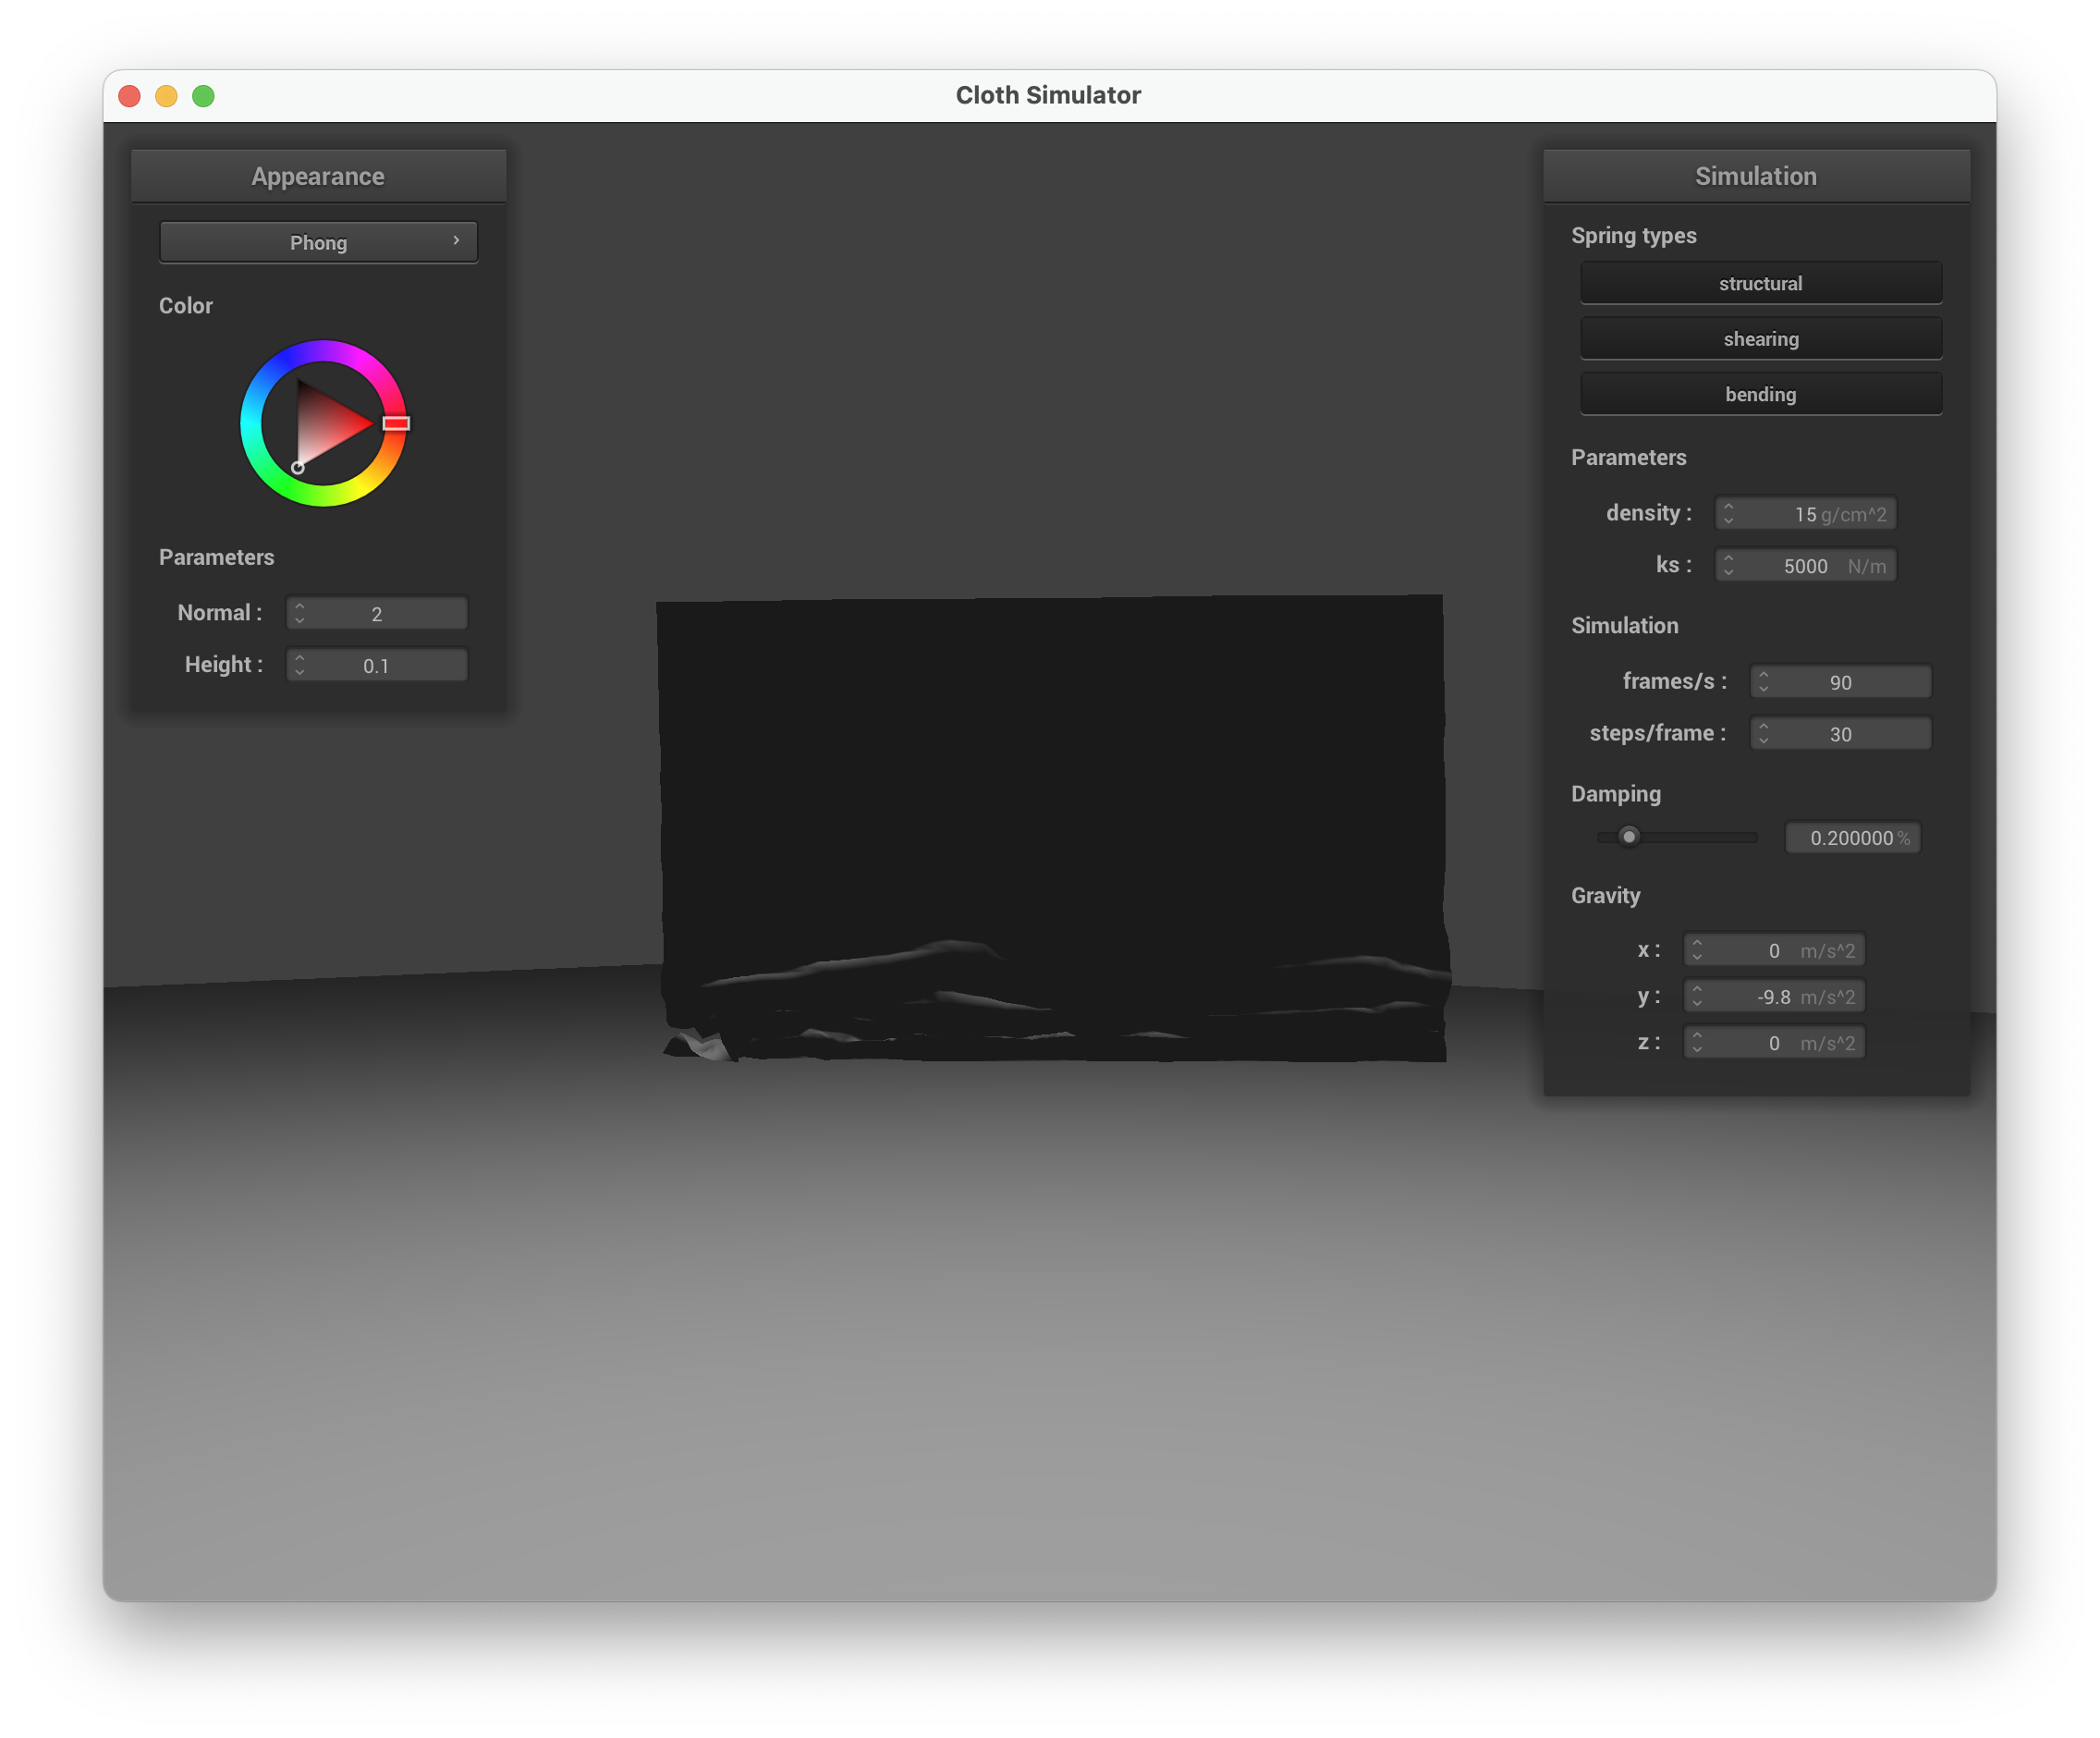
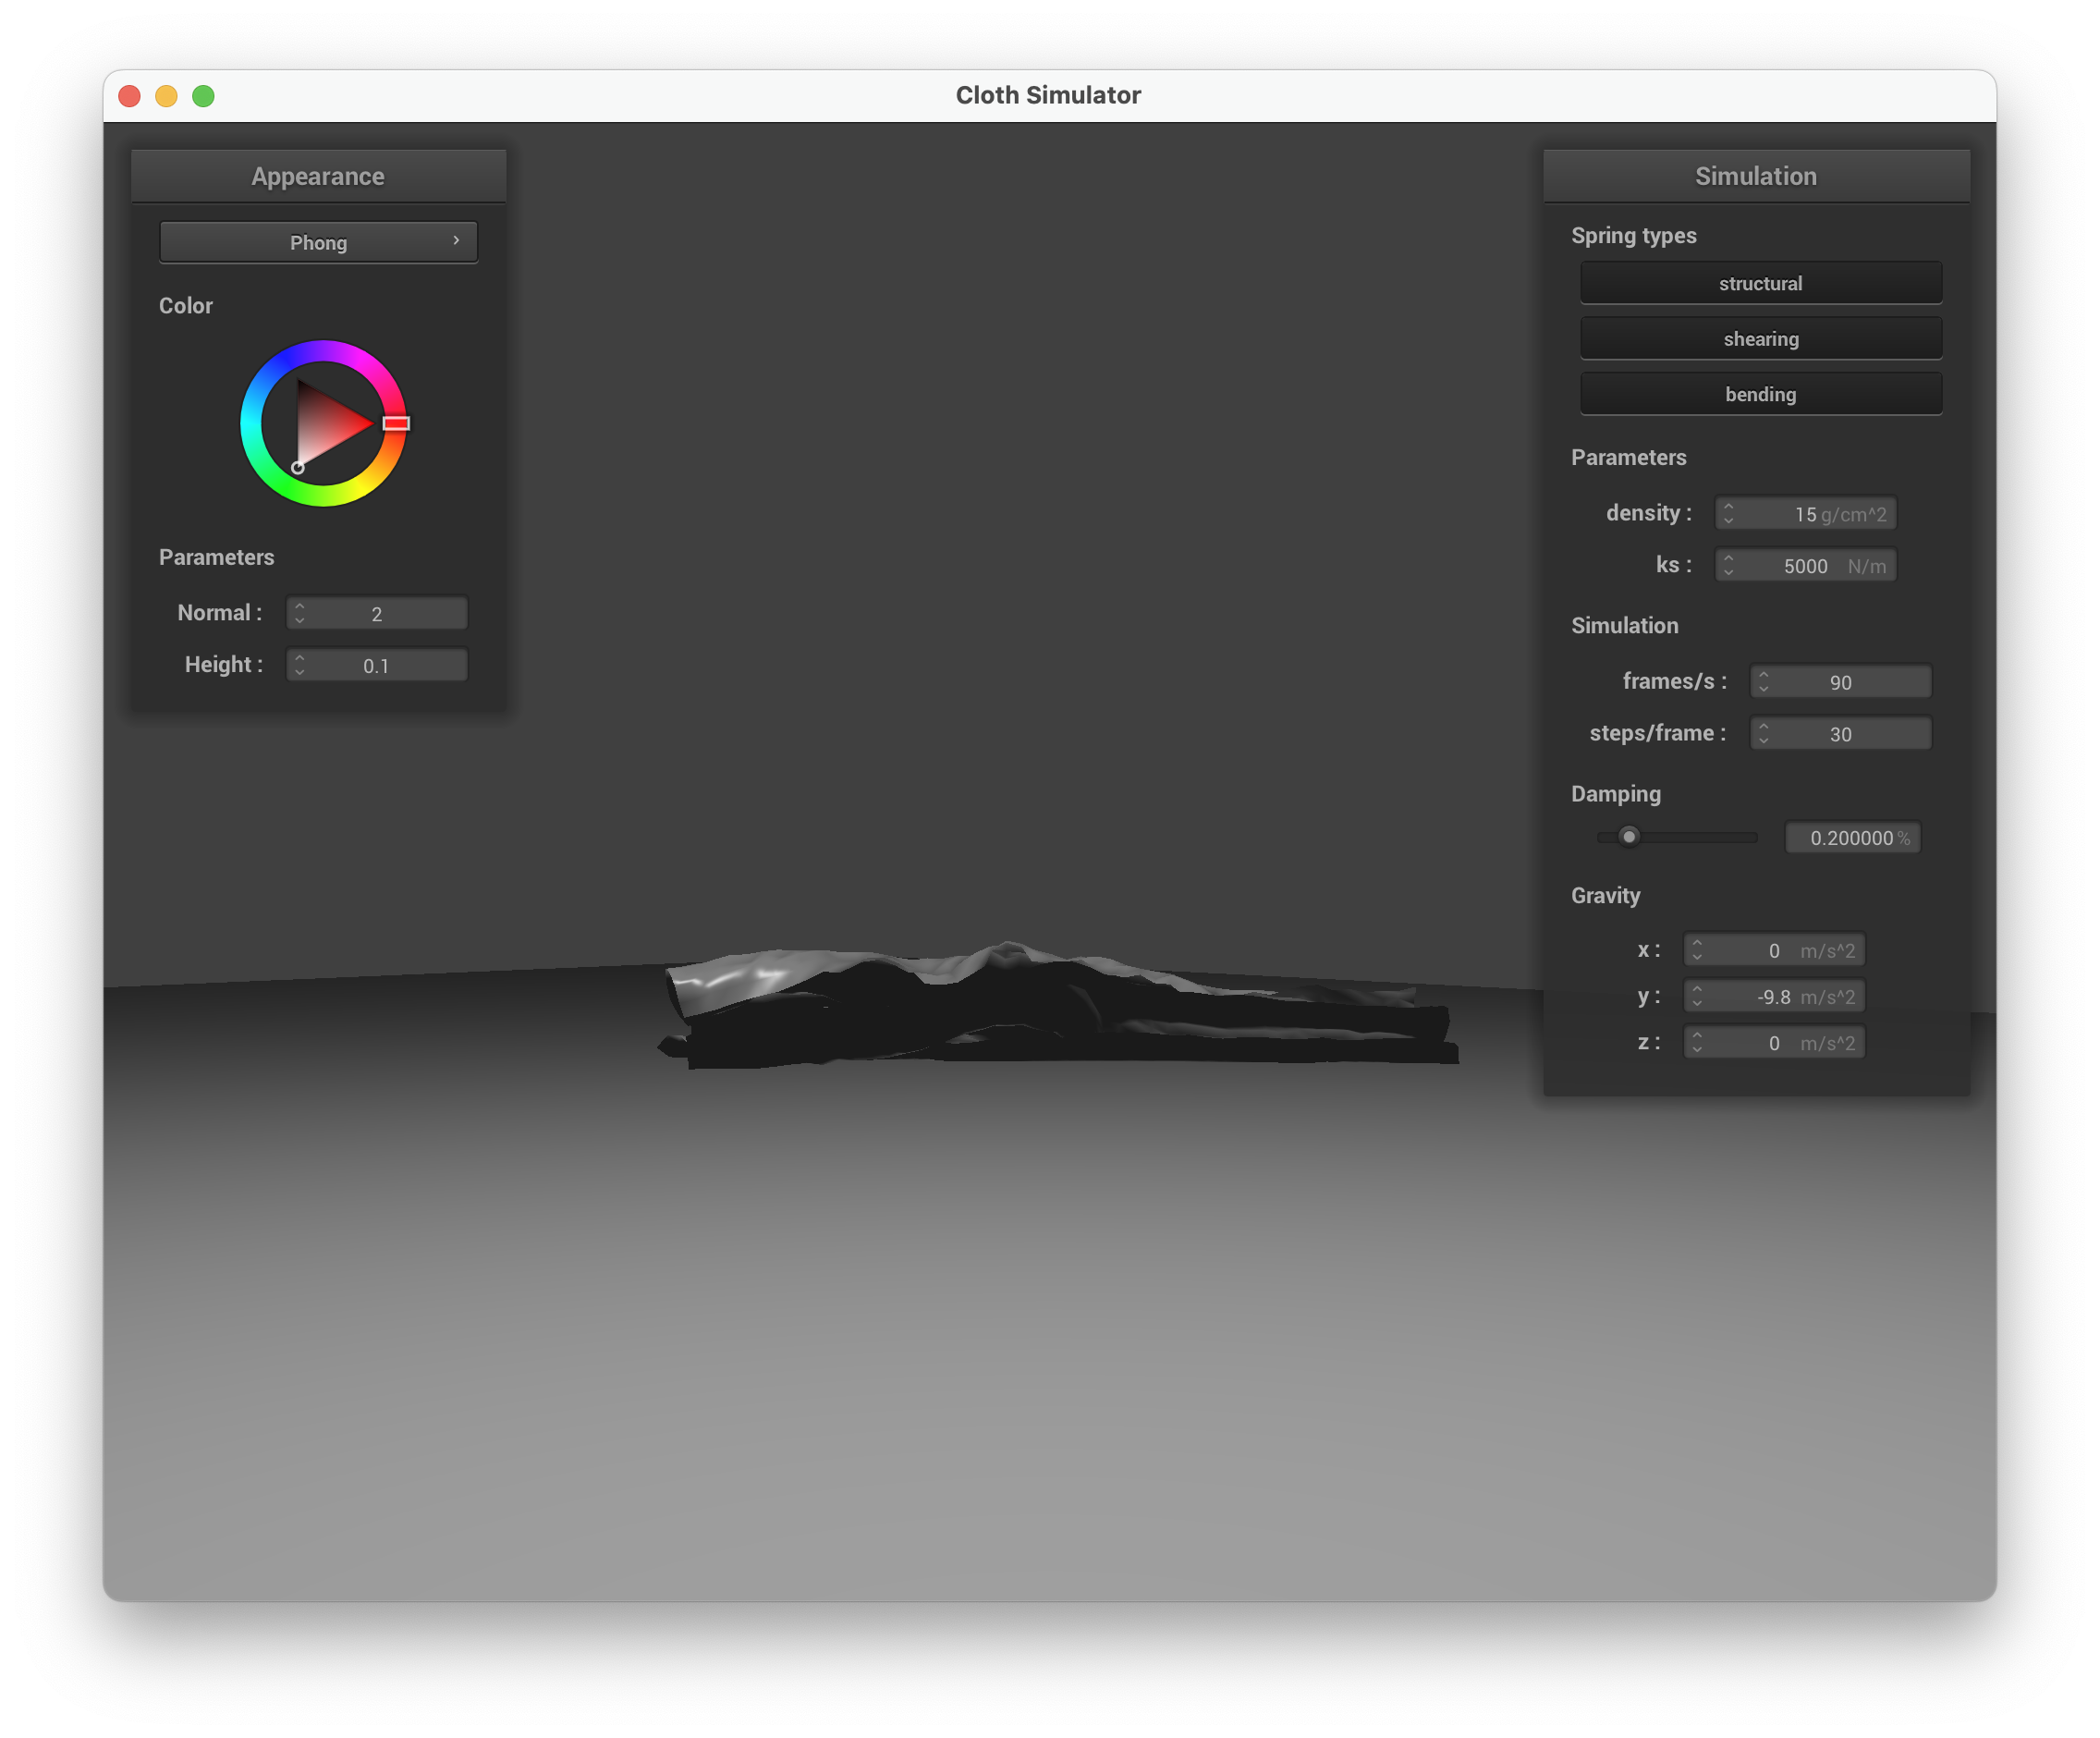
Resting state with pinned4.json
| scene/pinned4.json at rest (default parameters) |
|---|
 |
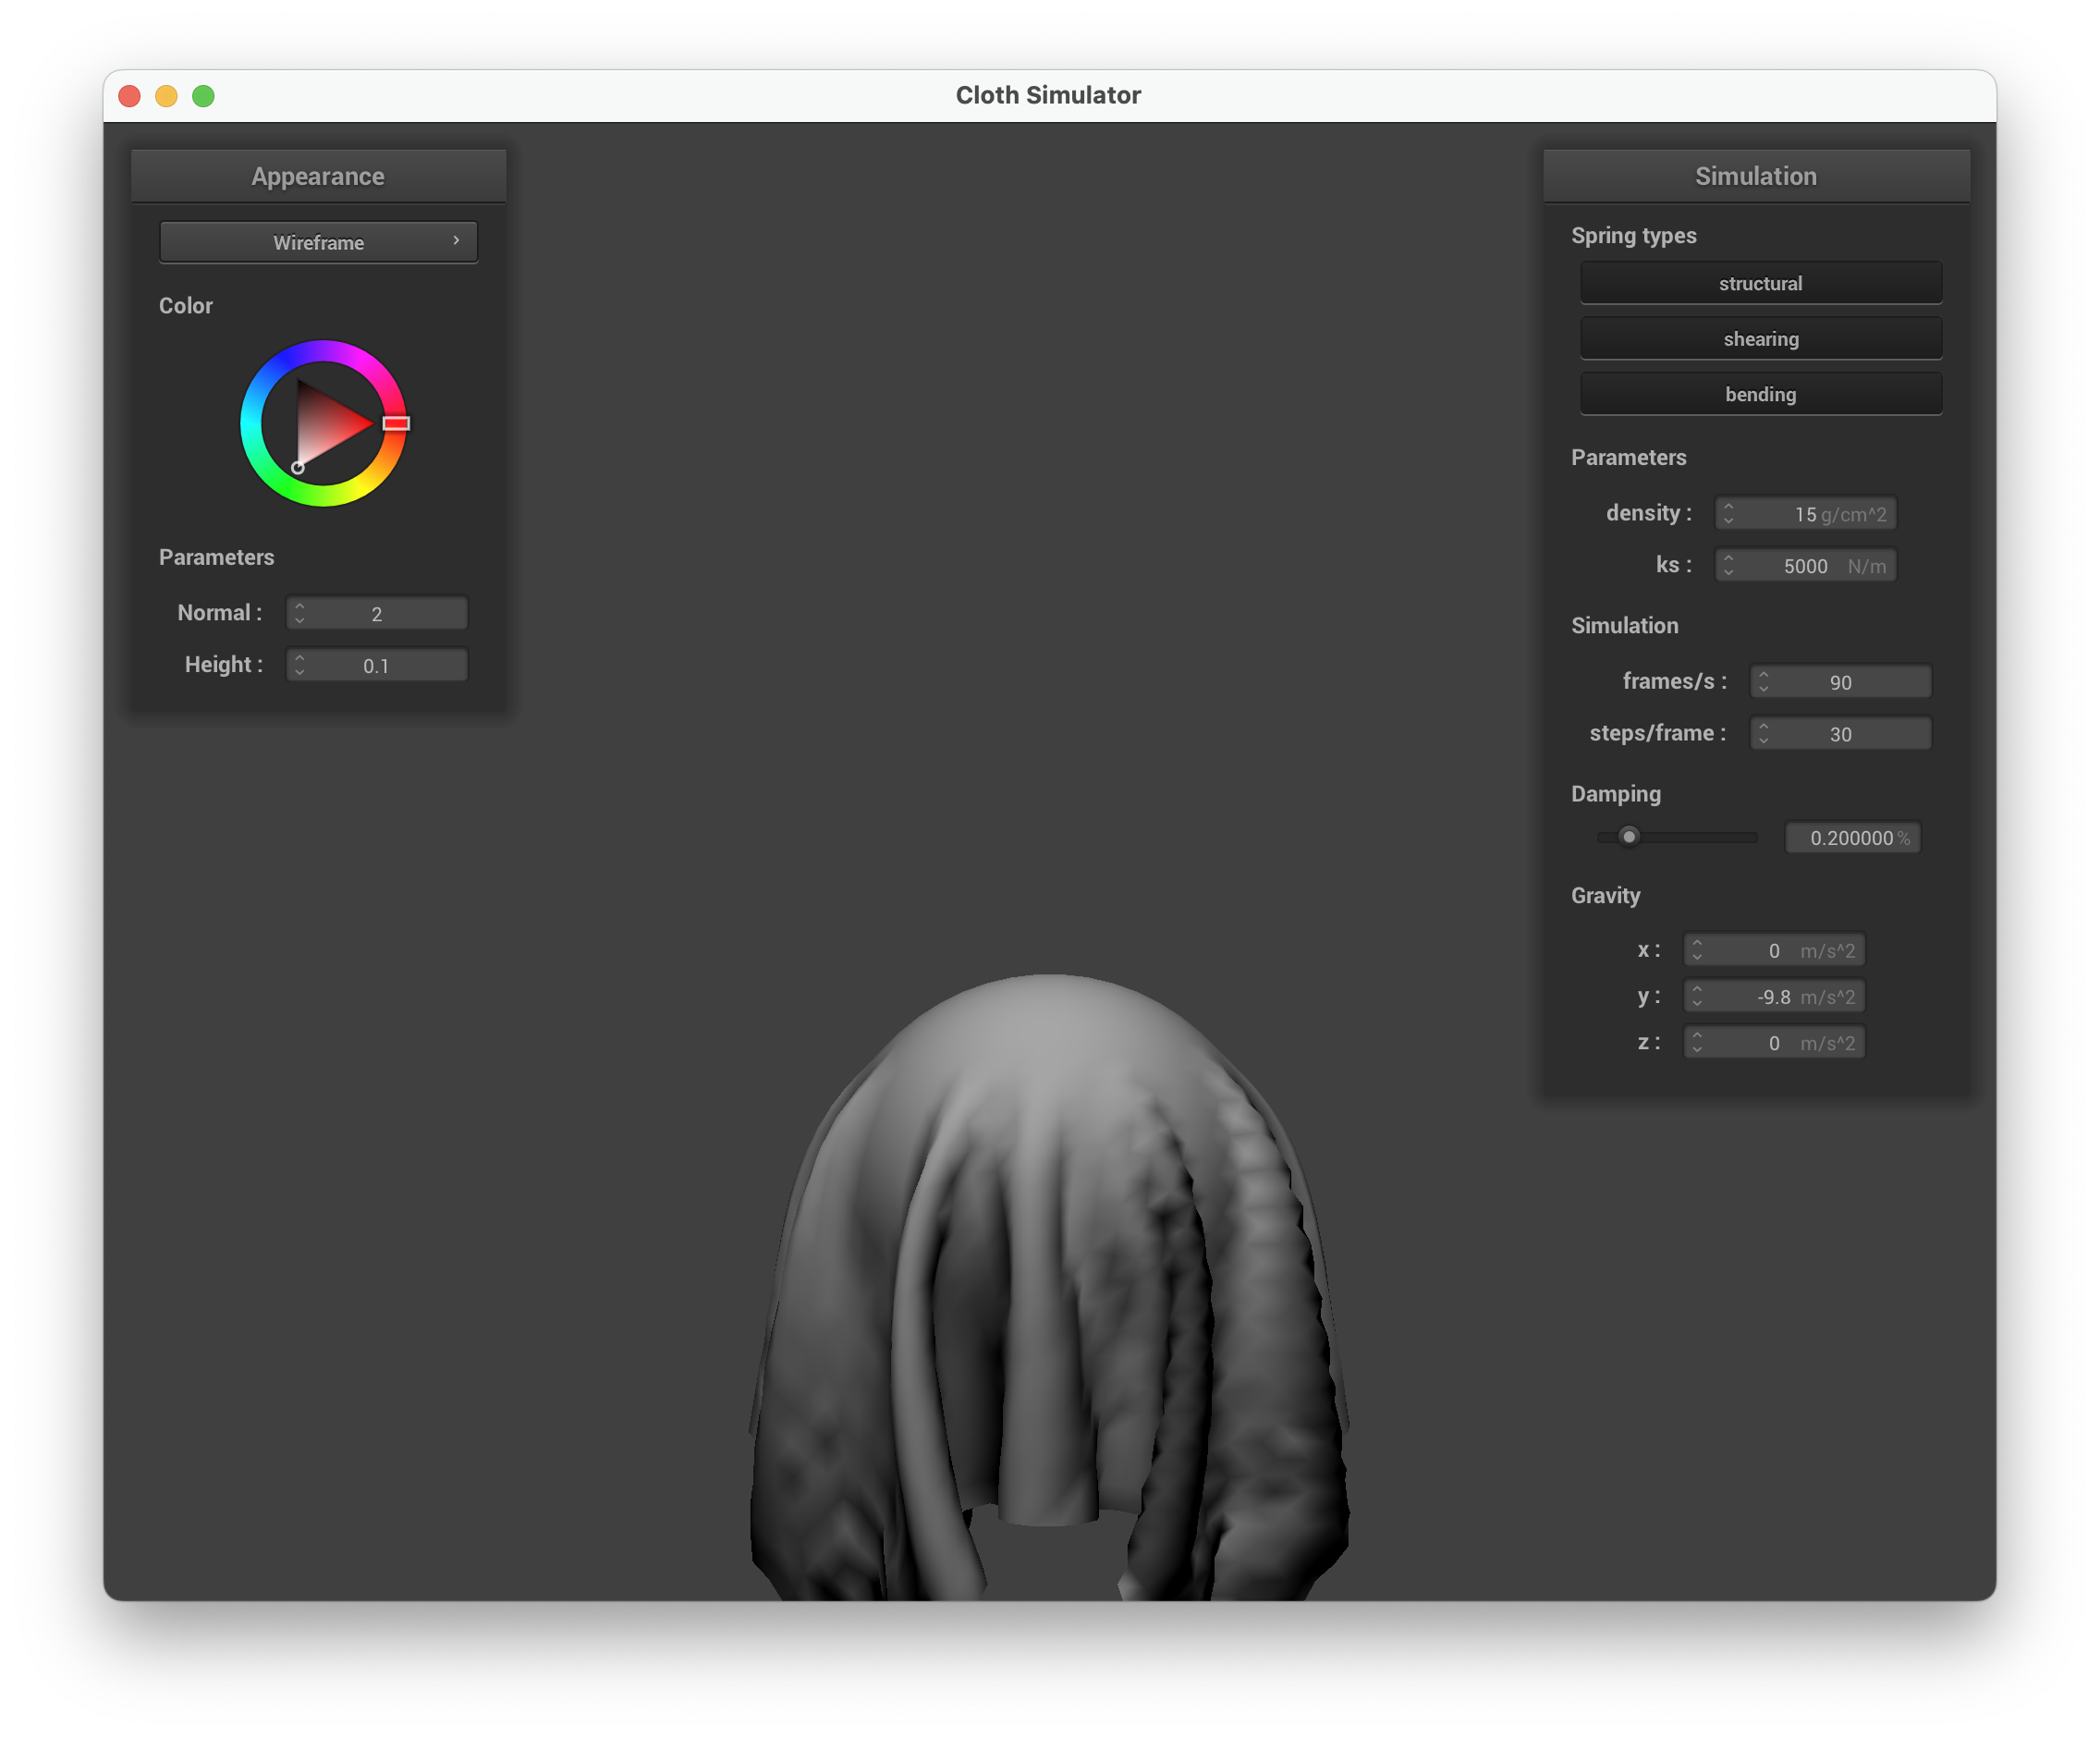
Part 3: Handling collisions with other objects
Sphere collision
In Sphere::collide(), I check whether the point mass has moved inside the sphere by testing if . If so, I compute the tangent point on the sphere surface along the direction from the origin to the point mass: . The correction vector from last_position to the tangent point is then scaled by to get the final position.
Plane collision
In Plane::collide(), I cast a ray from last_position to position and compute whether it crosses the plane using the parametric intersection . If , the cloth crossed the plane this step. I bump the intersection point slightly toward the side the mass came from (by SURFACE_OFFSET) and apply the friction-scaled correction.
Sphere at different spring constants
| ks = 500 | ks = 5000 (default) | ks = 50000 |
|---|---|---|
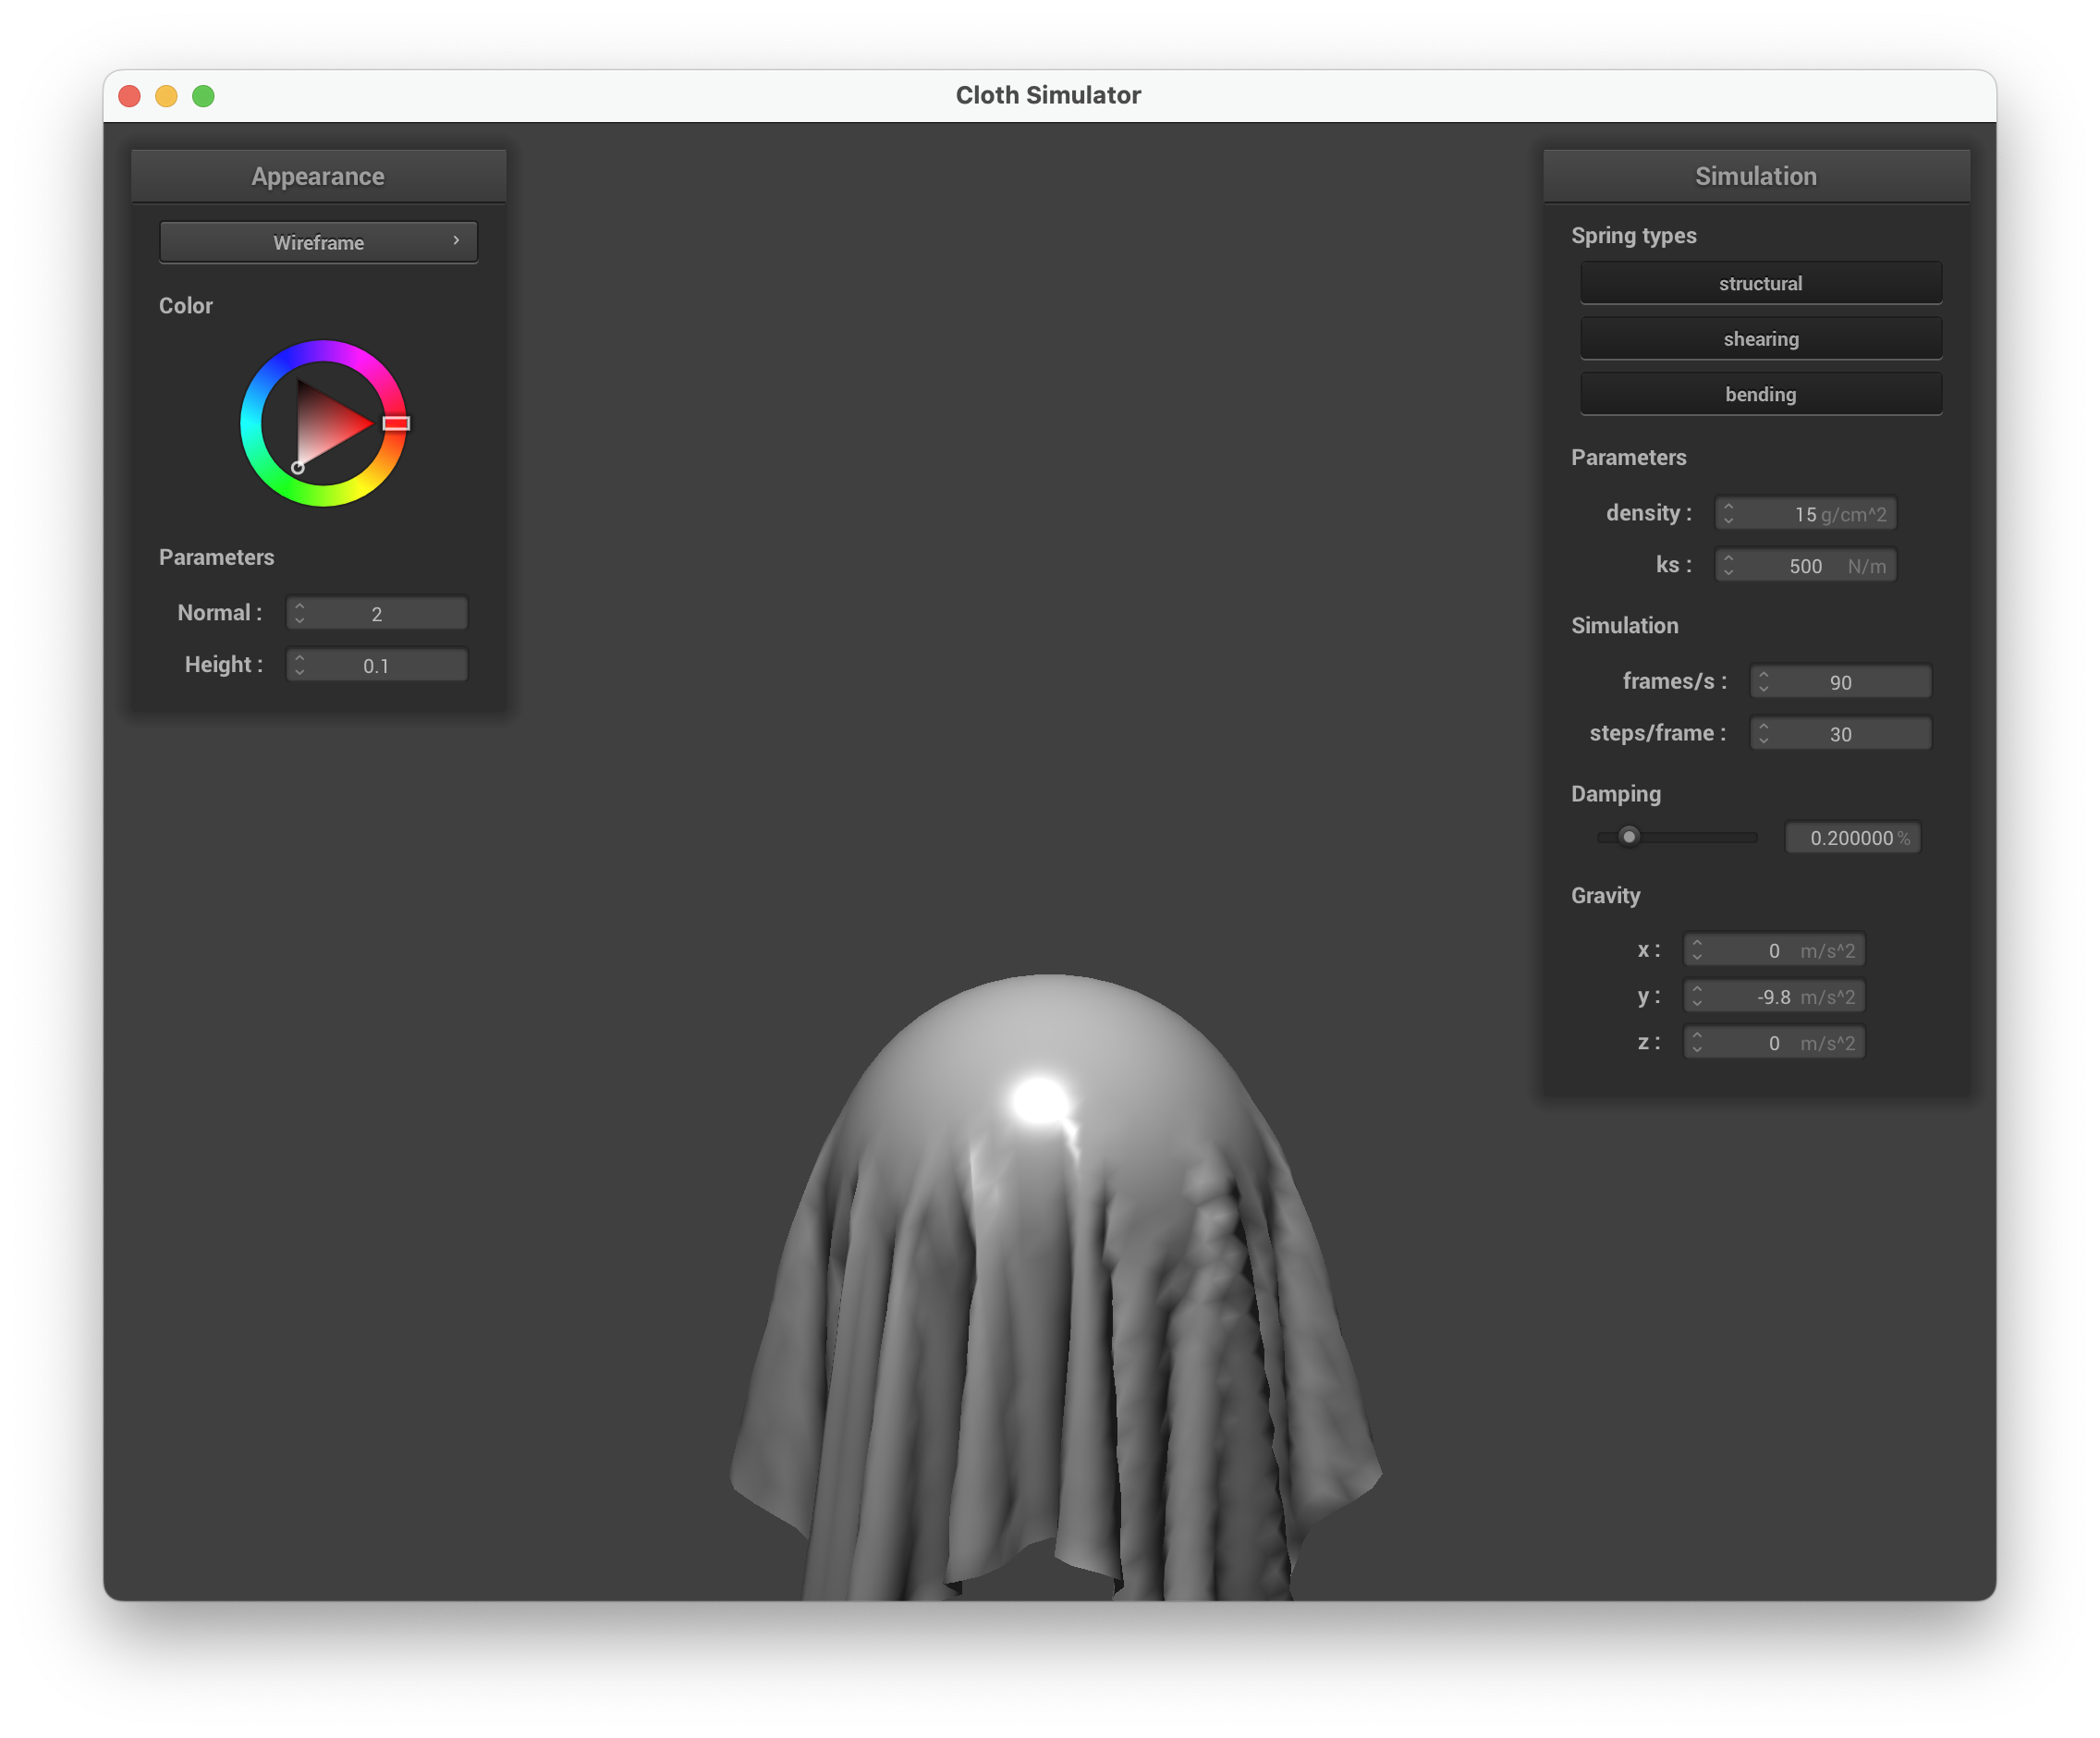 |
 |
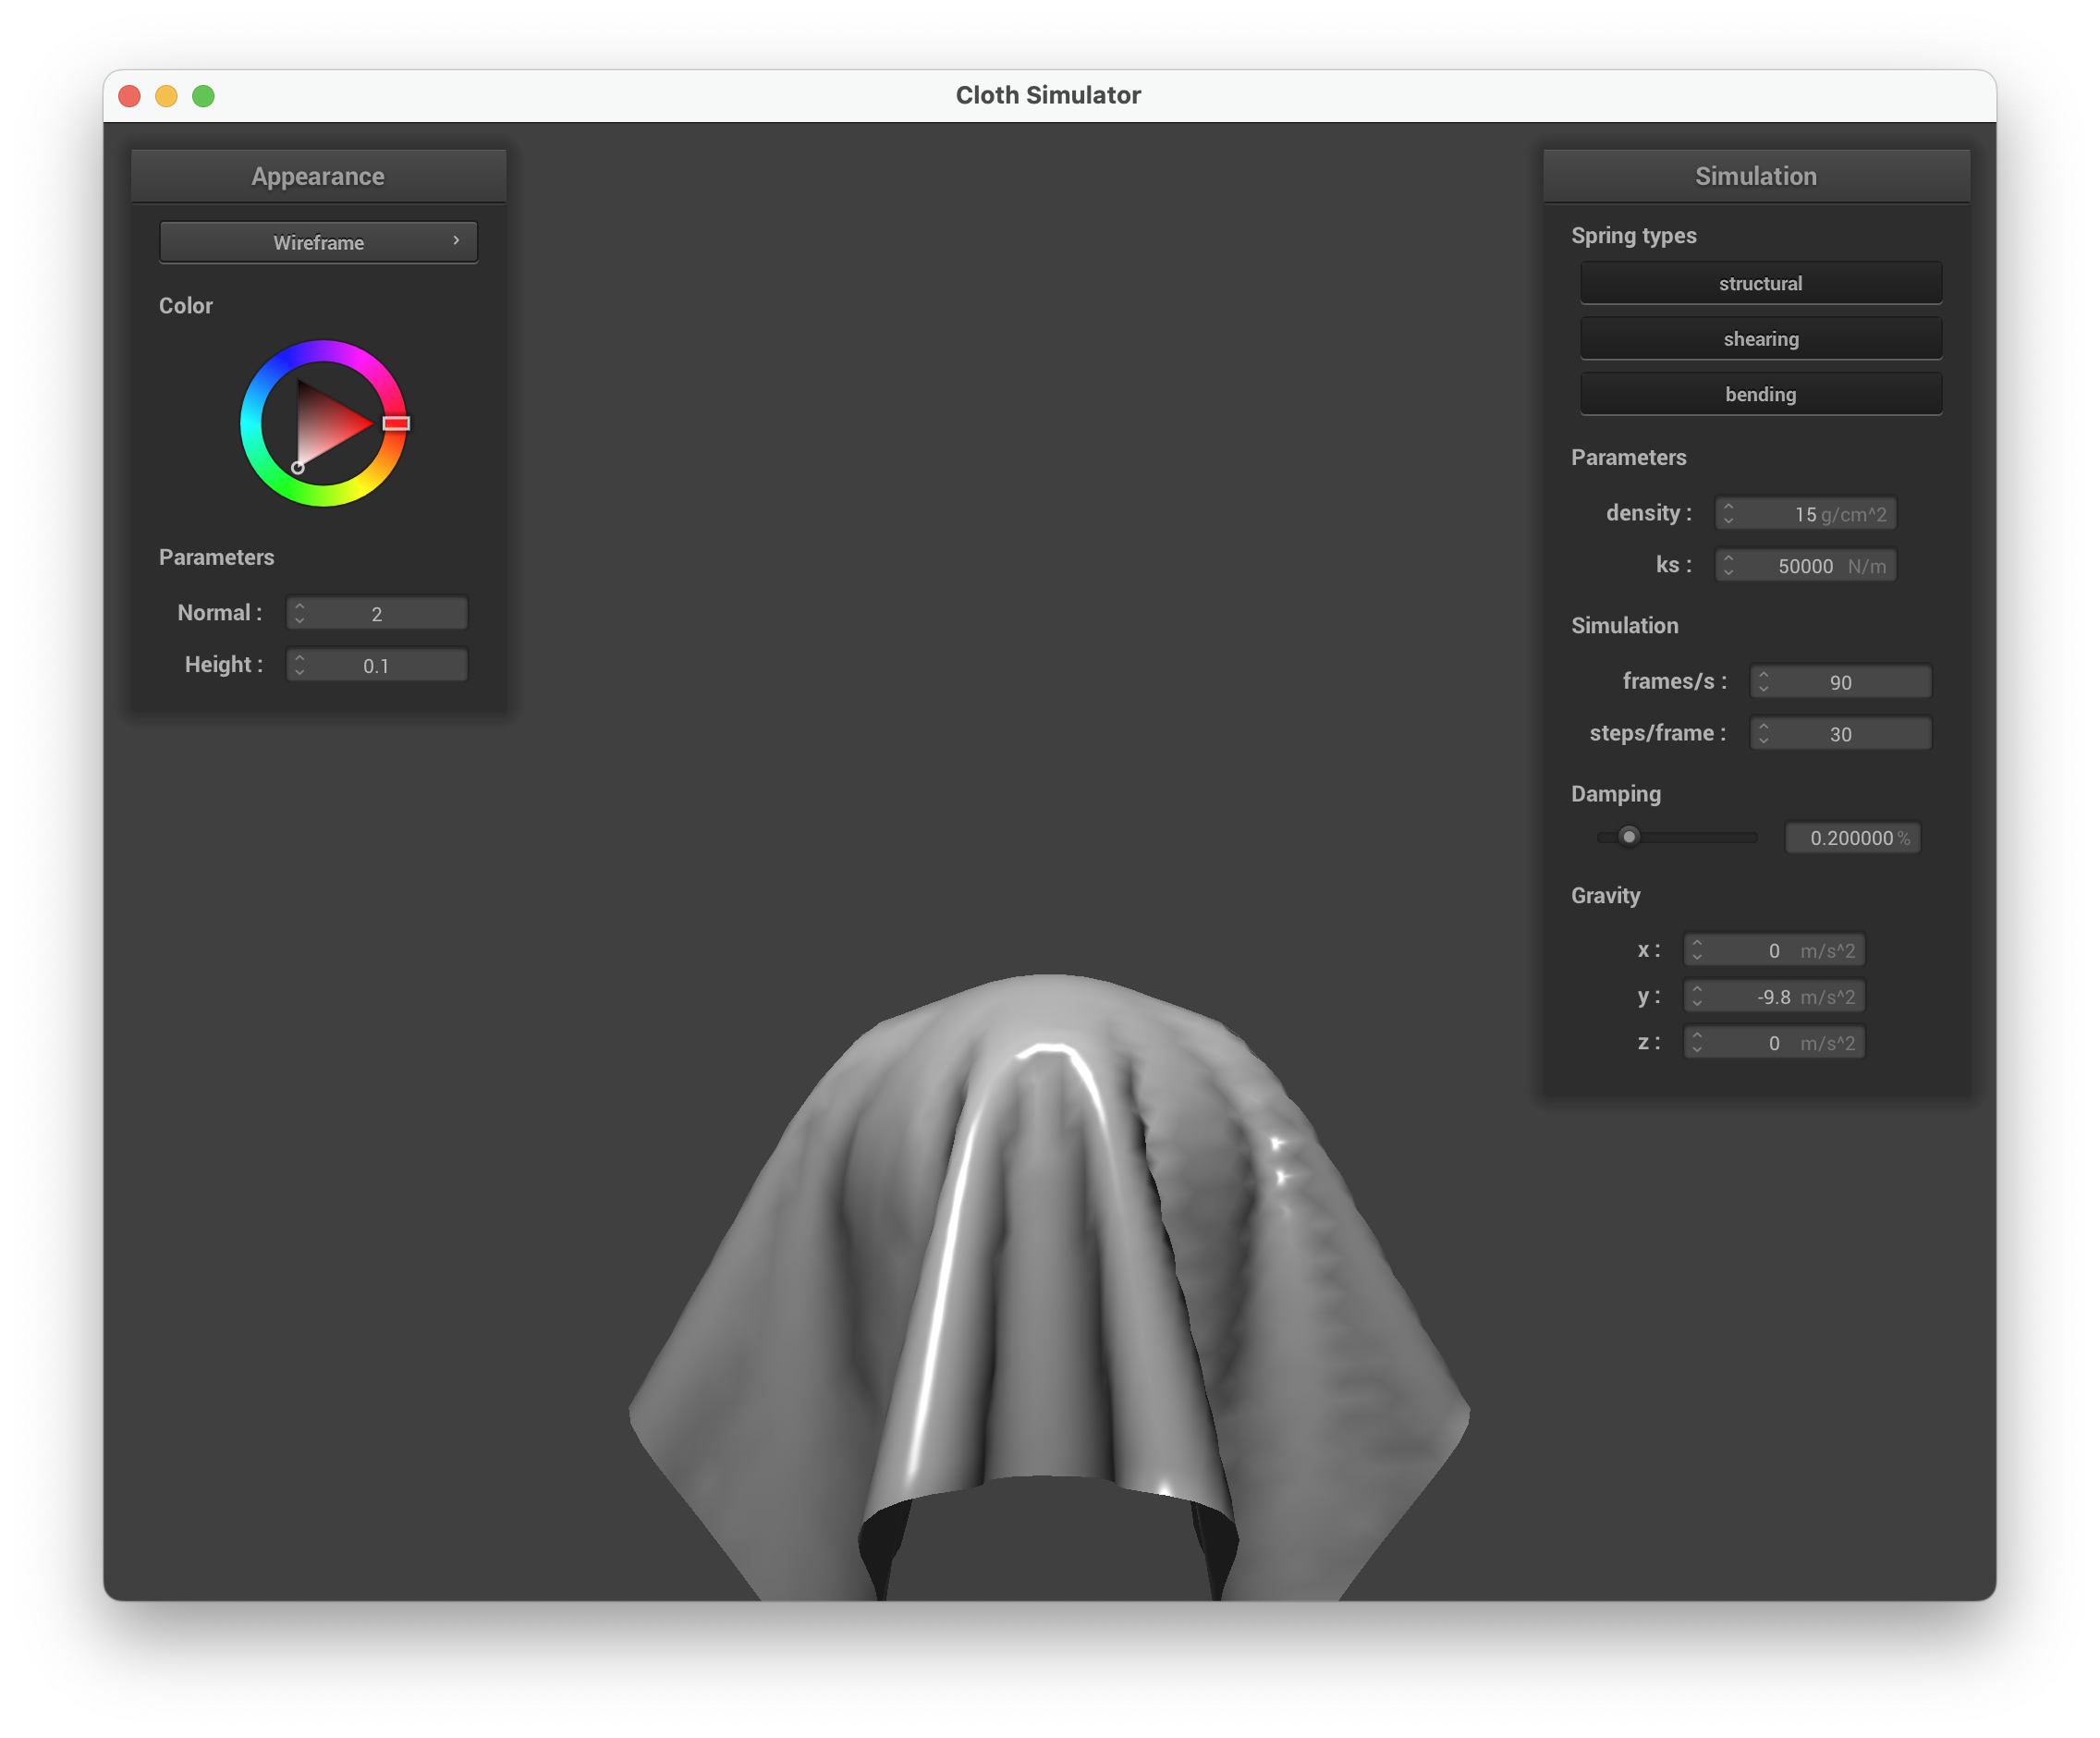 |
At ks = 500 the cloth drapes loosely over the sphere, conforming tightly to its surface with many wrinkles. At the default ks = 5000 the cloth still drapes but retains more of its own shape, forming broader folds. At ks = 50000 the cloth is stiff and barely conforms, almost hovering over the sphere with wide, flat drapes extending outward.
Cloth resting on a plane
| Cloth at rest on a plane (scene/plane.json) |
|---|
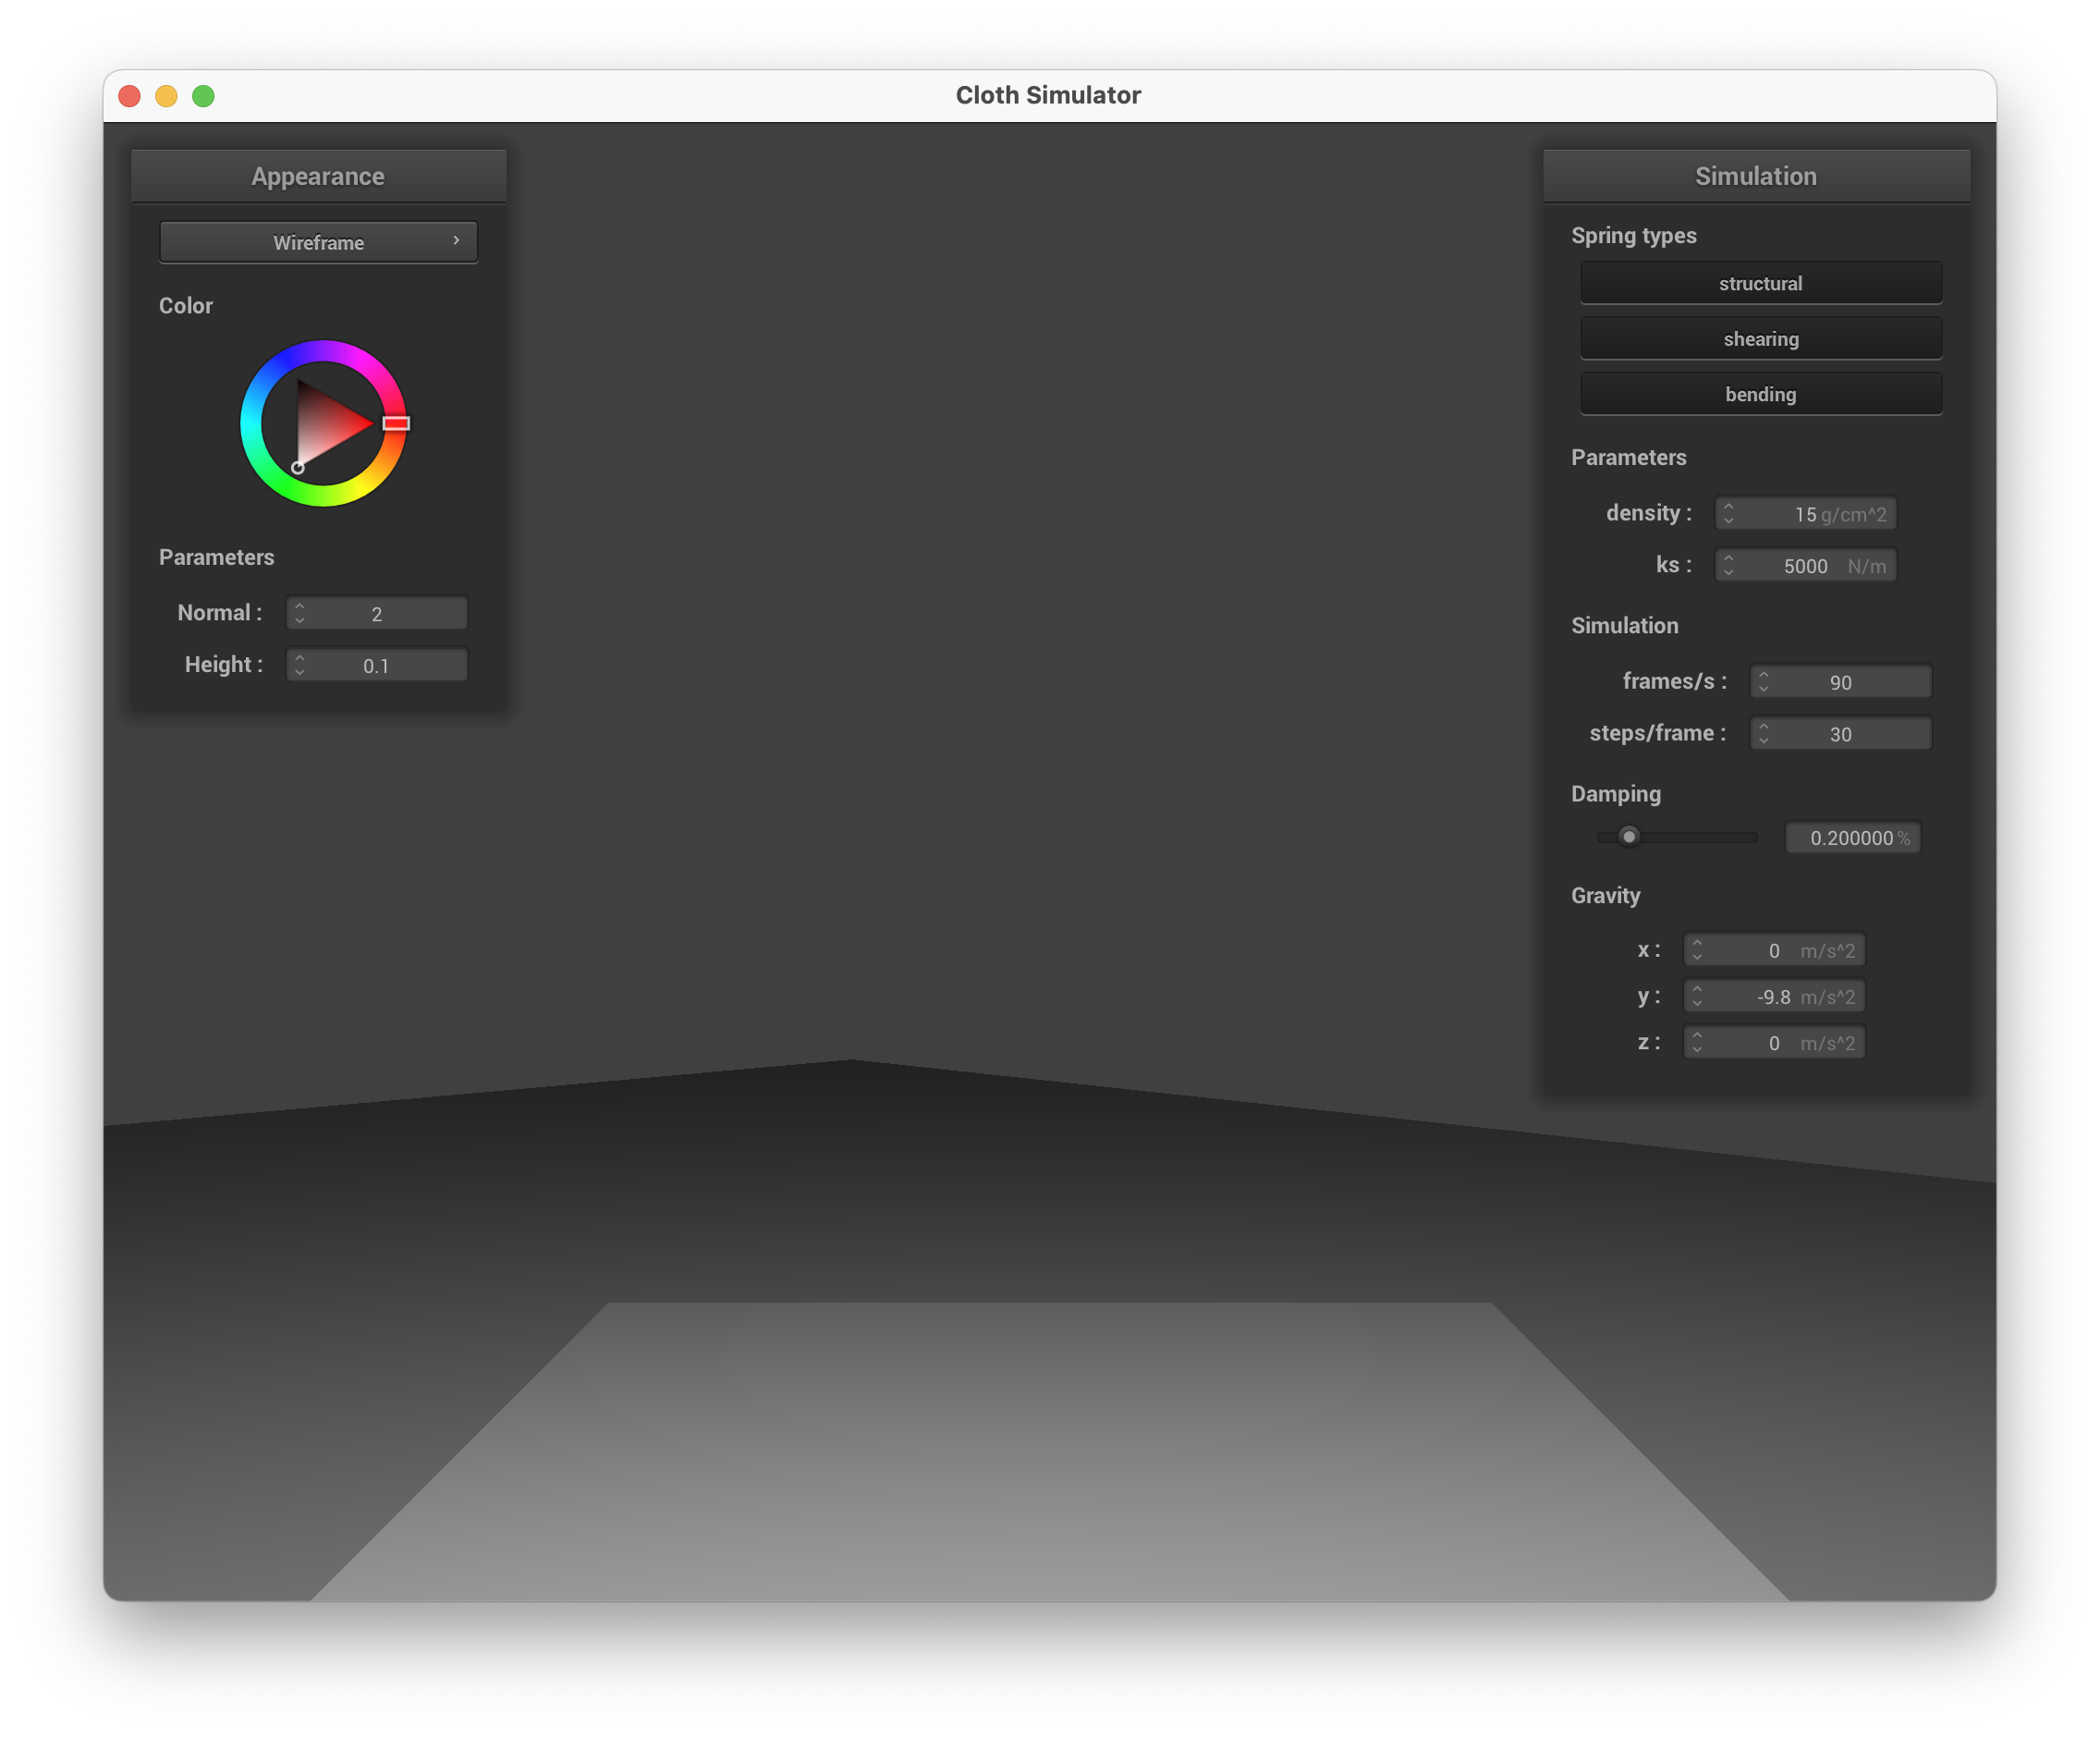 |
Part 4: Handling self-collisions
Self-collision is implemented using spatial hashing for efficiency. In hash_position(), I partition 3D space into boxes of size and map each position to a float hash via:
build_spatial_map() rebuilds the hash table each step. self_collide() looks up all point masses in the same bucket as the candidate mass. For each neighbor within distance , it computes a repulsion correction pushing the mass outward. The averaged correction is divided by simulation_steps for stability.
Self-collision sequence
| Early: initial self-collision | Mid: cloth folding | Rest: final state |
|---|---|---|
 |
 |
 |
Varying density
| Low density = 1 g/cm² | High density = 50 g/cm² |
|---|---|
 |
 |
With low density, the cloth falls slowly and forms broad, gentle folds with fewer layers of self-collision. With high density, the cloth falls quickly and crumples into many tight, compressed folds — more layers pile on top of each other.
Varying ks
| Low ks = 500 | High ks = 50000 |
|---|---|
 |
 |
With low ks, the cloth is very flexible and collapses into many small wrinkles and folds. With high ks, the cloth is stiff and resists folding, resulting in larger, smoother curves with fewer folds.
Part 5: Shaders
Shader programs
A shader program is a pair of programs that run on the GPU to determine how geometry is rasterized and colored. The vertex shader runs per-vertex, transforming positions from model space to screen space (via model, view, and projection matrices) and passing interpolated attributes (normals, UVs, tangents) to the next stage. The fragment shader runs per-pixel (fragment), computing the final color using the interpolated attributes, lighting parameters, and textures. Together they form the rendering pipeline: vertex shader handles geometry, fragment shader handles appearance.
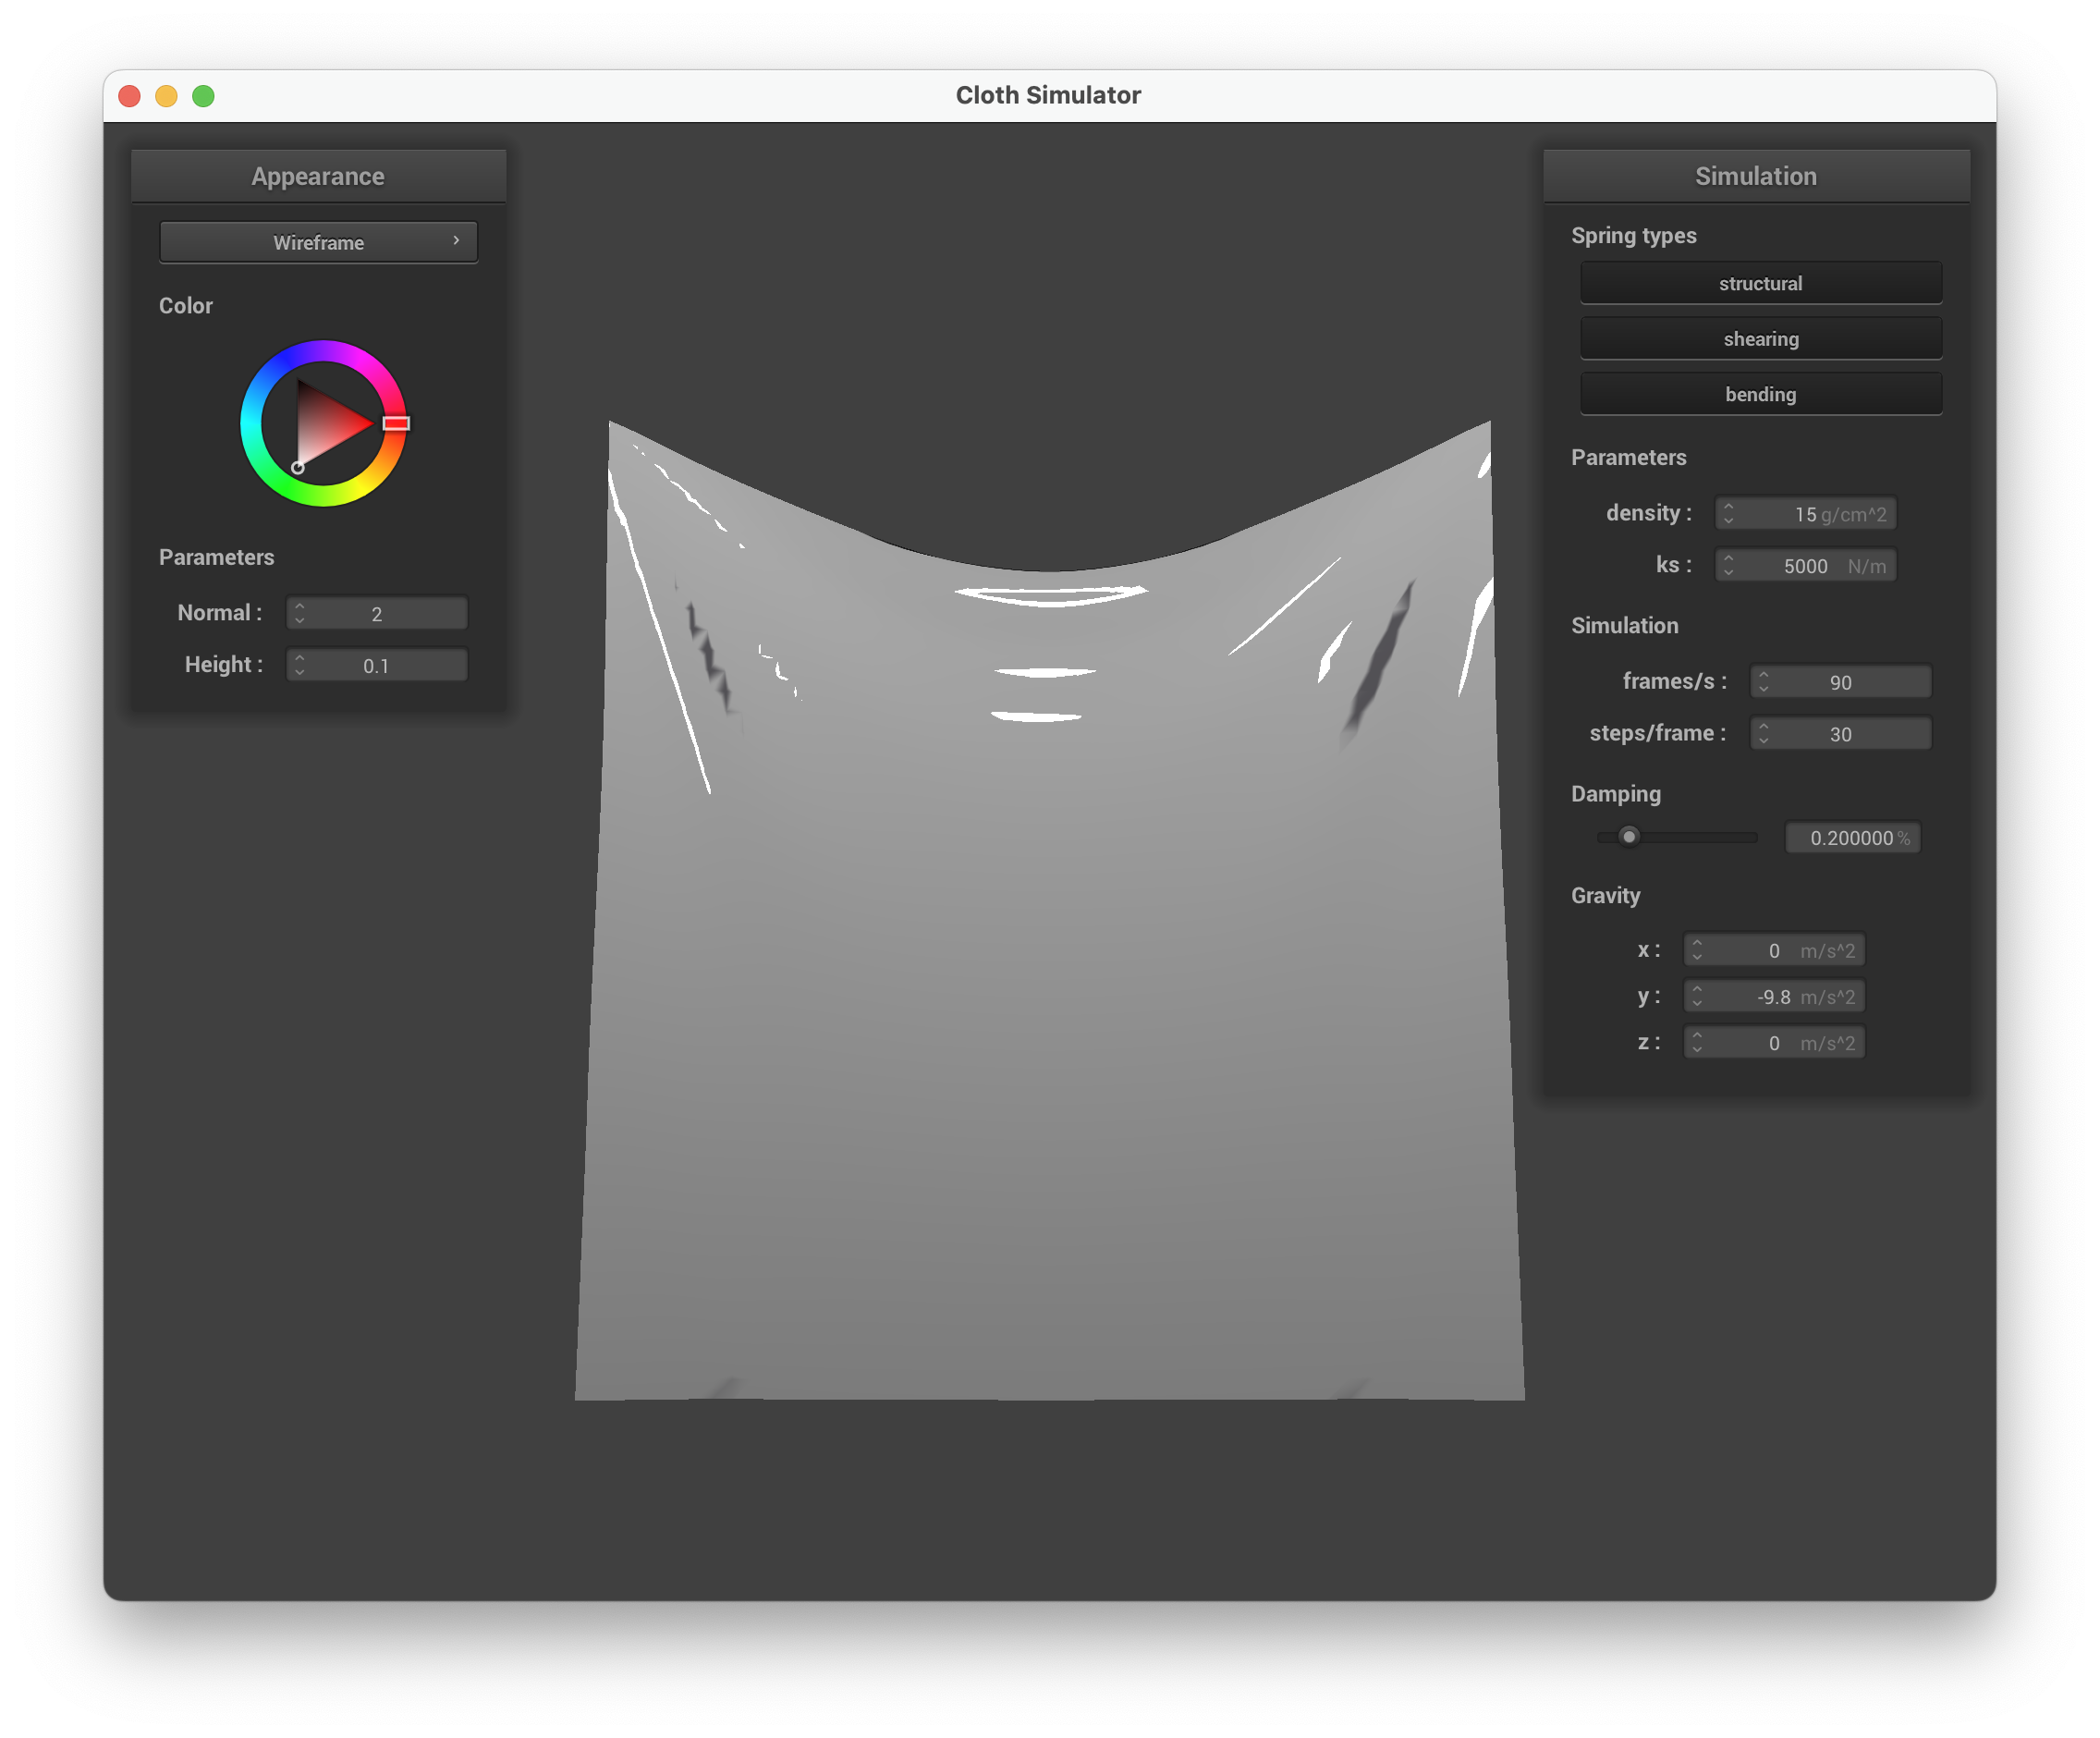
Blinn-Phong shading model
The Blinn-Phong model decomposes illumination into three additive components:
- Ambient: a constant base illumination that prevents surfaces from being completely black in shadow.
- Diffuse: Lambertian reflection that depends on the angle between surface normal and light direction.
- Specular: a glossy highlight using the half-vector , where controls shininess.
In my implementation: , , , , with ambient color .
| Ambient only | Diffuse only |
|---|---|
 |
 |
| Specular only | Full Blinn-Phong |
 |
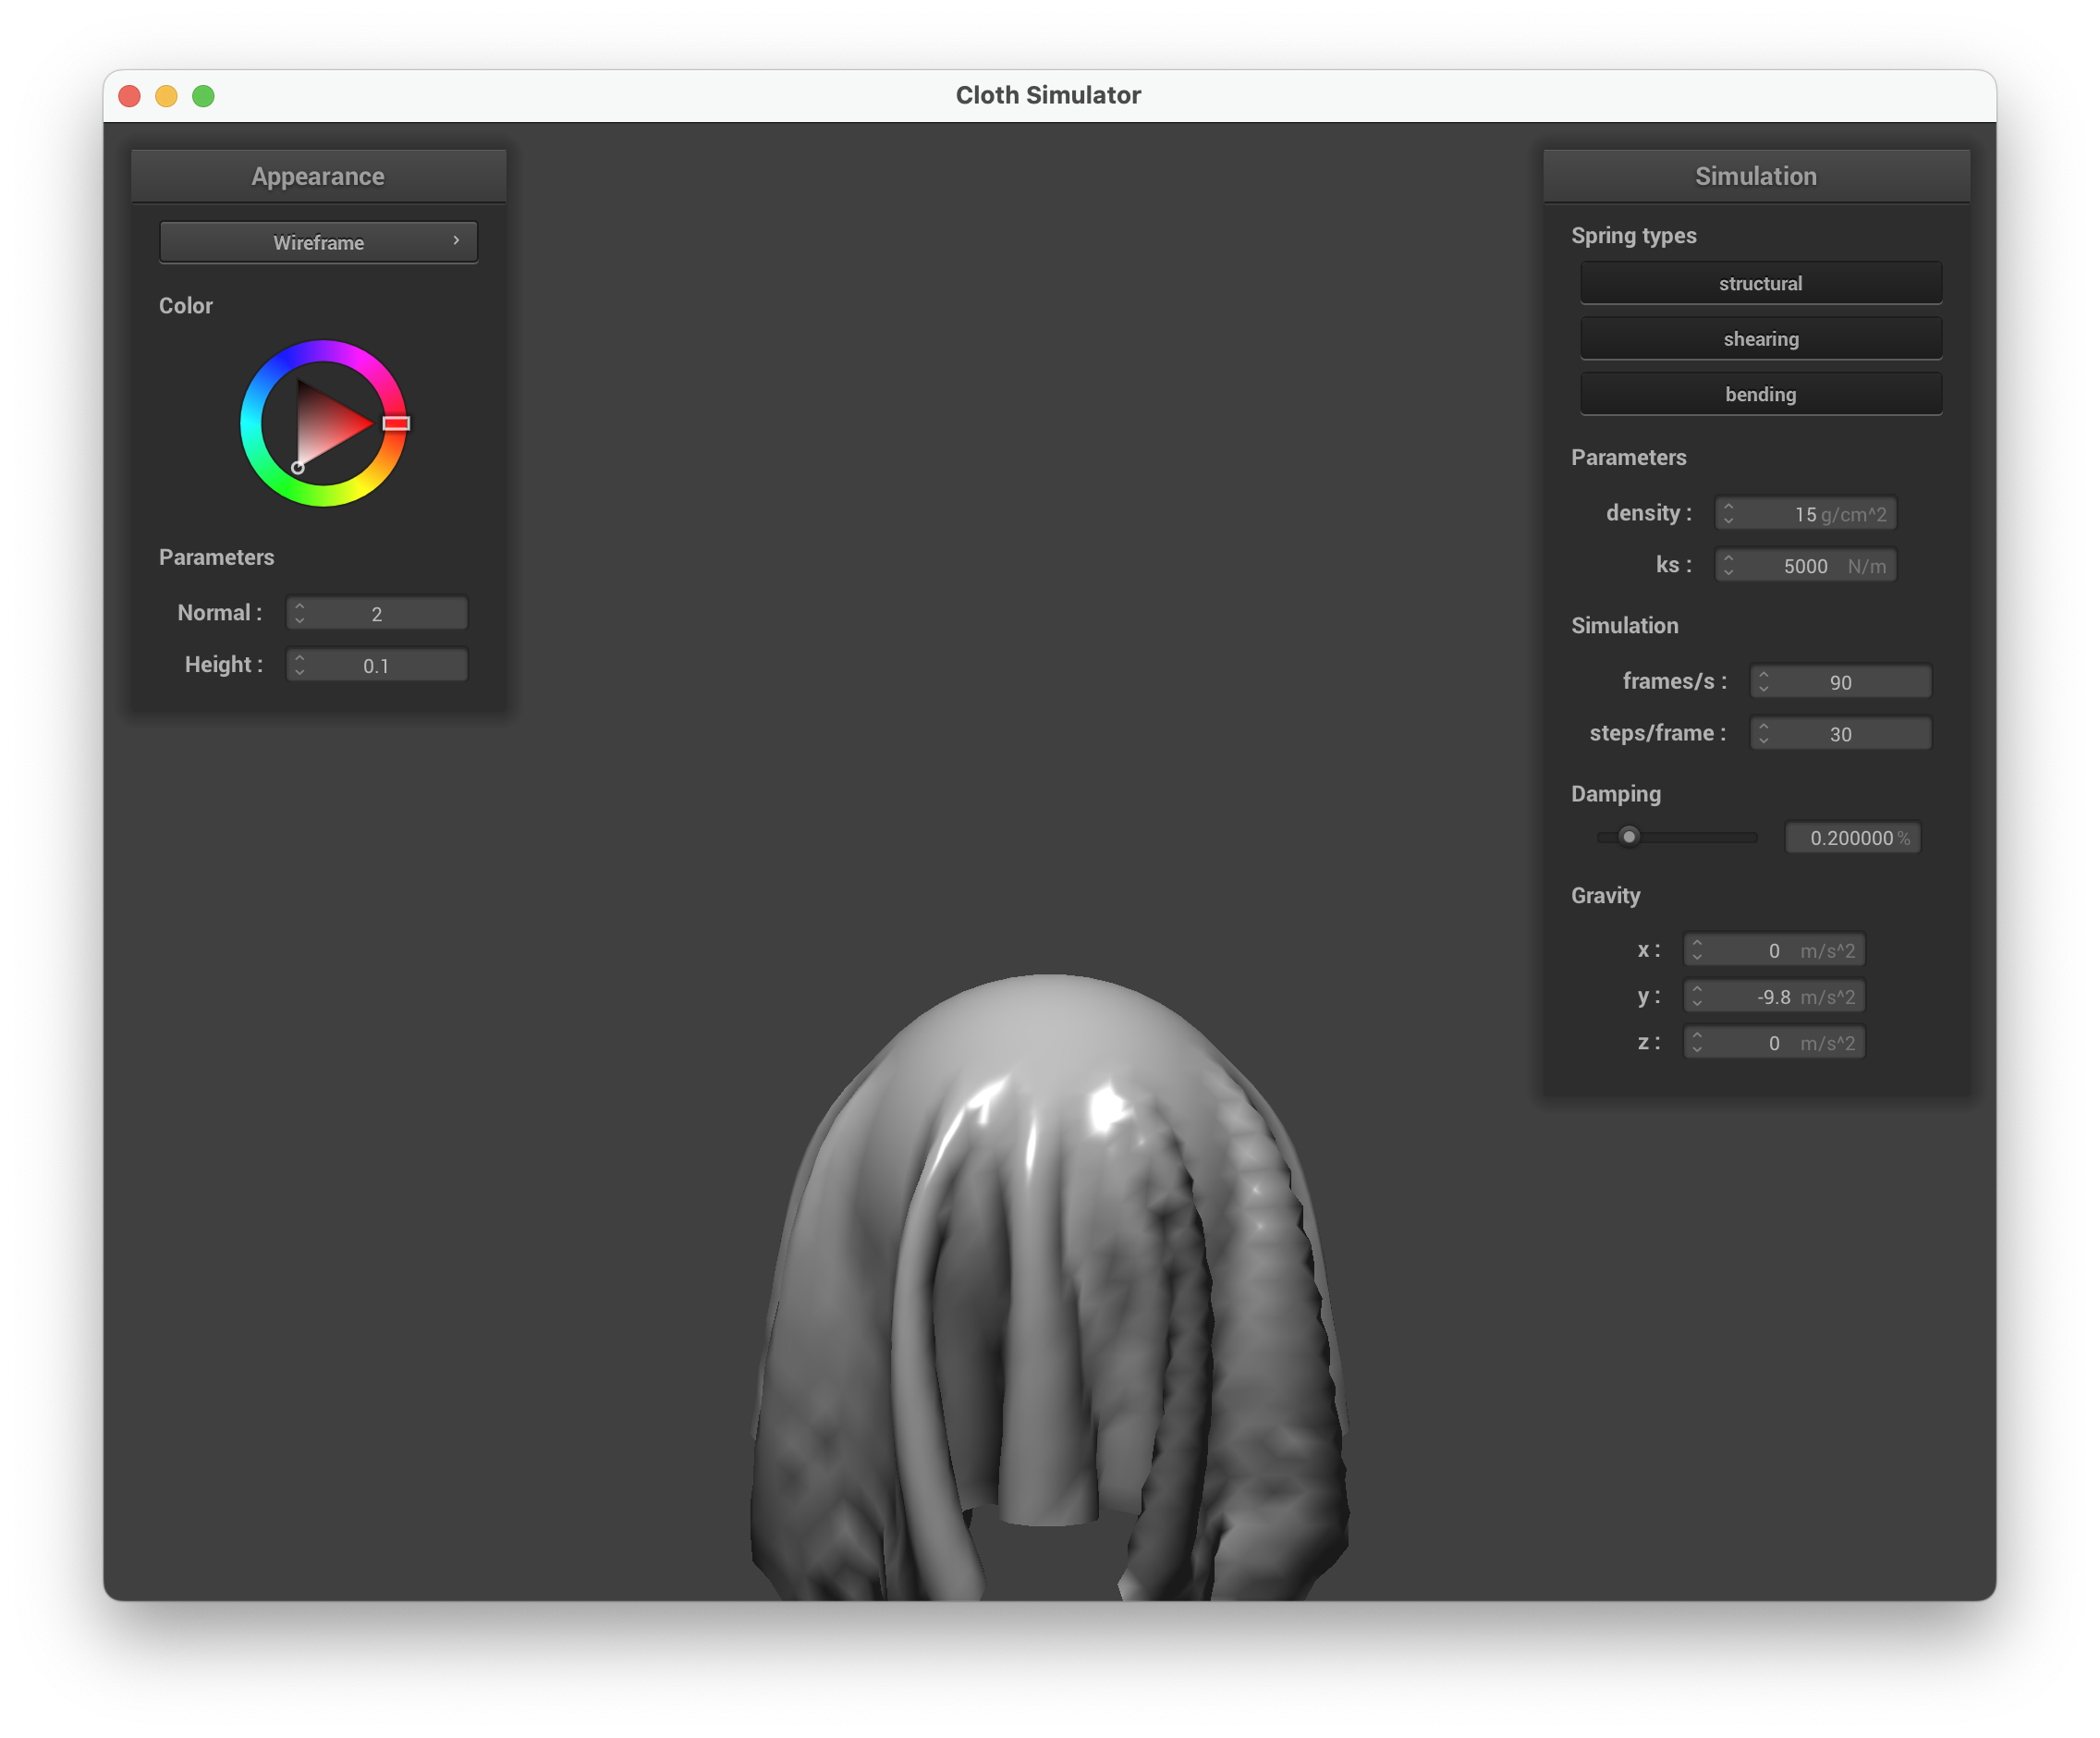 |
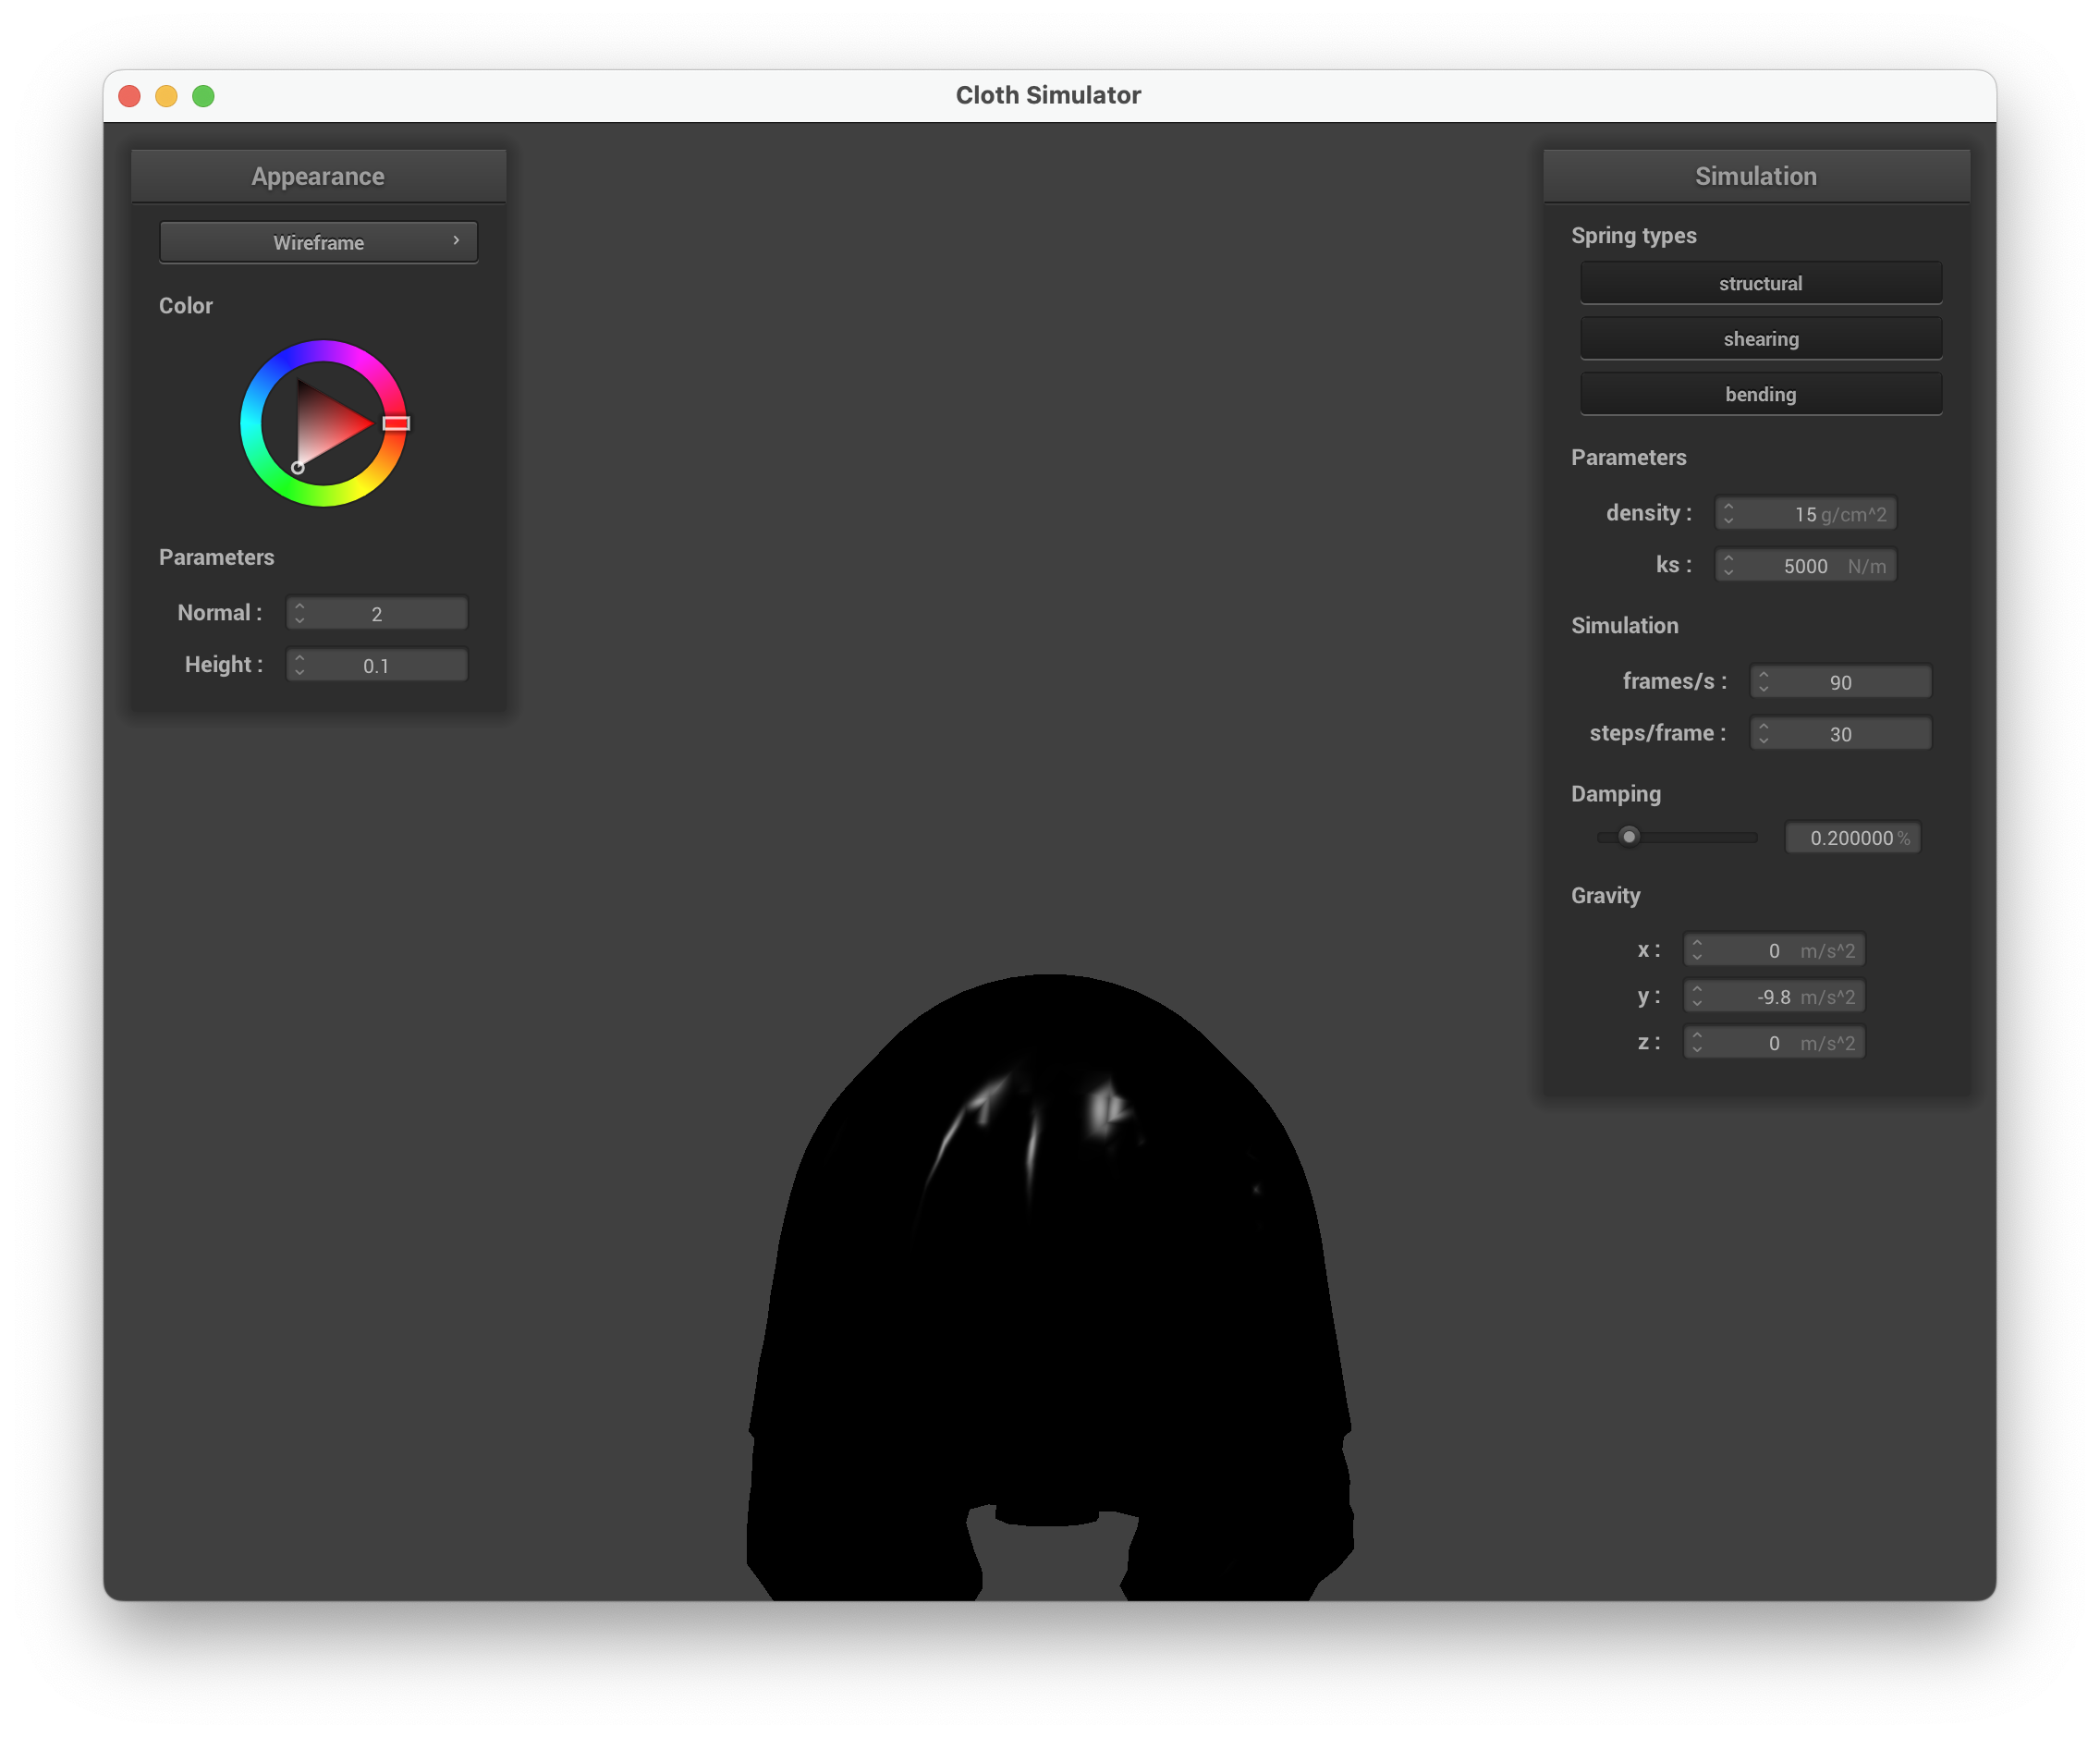
Texture mapping
| Custom texture mapping |
|---|
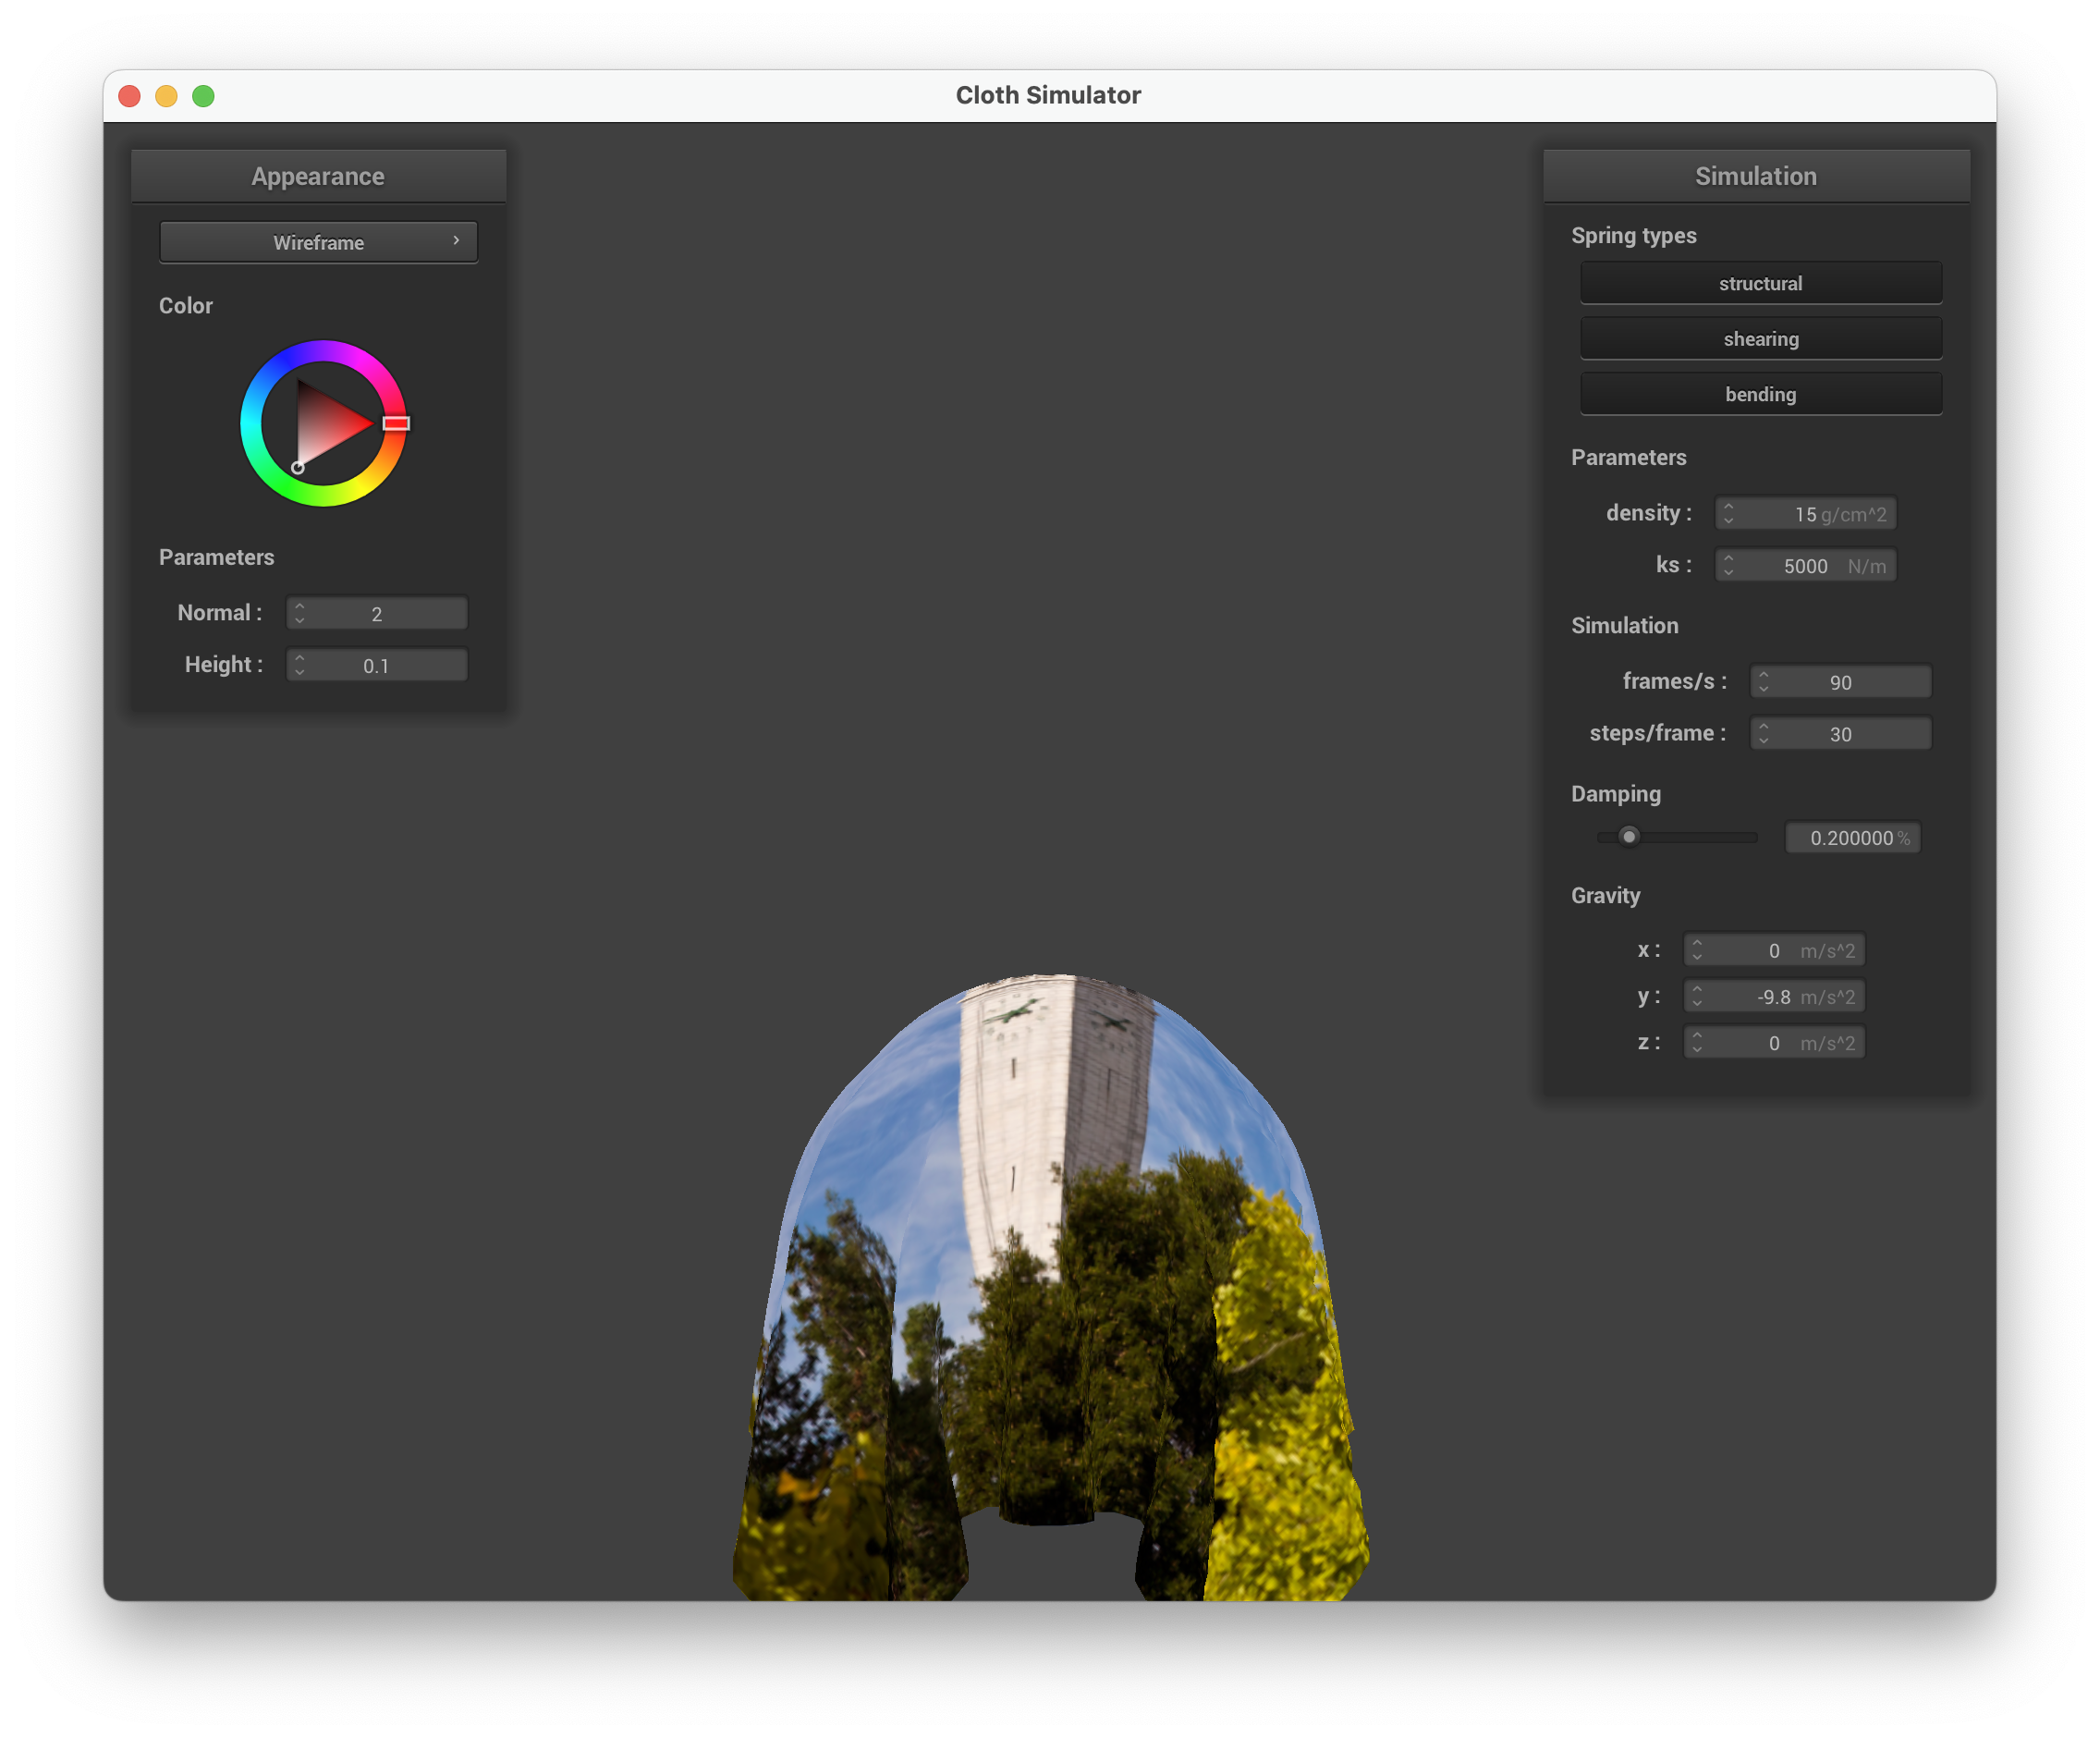 |
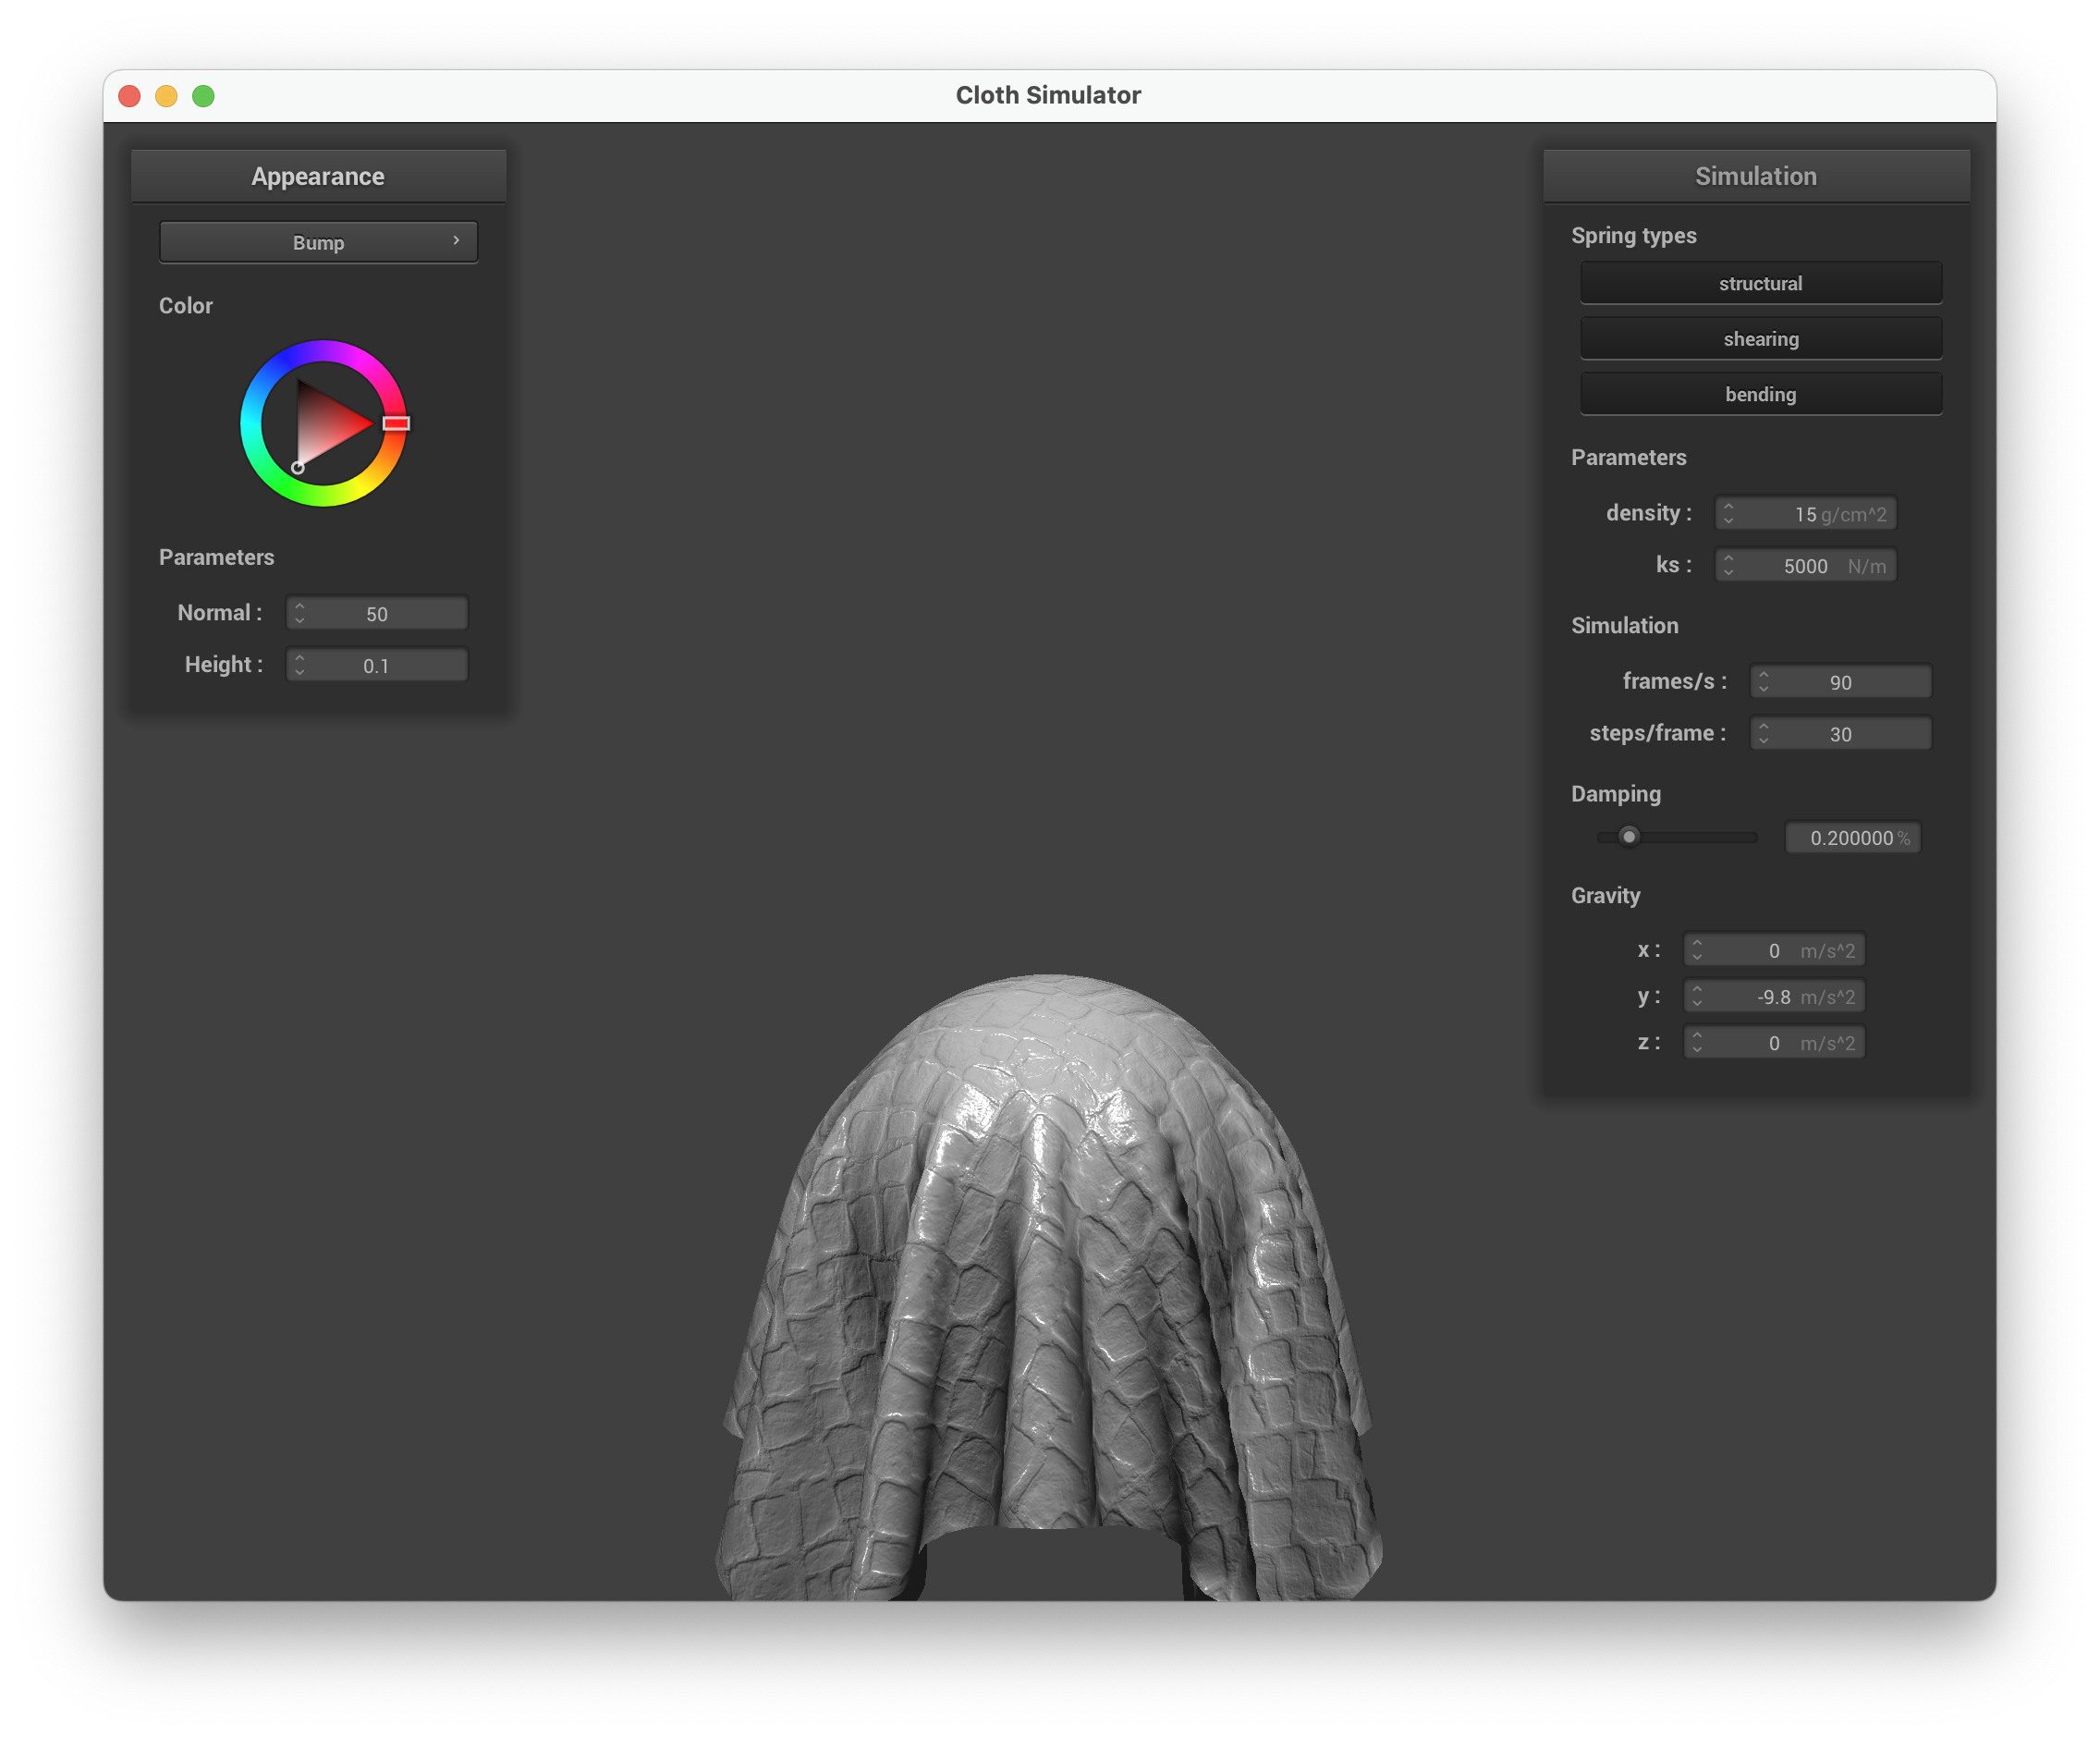
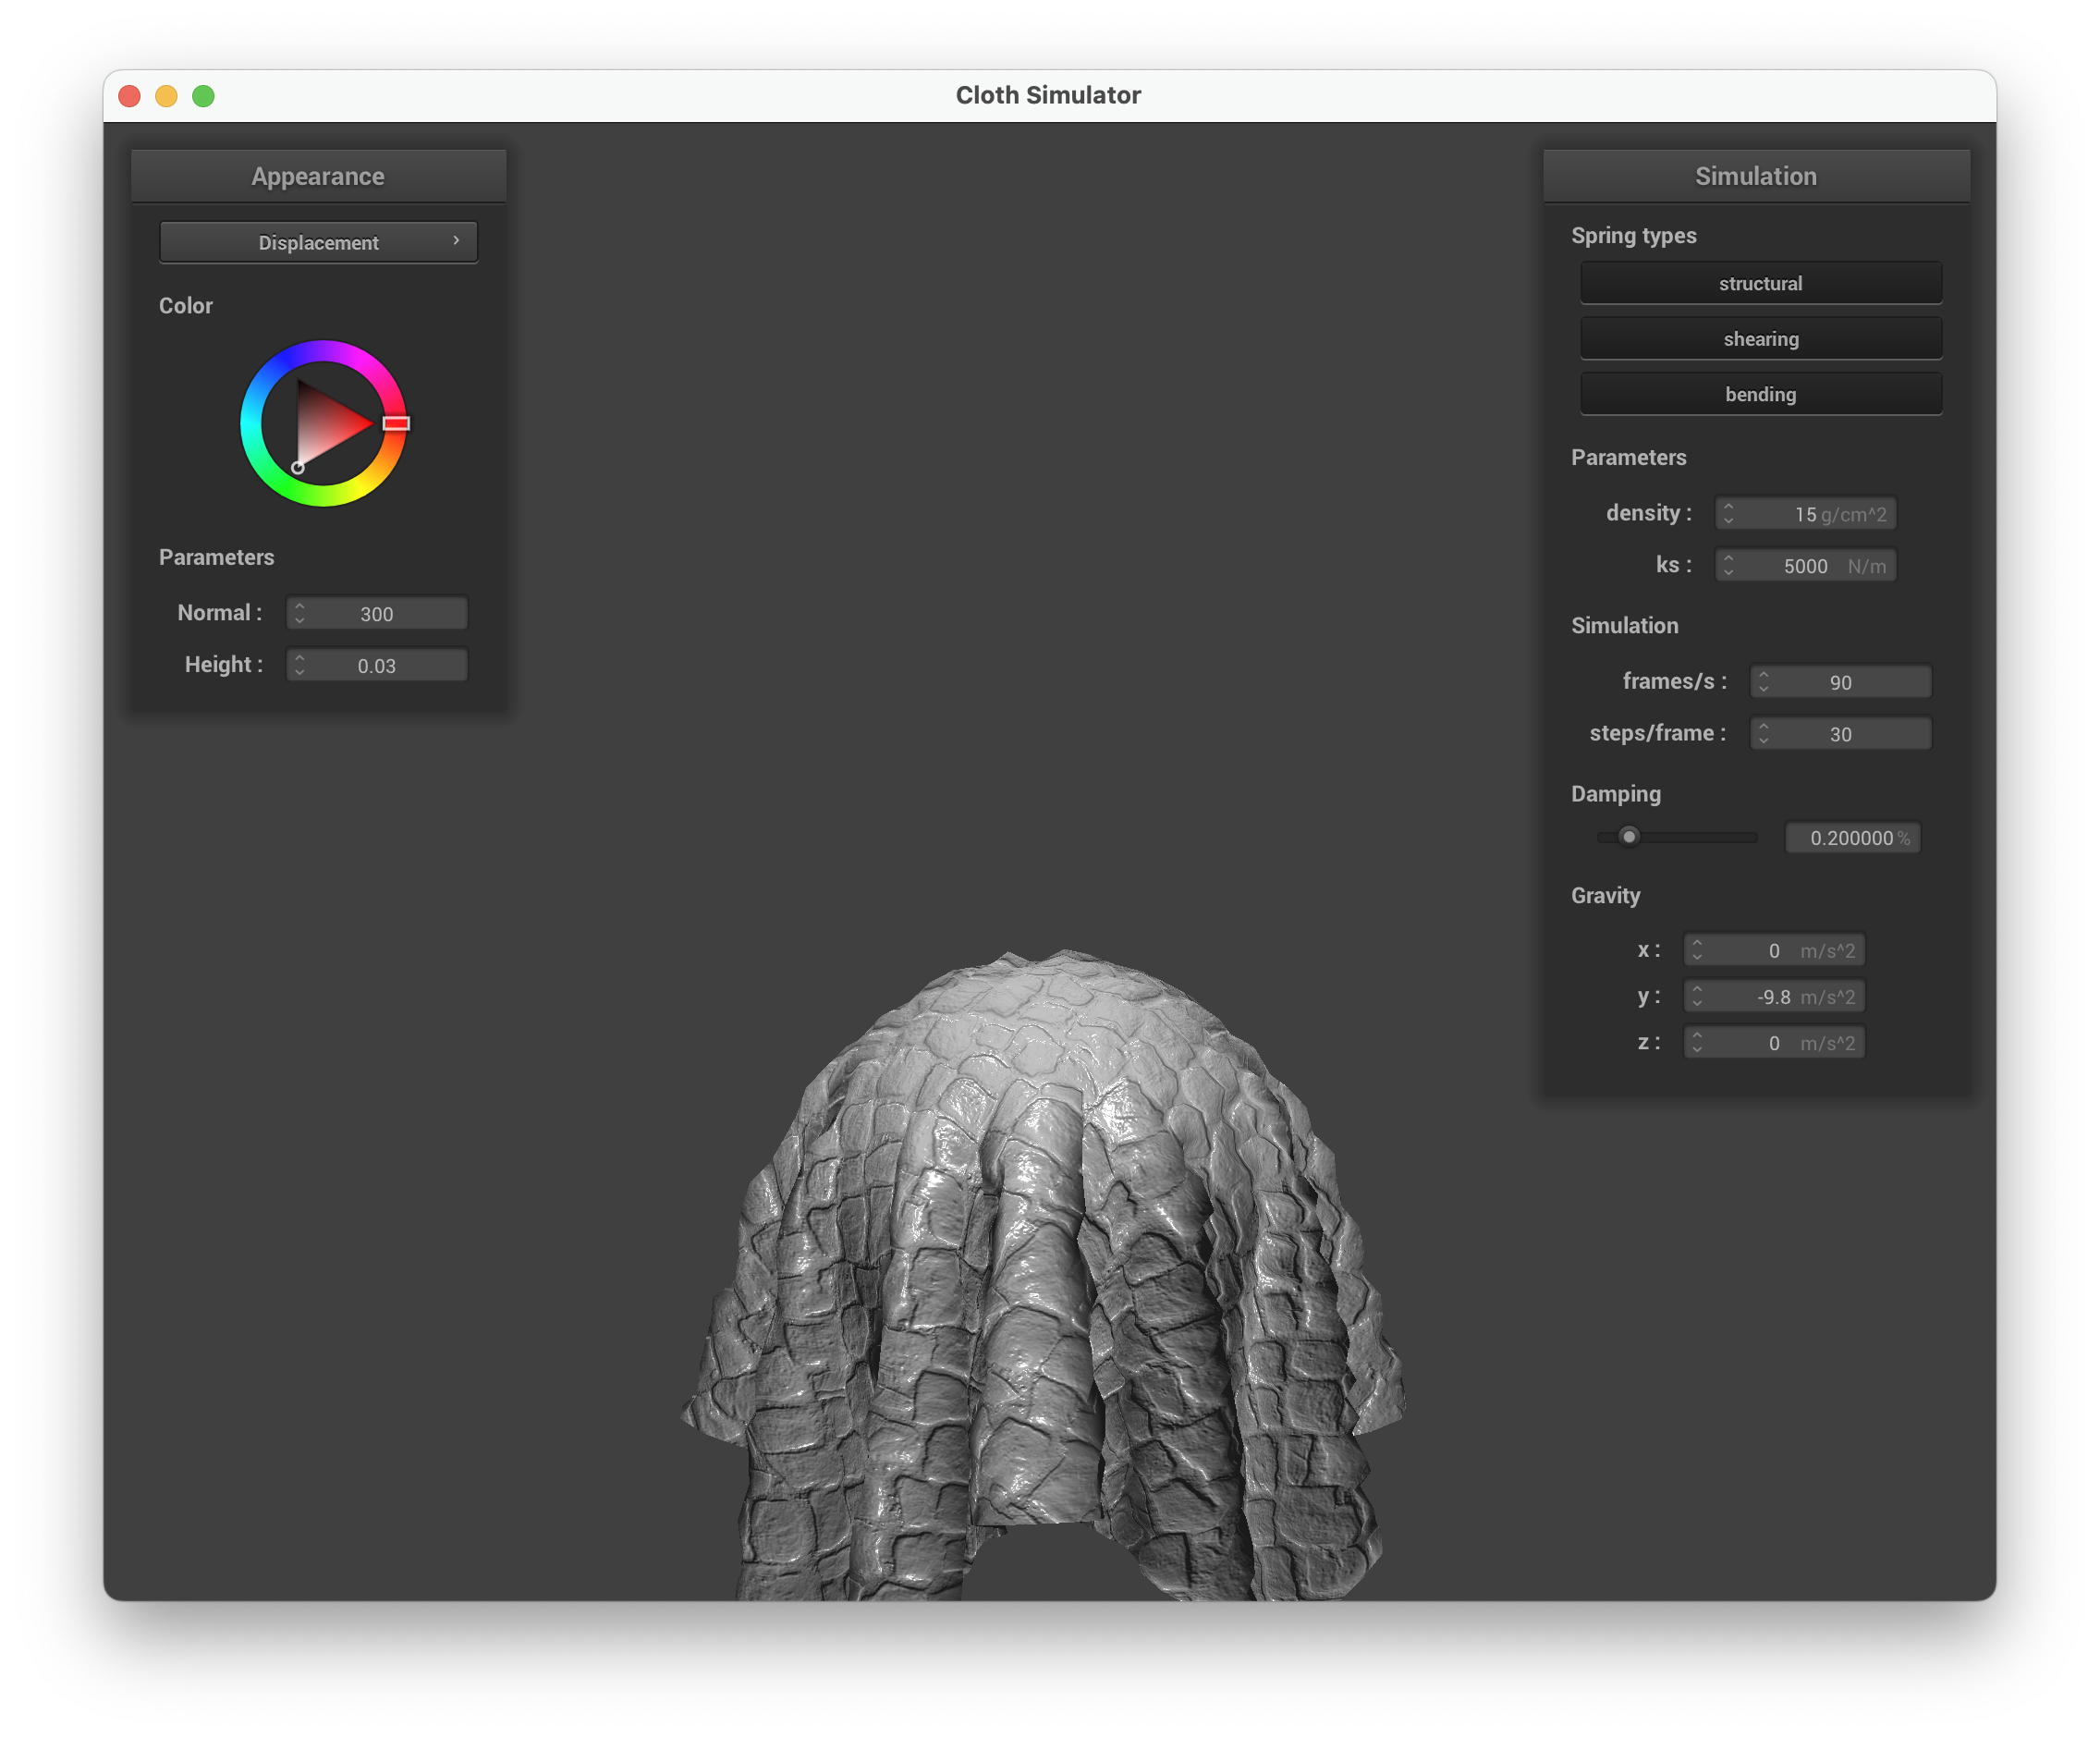
Bump mapping vs. displacement mapping
Bump mapping perturbs the surface normal in the fragment shader without changing the geometry. It samples a height map to compute local derivatives and , constructs a displaced normal in tangent space via TBN matrix, then uses this perturbed normal for Phong lighting. The surface appears bumpy but the silhouette remains smooth.
Displacement mapping does the same normal perturbation in the fragment shader, but additionally modifies the vertex positions in the vertex shader: each vertex is displaced along its normal by . This physically changes the geometry, so bumps appear in the silhouette too.
| Bump mapping on cloth | Bump mapping on sphere |
|---|---|
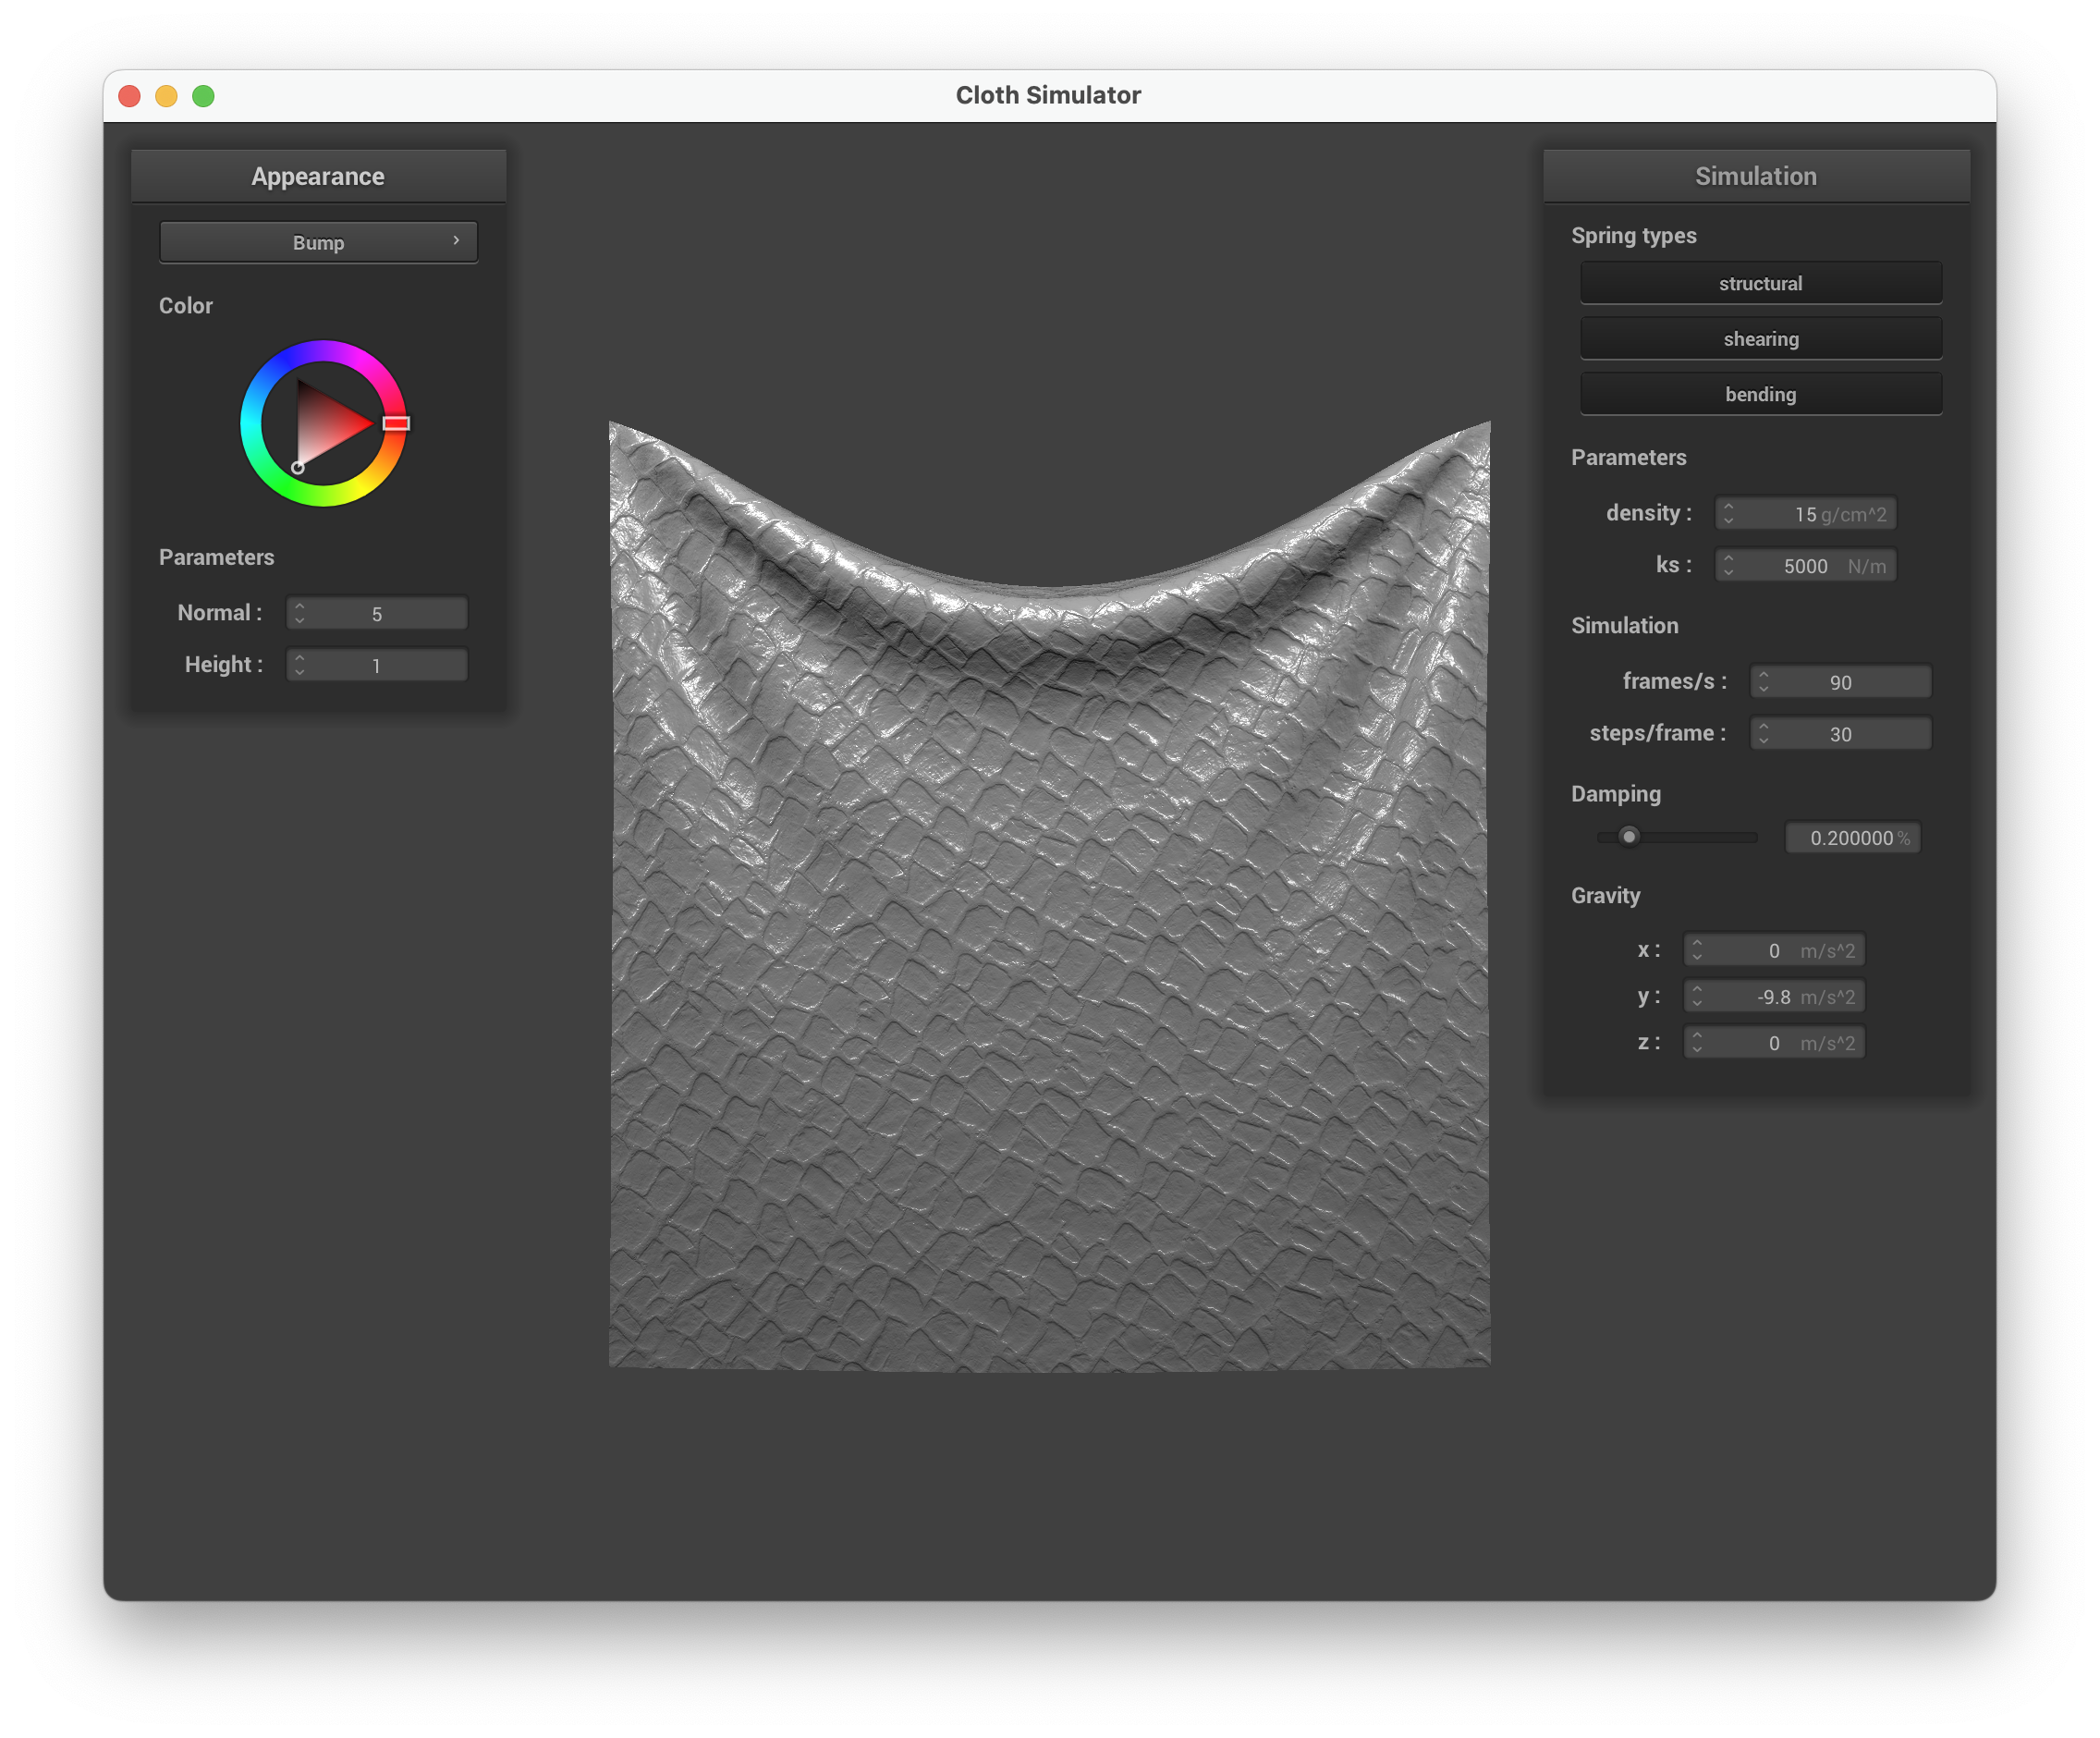 |
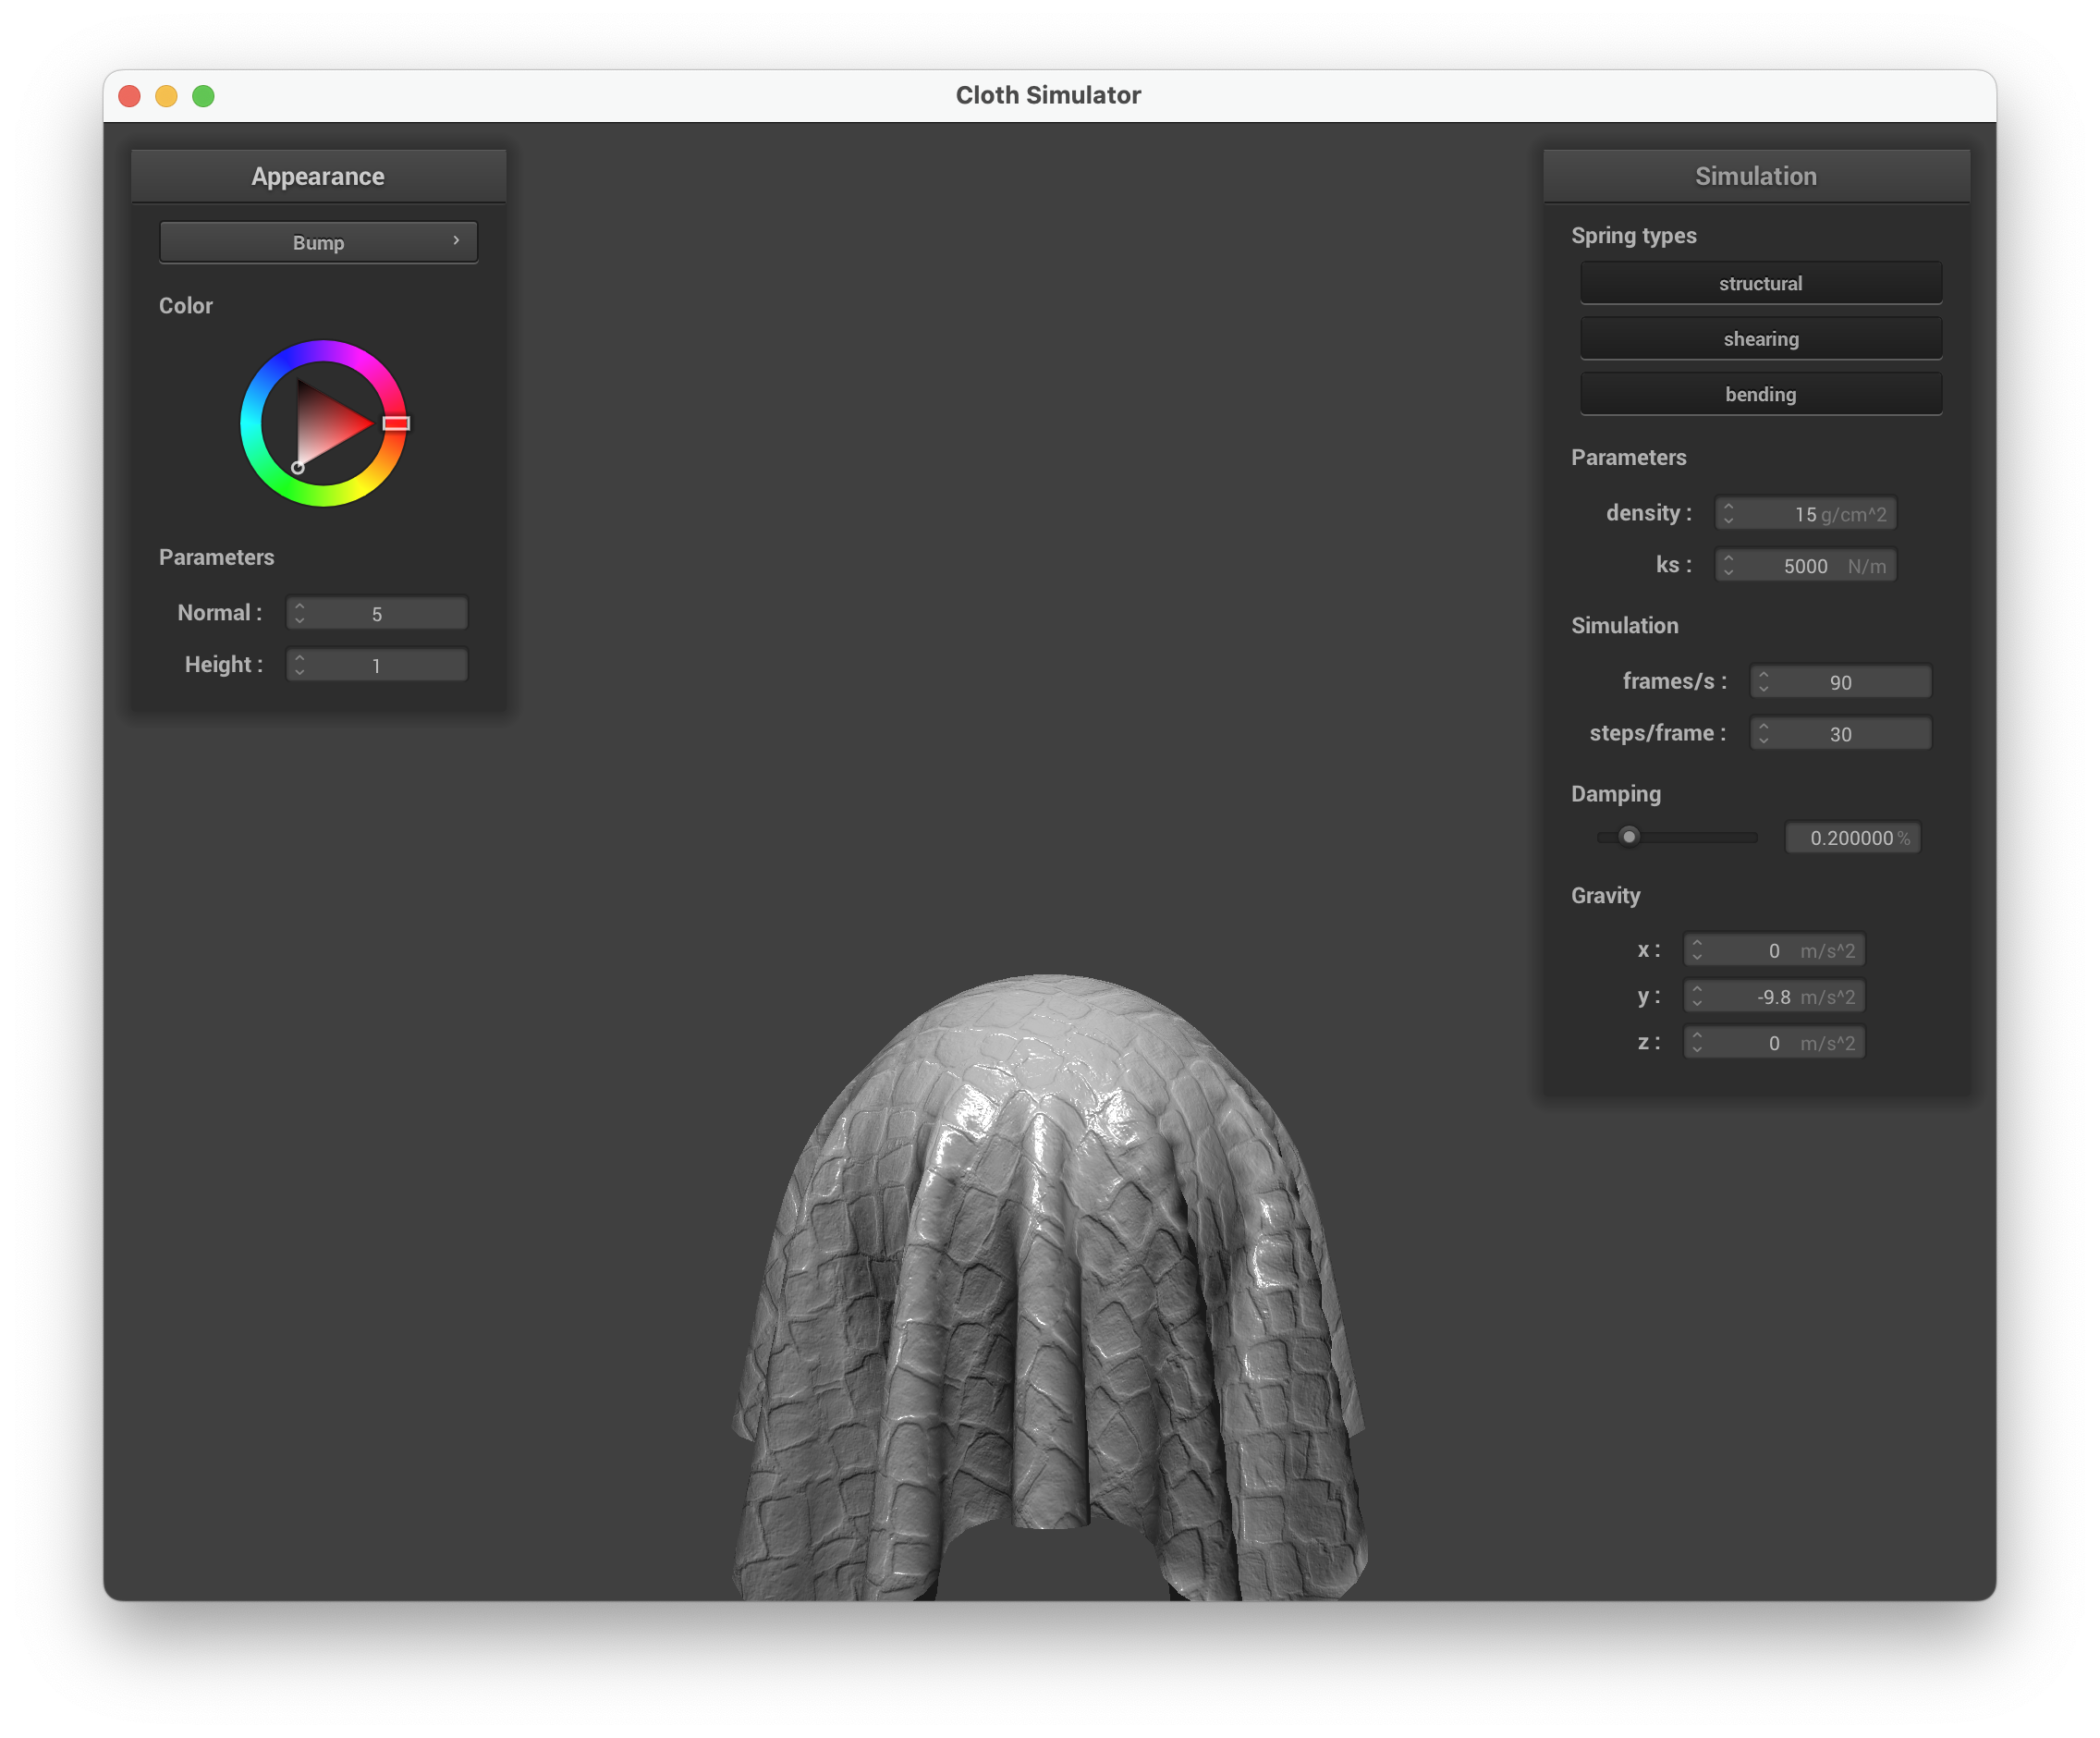 |
| Displacement mapping on sphere |
|---|
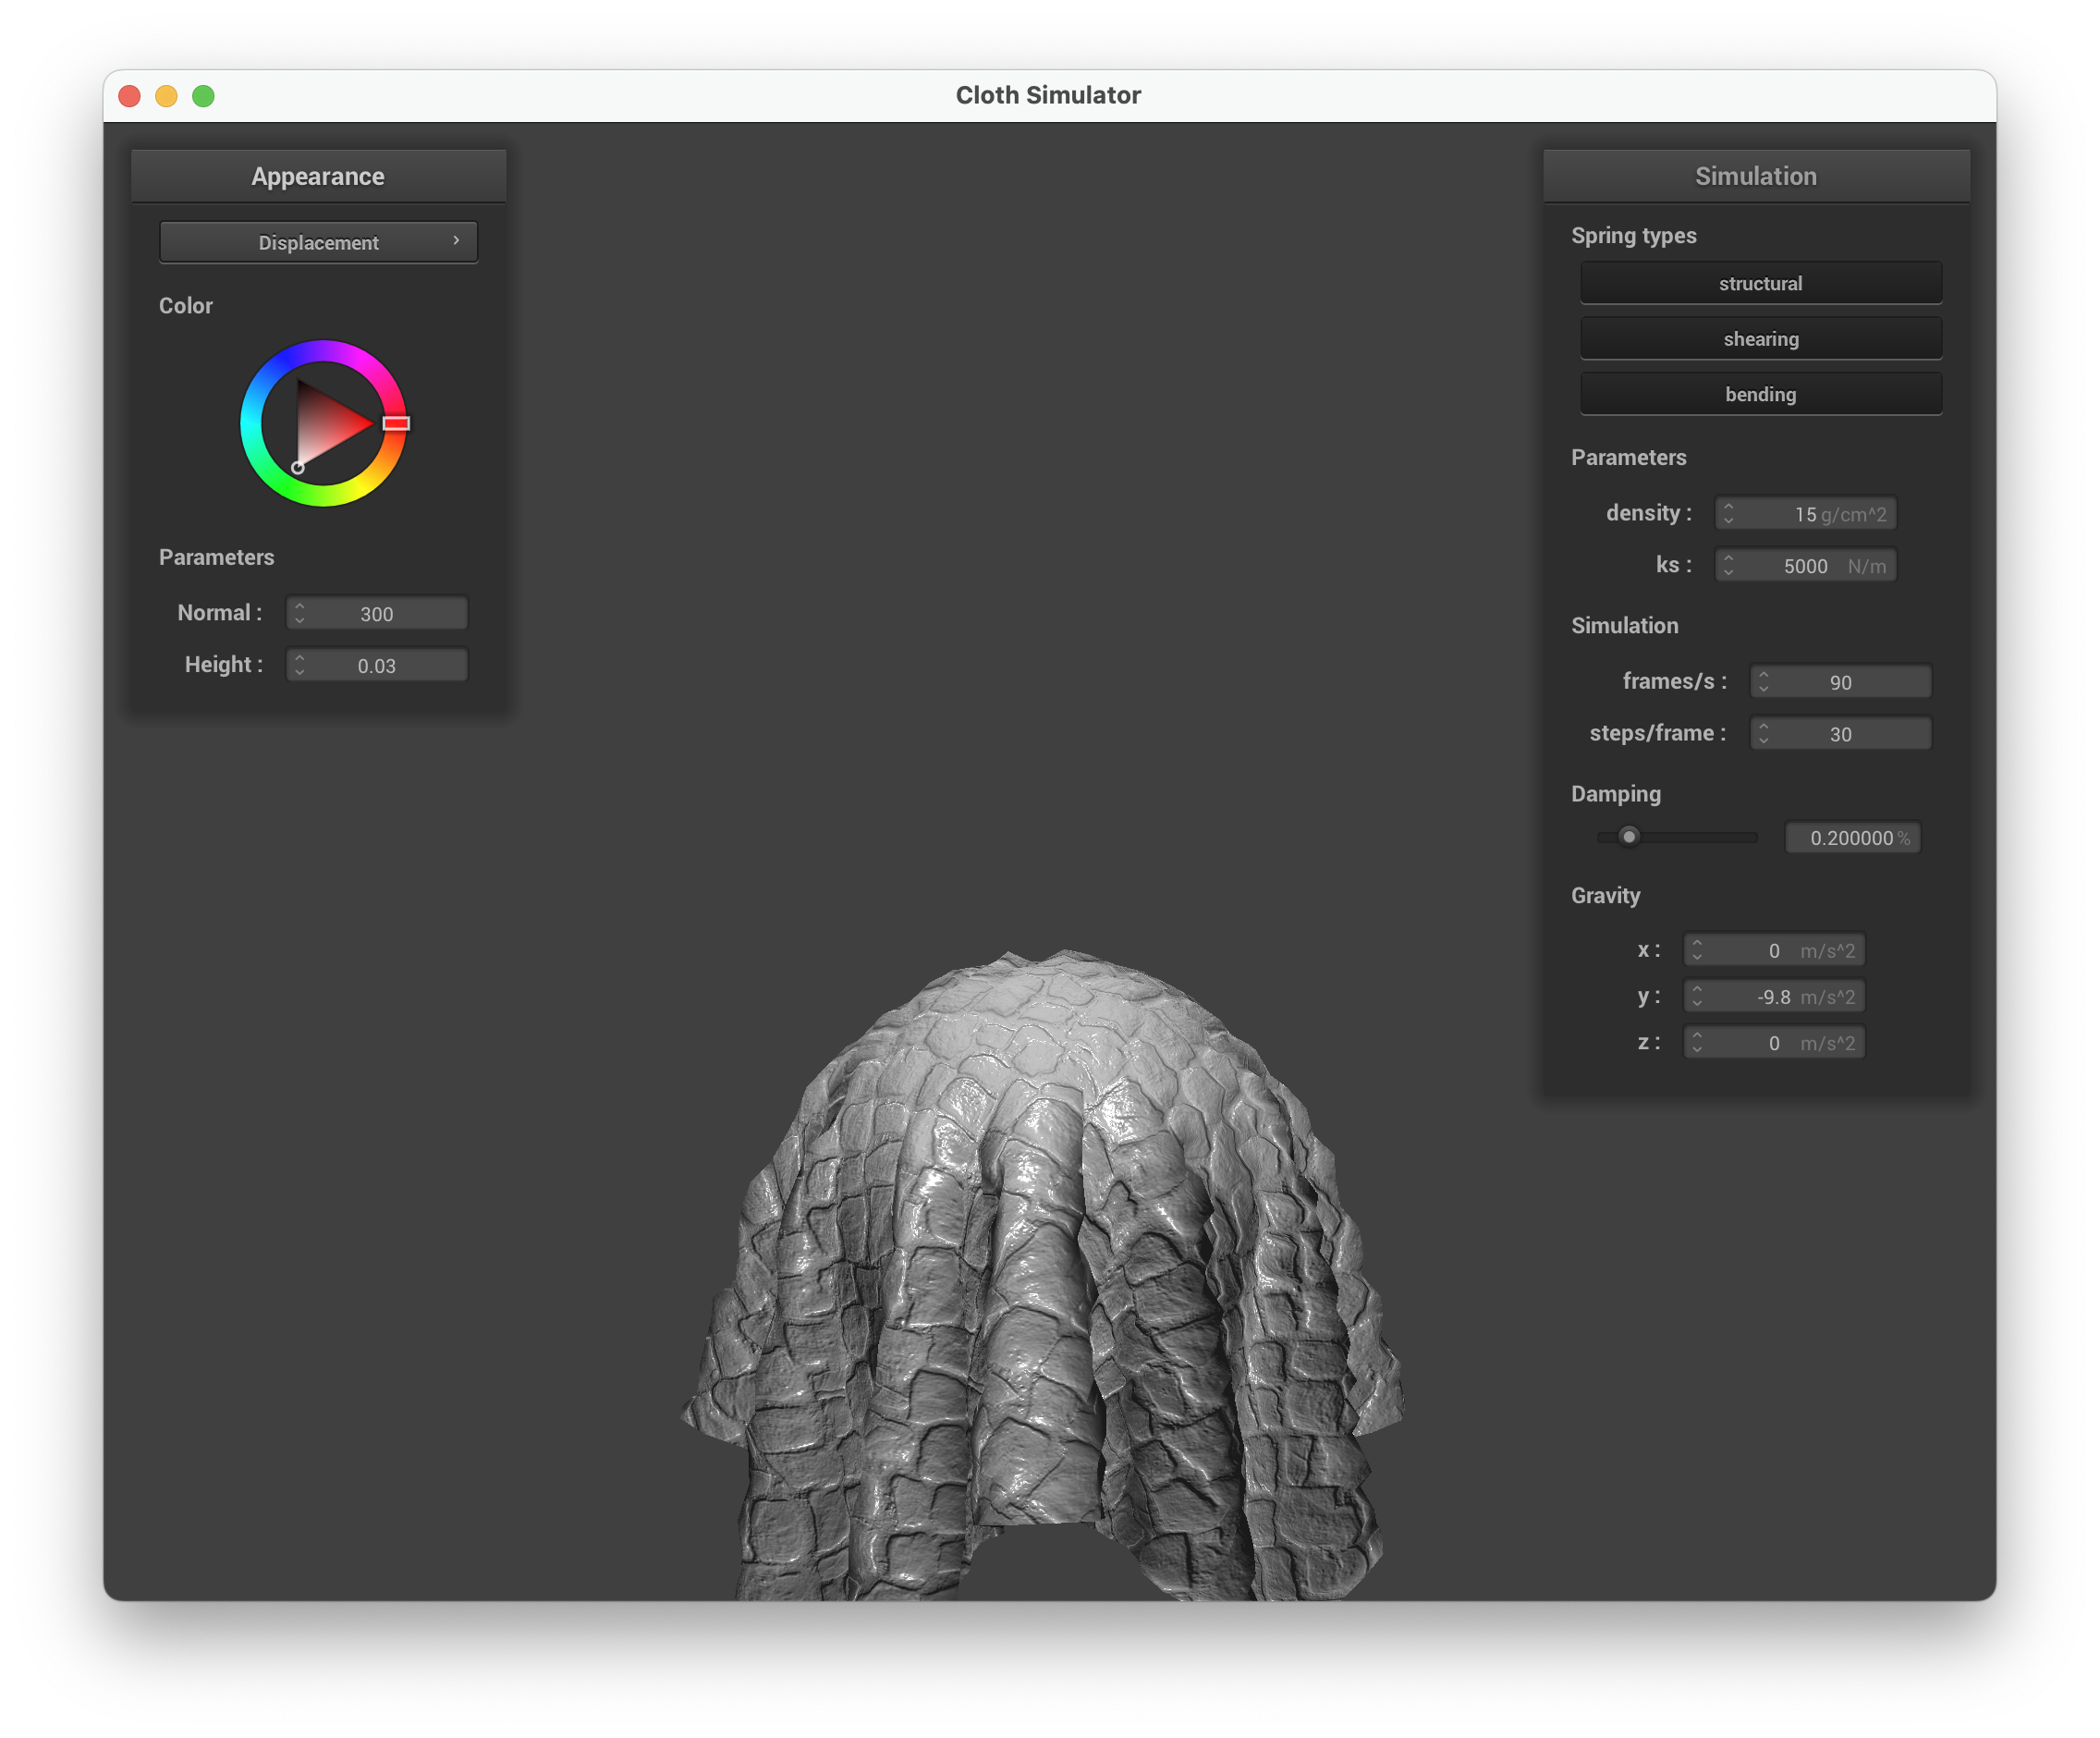 |
Comparing the two: bump mapping gives a convincing illusion of surface detail but breaks down at silhouettes or grazing angles where the smooth geometry is visible. Displacement mapping produces genuinely altered geometry that holds up from all viewing angles, but requires denser tessellation to look good.
Effect of sphere coarseness
| Bump mapping, -o 16 -a 16 | Bump mapping, -o 128 -a 128 |
|---|---|
 |
 |
| Displacement mapping, -o 16 -a 16 | Displacement mapping, -o 128 -a 128 |
 |
 |
At low resolution (-o 16 -a 16), bump mapping still looks reasonable because the shading illusion doesn’t depend on mesh density. Displacement mapping at the same resolution looks blocky and jagged because there aren’t enough vertices to displace. At high resolution (-o 128 -a 128), displacement mapping catches up and looks much better — the displaced surface has fine detail matching the height map. Bump mapping looks essentially the same at both resolutions since it only perturbs normals.
Mirror shader
The mirror shader computes the reflection direction and samples the environment cubemap along that direction.
| Mirror shader on cloth | Mirror shader on sphere |
|---|---|
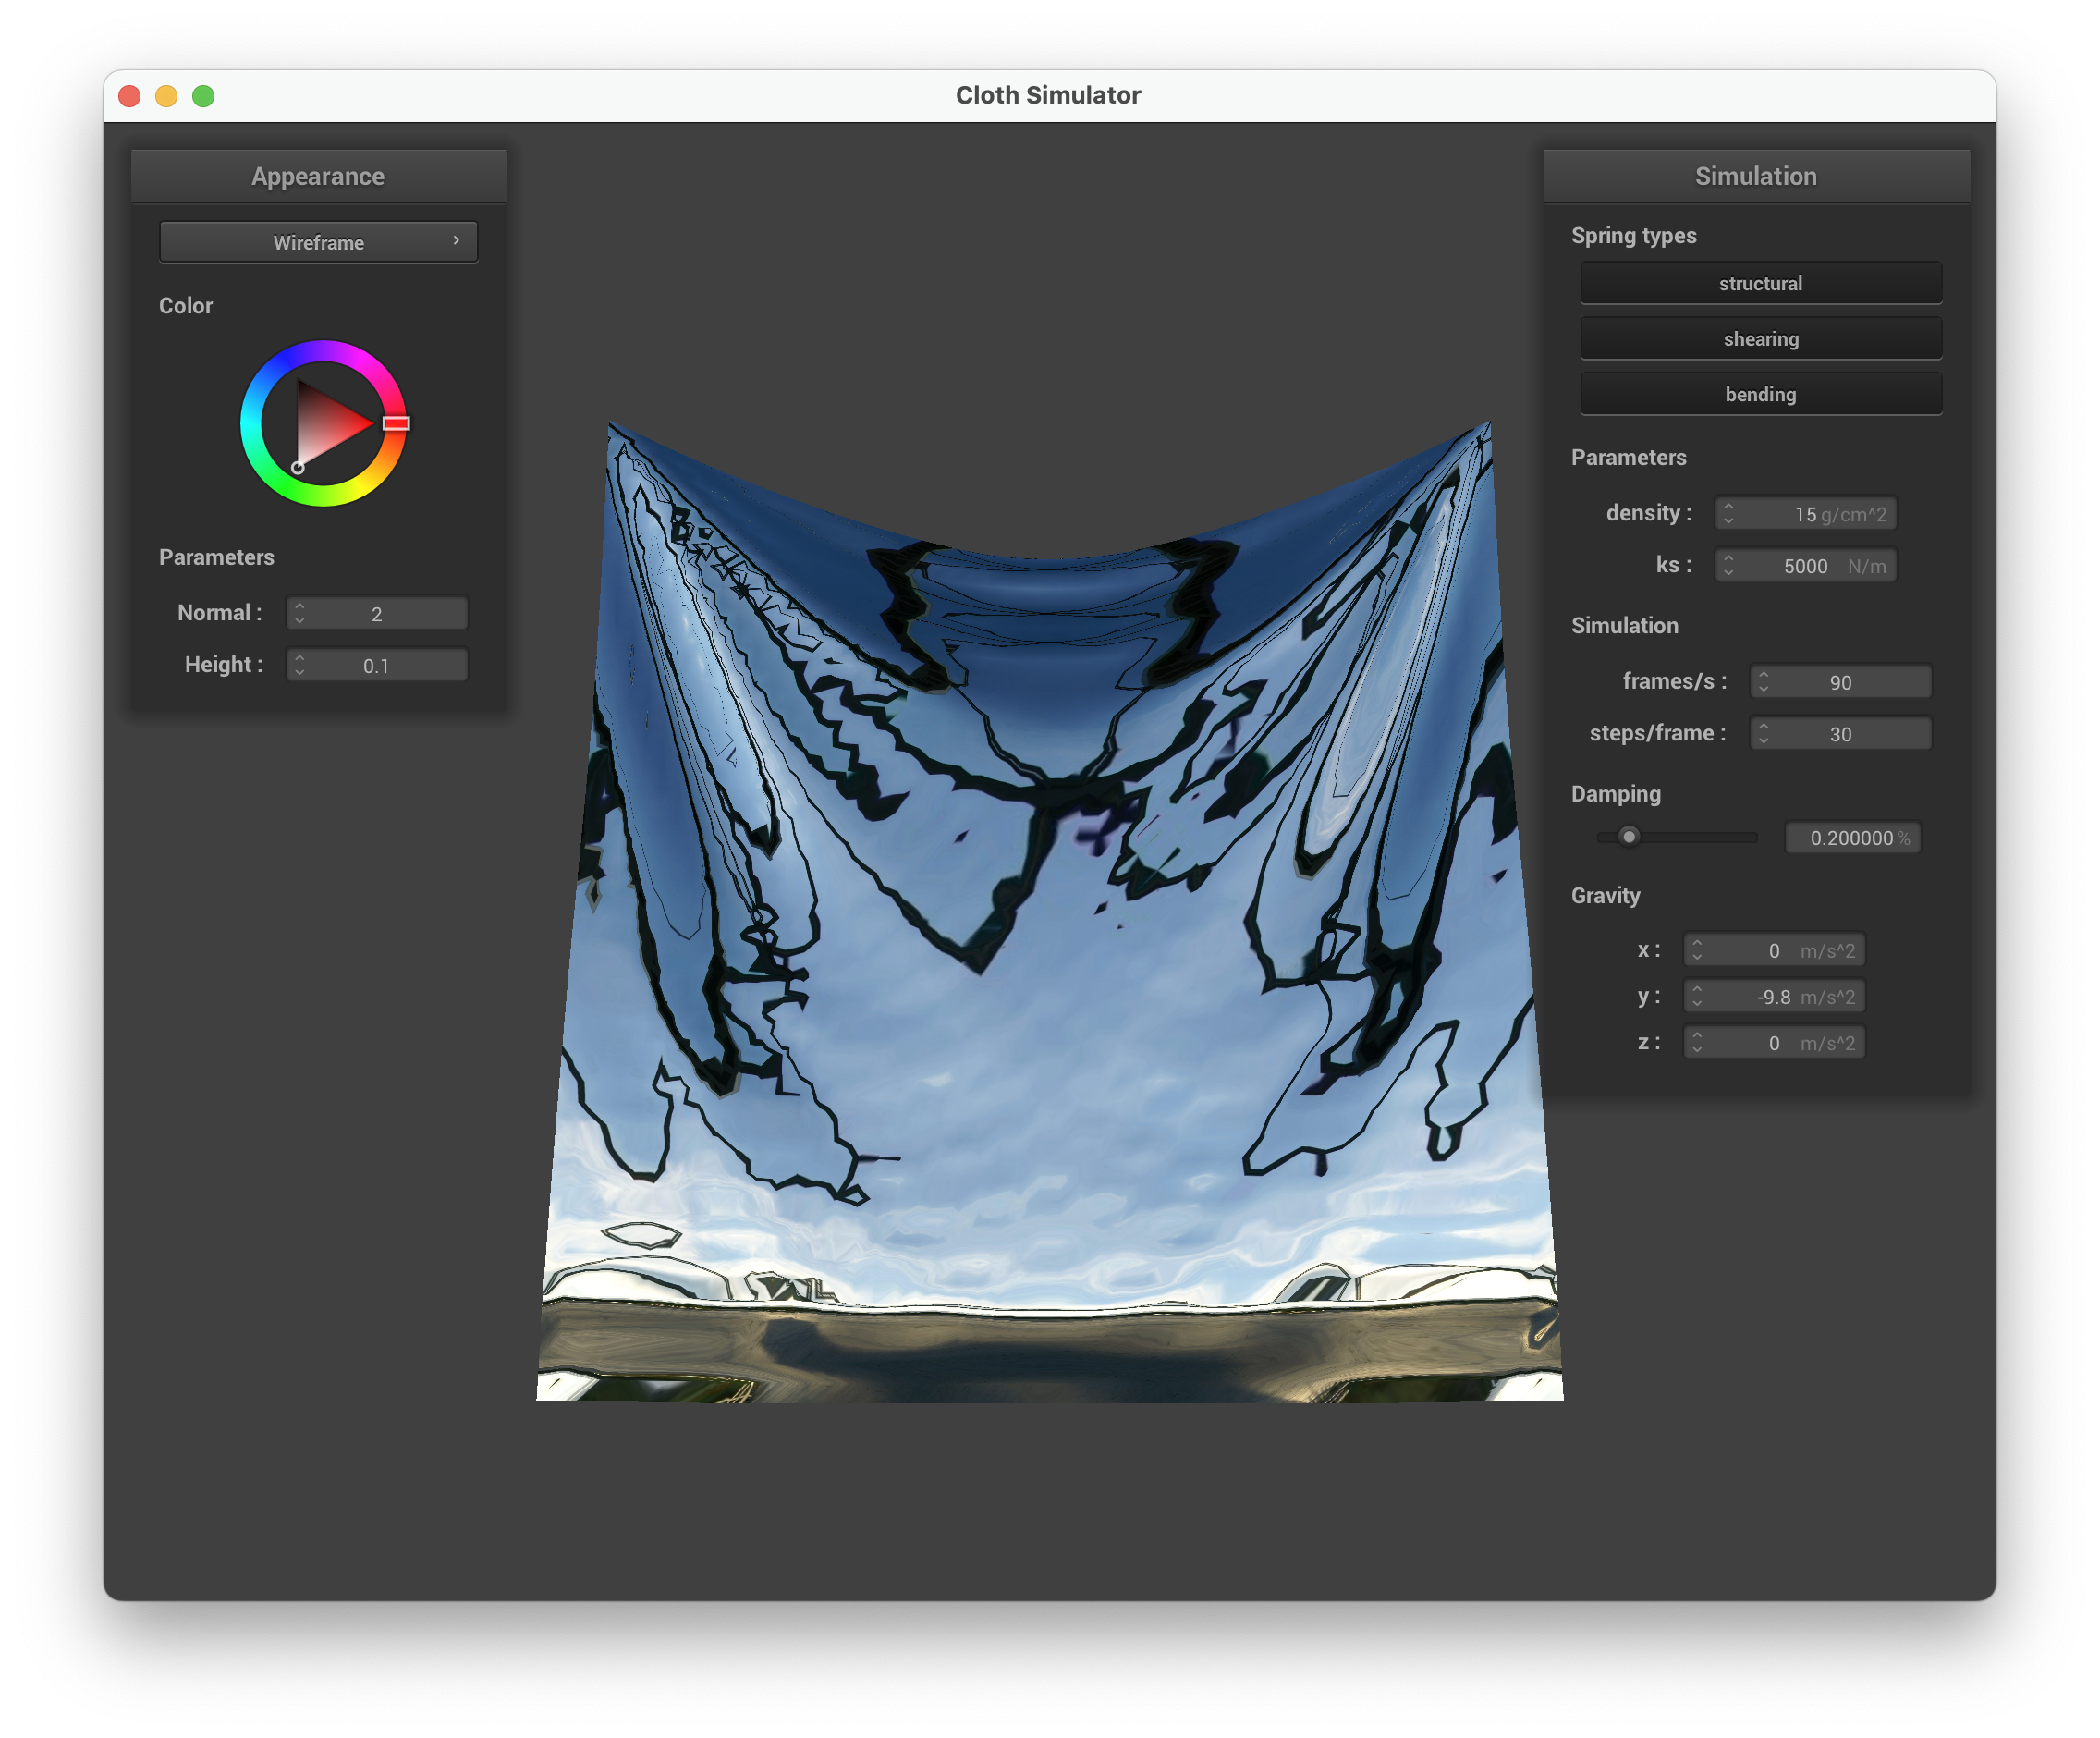 |
 |
Custom shader: Toon / Cel shading
For my custom shader I implemented a toon (cel) shader that replaces smooth Blinn-Phong gradients with discrete lighting bands and adds silhouette-like edge darkening. The shader has three components:
-
3-band diffuse ramp with shadow tint. I quantize the standard Lambertian value into three discrete bands using
smoothstepwith narrow transition widths (~0.02) to avoid aliasing. Each band has its own color: the shadow band uses a cool blue-purple tint (vec3(0.15, 0.10, 0.25)) blended with the base color, the midtone interpolates between shadow and base, and the lit band is the pure base color. This warm-light/cool-shadow contrast is a common technique in stylized rendering. -
Hard specular highlight. Instead of a smooth Phong specular falloff, I apply
step(0.95, pow(N \cdot H, 64))to produce a binary white dot, mimicking the sharp highlights seen in anime-style shading. -
Fresnel-based edge darkening. I compute a rim factor and use it to darken fragments where the surface normal faces away from the camera. This produces outline-like silhouettes without requiring a multi-pass approach or screen-space post-processing.
| Toon shader on cloth | Toon shader on sphere |
|---|---|
 |
 |